Are you ready to elevate your grilling game to the next level? Look no further than the propane grill, a versatile and efficient cooking tool that promises to deliver mouthwatering results every time.
However, before you can savor those perfectly seared steaks or charred vegetables, you need to master the art of lighting your propane grill. Fret not, as this guide will take you through the essential steps, ensuring a safe and hassle-free grilling experience.
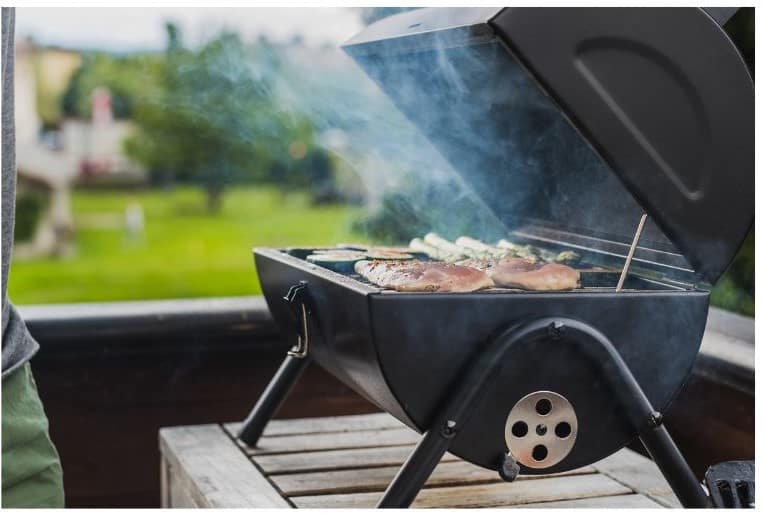
The tantalizing aroma of grilled meats wafting through the air, and the sizzle of food hitting the hot grates. Whether you’re a seasoned grill master or a beginner eager to impress your family and friends, understanding how to properly light a propane grill is the first step towards culinary greatness.
From igniting the burners to adjusting the flame, this guide will equip you with the knowledge and confidence to wield the power of propane and create unforgettable meals that will have everyone begging for seconds. So, grab your apron and tongs, and let’s dive into the world of propane grilling to ignite your passion for outdoor cooking.
Read this Article:
What To Mix With Hamburger Before Grilling?
Why Is BBQ So Expensive-Detailed Explanation
Why Is My Pellet Stove Using So Many Pellets?
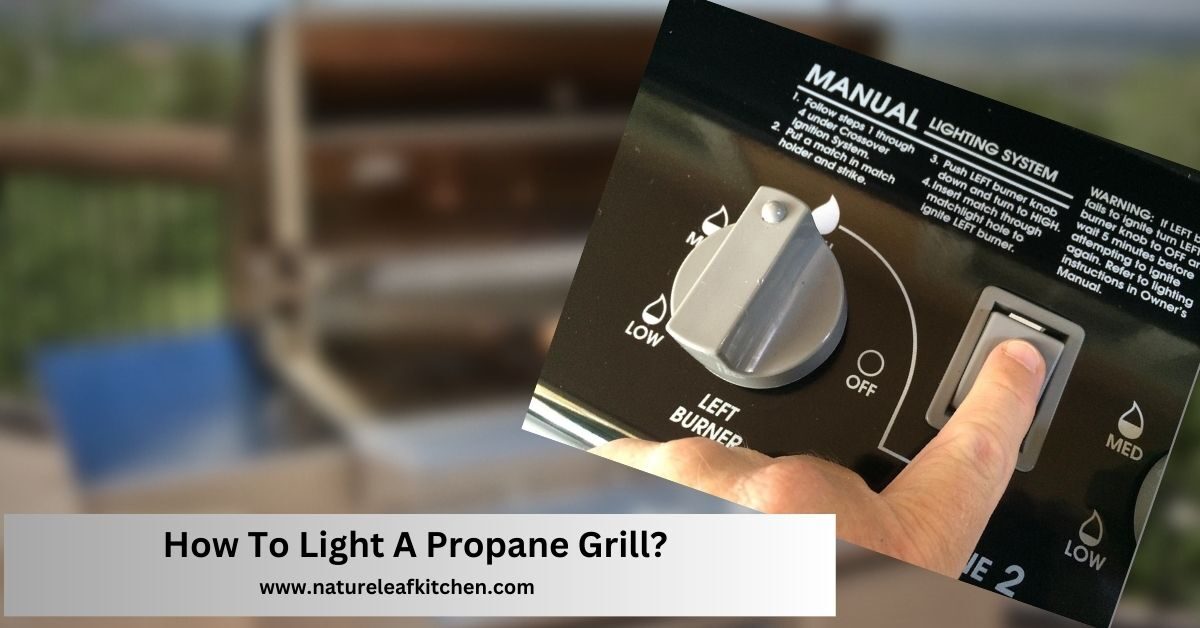
How to Light a Propane Grill?
- Make sure the propane tank is connected securely to the grill.
- Open the lid of the grill and turn all burner knobs to the off position.
- Slowly open the propane tank valve.
- Wait for a few seconds to allow the gas to reach the burners.
- Turn the burner knobs to the desired heat level and press the ignition button or use a long match to ignite the burners.
- Once the burners are lit, close the grill lid and preheat for a few minutes before starting to cook.
Lighting a propane grill is a simple process that can be done by following a few easy steps. By properly lighting your grill, you can ensure a safe and efficient cooking experience. In this guide, we will walk you through the step-by-step process of lighting a propane grill.
Step 1: Check the Propane Tank
Before lighting your propane grill, it is important to check the propane tank to ensure it is properly connected and has enough fuel. Start by inspecting the tank for any signs of damage or leaks. If you notice any issues, such as a damaged hose or a strong gas odor, it is crucial to address them before proceeding.

Next, make sure the propane tank valve is in the closed position. This is important to prevent any gas from escaping while you are lighting the grill. To close the valve, turn it clockwise until it is fully tightened.
Step 2: Open the Grill Lid
Before lighting the grill, open the lid to ensure proper ventilation. This will allow any built-up gas to dissipate and prevent any potential flare-ups when you ignite the grill. Opening the lid also makes it easier to access the grill’s control knobs.
Once the lid is open, take a moment to inspect the grill grates and remove any debris or leftover food particles. This will help prevent any unwanted flavors from transferring to your food and ensure even heat distribution during cooking.
Step 3: Turn on the Gas
Locate the gas control knob on your propane grill. This knob is typically located on the front panel of the grill, near the burners. Turn the knob counterclockwise to open the gas flow. You may hear a hissing sound as the gas begins to flow.
After turning on the gas, immediately replace the propane tank’s protective cap. This cap helps to prevent any dirt or debris from entering the tank and causing potential blockages.
Step 4: Ignite the Grill
With the gas flowing, it’s time to ignite the grill. Most propane grills have an electronic ignition system, which can be activated by pushing a button or turning a dial. Locate the ignition switch and follow the manufacturer’s instructions to ignite the grill.
Once the grill is ignited, you should see flames on the burners. Close the grill lid and allow it to preheat for about 10-15 minutes. This will ensure that the grill reaches the desired temperature for cooking.
Step 5: Adjust the Heat
After preheating, it’s time to adjust the heat level on your propane grill. Most grills have control knobs that allow you to adjust the flame intensity. Turn the knobs to your desired heat setting, whether you need high heat for searing or low heat for slow cooking.
Keep in mind that it may take a few minutes for the grill to reach the desired temperature after adjusting the heat. Monitor the grill’s temperature gauge or use an external thermometer to ensure accurate cooking temperatures.
Step 6: Begin Grilling
Once the grill has reached the desired temperature, you are ready to start grilling! Place your food on the preheated grill grates and close the lid. Remember to keep an eye on the cooking progress and adjust the heat as needed to achieve the desired results.
When you are finished grilling, turn off the gas by turning the control knobs clockwise to the off position. Allow the grill to cool down before closing the lid and cleaning the grates.
How do I safely turn off the propane grill?
Turning off a propane grill safely is important to avoid accidents and ensure the proper functioning of the grill. Here’s a step-by-step guide on how to safely turn off a propane grill:
- Turn Off the Burner Knobs:
- Start by closing the burner knobs on the grill. Turn each knob clockwise until you hear a clicking sound or until the knob stops moving.
- Close the Propane Tank Valve:
- Locate the propane tank connected to the grill. The tank usually has a valve on top.
- Turn the valve on the propane tank clockwise until it is fully closed. This stops the flow of propane to the burners.
- Check for Residual Gas:
- After turning off the burners and the propane tank valve, wait for a few minutes to allow any residual gas in the lines to dissipate.
- If you smell gas or suspect a leak, do not proceed. Instead, move to a safe location away from the grill and call your propane supplier or emergency services.
- Test for Leaks (Optional):
- Some people choose to perform a leak test after turning off the grill to ensure there are no gas leaks.
- Create a solution of equal parts water and dish soap.
- Apply the soapy solution to the connections and hoses, including the propane tank valve, using a brush or spray bottle.
- If you see bubbles forming, it indicates a leak. In this case, turn off the propane tank immediately, and do not use the grill until the leak is fixed.
- Secure the Grill:
- If you’re done using the grill for an extended period, consider covering it to protect it from the elements.
Remember, safety is crucial when dealing with propane grills. Always follow the manufacturer’s instructions for your specific grill model, and if you ever have concerns about gas leaks or the proper functioning of your grill, contact a professional for assistance.
Frequently Asked Questions
1. How do I properly connect the propane tank to the grill?
First, make sure the grill is in a well-ventilated outdoor area. Next, locate the propane tank and ensure it is in the upright position. Remove the protective cap from the tank’s valve and set it aside. Attach the regulator hose to the tank’s valve by aligning the threads and turning it clockwise until it is securely attached. Once connected, turn on the gas by slowly opening the tank’s valve. Check for any gas leaks by applying a solution of soapy water to the connections. If you see bubbles forming, there is a leak and you should tighten the connections or seek professional assistance.
2. How do I ignite the grill?
Start by opening the grill’s lid and make sure all the burner knobs are turned off. Locate the ignition button or control knob, usually labeled “Ignite” or “Start,” and press or turn it to the appropriate setting. While holding the ignition button or control knob, turn on one of the burner knobs. You should hear a clicking sound and see a spark at the burner. Once the burner is lit, you can adjust the flame by turning the burner knob to the desired heat level. Repeat the process for any additional burners you wish to light.
3. What should I do if the grill doesn’t ignite?
First, make sure the propane tank is not empty. Check the level of propane by gently shaking the tank or using a propane gauge if available. If the tank is nearly empty, replace it with a full one. Next, ensure the gas supply valve on the propane tank is fully open. If it is partially open or closed, the grill may not receive enough gas to ignite. Additionally, check if the ignition button or control knob is working properly. If there is no clicking sound or spark, it may need to be replaced. If all else fails, consult the grill’s manual or contact the manufacturer for further assistance.
4. How long should I preheat the grill before cooking?
It is recommended to preheat the grill for approximately 10-15 minutes before cooking. Preheating allows the grill grates to reach the desired cooking temperature and helps to prevent food from sticking. During the preheating process, close the grill’s lid to retain heat and allow it to circulate evenly. This will ensure that the entire cooking surface is heated properly and ready for cooking.