Can Light Placement in Kitchen: Enhance Your Space Effectively
Are you struggling to find the perfect lighting for your kitchen? The placement of can lights can significantly impact both functionality and ambiance. In fact, proper lighting is one of the most often overlooked aspects of kitchen design. As an experienced lighting designer with over a decade in the field, I can assure you that the right can light placement can elevate your culinary space, making it not only more functional but also visually appealing. In this article, you will learn essential tips on how to effectively place can lights in your kitchen, explore common mistakes to avoid, and discover advanced techniques to enhance your lighting layout. Get ready to transform your kitchen into a well-lit haven that is both stylish and practical.
Understanding Can Lights and Their Benefits
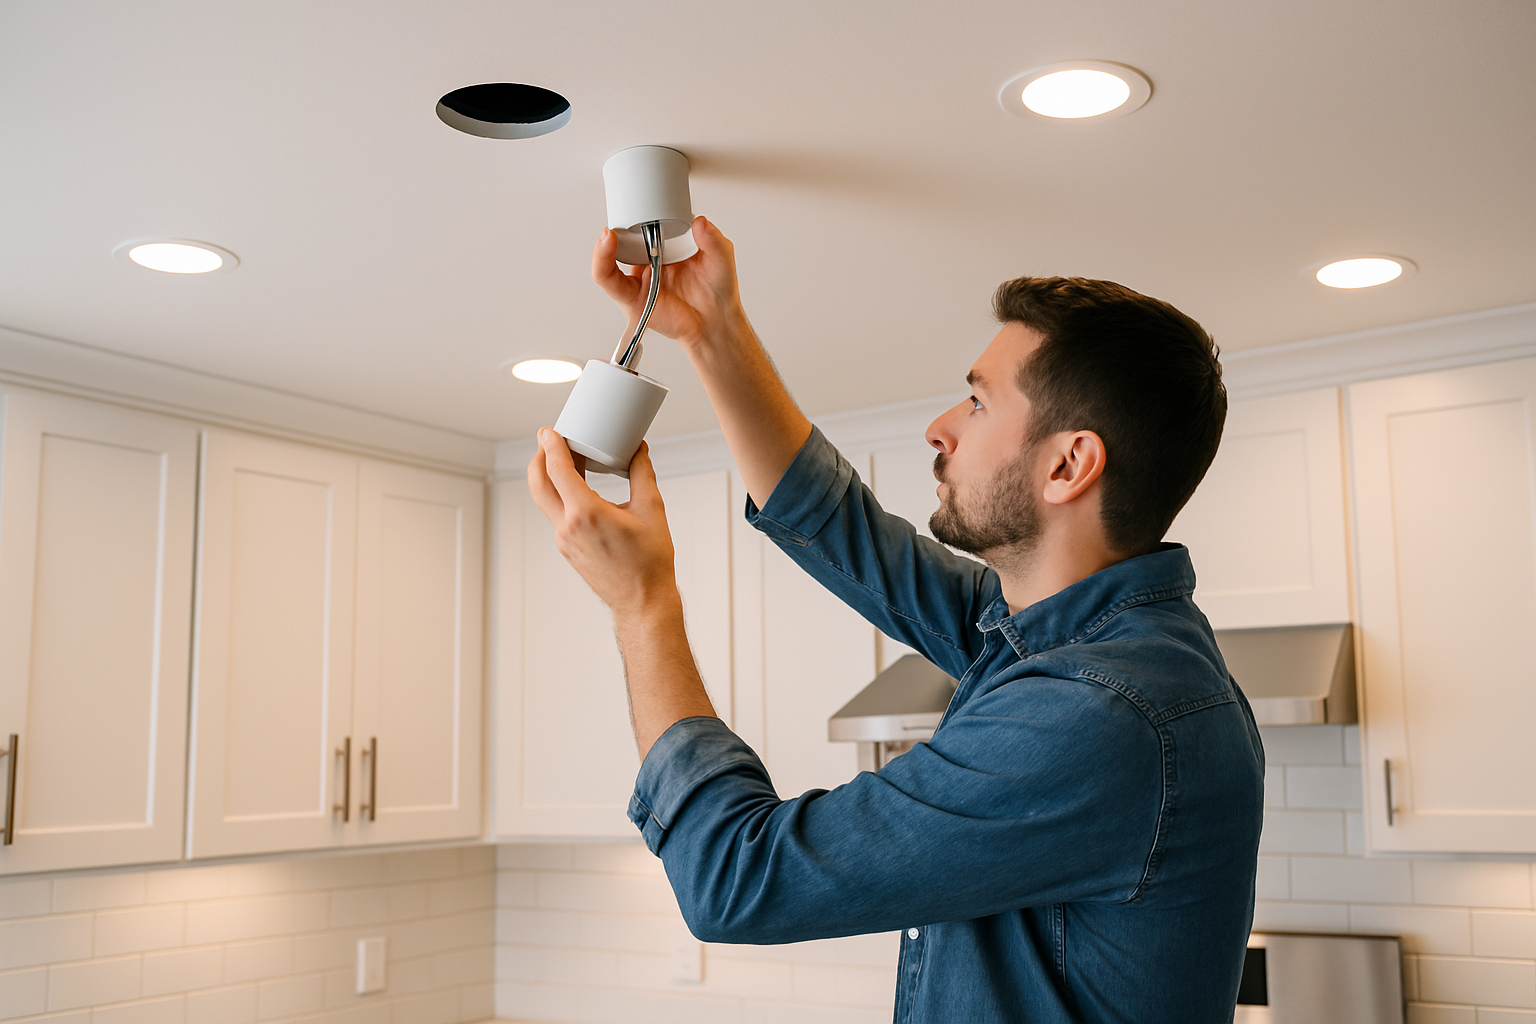
Can lights, also known as recessed lights, are a popular choice for kitchen lighting due to their sleek design and ability to provide ample illumination. They are installed into the ceiling, creating a clean aesthetic while maximizing vertical space. One key benefit of can lights is their versatility; they can be used for general lighting, task lighting, or accent lighting. This adaptability makes them ideal for various kitchen layouts and designs. Additionally, can lights can help in highlighting specific areas or features in the kitchen, such as countertops or artwork, enhancing both functionality and ambiance.
Types of Can Lights
There are several types of can lights, including IC-rated and non-IC-rated options. IC-rated can lights are designed for insulation contact, allowing them to be installed in ceilings with insulation without risk of overheating. Non-IC-rated lights, on the other hand, must be installed in areas without insulation. Understanding these differences is crucial for ensuring safety and compliance with building codes in kitchen renovations.
Benefits of Proper Placement
Proper placement of can lights enhances the overall effectiveness of kitchen lighting. Strategically placed can lights can eliminate shadows and dark spots, improving visibility for tasks like cooking and cleaning. Moreover, a well-planned layout can create a more inviting atmosphere, making the kitchen a comfortable space for family and friends to gather.
Key Points:
- Can lights provide versatile lighting options for kitchens
- Proper placement enhances visibility and ambiance
Planning Your Can Light Layout
Effective can light placement begins with a well-thought-out plan. Start by assessing the kitchen’s layout and identifying key areas that require illumination. Consider the size of the kitchen, the height of the ceiling, and the specific tasks performed in each zone, such as cooking or food preparation. A common guideline is to space can lights approximately 4 to 6 feet apart to ensure even lighting distribution. Additionally, consider the use of dimmers to adjust brightness according to the time of day and activities, enhancing the kitchen’s functionality.
Identifying Key Zones
Different zones in the kitchen serve unique purposes and require varying levels of light. For instance, task areas like countertops, sinks, and stoves need bright, focused light, while dining areas may benefit from softer, ambient lighting. Identifying these zones helps in determining the optimal number and placement of can lights to achieve a balanced lighting scheme.
Adjusting for Ceiling Height
Ceiling height plays a significant role in can light placement. In kitchens with standard 8-foot ceilings, placing lights about 2 to 3 feet away from walls can provide optimal coverage. For higher ceilings, consider increasing the distance between lights to maintain adequate illumination levels. This adjustment ensures that light is effectively distributed without creating harsh shadows.
Key Points:
- Assess kitchen layout for effective light placement
- Consider different zones for tailored lighting needs
Understanding the Basics of Can Light Placement
Can lights, also known as recessed lighting, can significantly enhance the functionality and aesthetic of a kitchen. Proper placement is critical to avoid dark corners while ensuring even light distribution. Ideally, can lights should be installed 3 to 4 feet apart, depending on the ceiling height. This spacing allows for optimal coverage without overwhelming the space. Additionally, consider the layout of your kitchen; areas like islands or workstations may require additional lighting for better visibility and safety.
Key Areas to Illuminate
Focus on key areas such as countertops, islands, and cooking zones. Can lights should be positioned directly above these workspaces to provide ample lighting where it is most needed. For islands, place lights approximately 2 feet away from the edges to avoid shadows, ensuring the entire surface is well-lit.
Avoiding Shadows
To minimize shadows, aim for a grid-like layout. This involves placing can lights in a staggered pattern instead of a straight line. This arrangement helps distribute light evenly across surfaces and reduces the likelihood of dark spots, enhancing both functionality and ambiance.
Key Points:
- Proper placement ensures even light distribution.
- Focus on key work areas for optimal functionality.
💡 Consider the height of your ceilings when determining the spacing of can lights.
💡 Use dimmers to adjust light intensity based on time of day or tasks.
💡 Incorporate layered lighting by combining can lights with other fixtures for enhanced versatility.
Advanced Techniques for Optimal Can Light Placement
For a more sophisticated approach to can light placement, consider the use of lighting zones. This technique involves strategically grouping lights to create varying levels of brightness in different areas. For example, you might have brighter lights over prep areas and softer lighting over dining spaces. Additionally, the beam angle of the can lights can also impact placement; narrower beams work well for highlighting specific areas, while wider beams can illuminate larger spaces effectively.
Using Lighting Zones
By creating distinct lighting zones, you can establish different moods and functionalities within the kitchen. For instance, bright, focused lighting is ideal for cooking, while softer lights can create a cozy atmosphere for dining. Plan your zones based on the kitchen layout and intended use.
Beam Angle Considerations
The beam angle of your can lights plays a significant role in placement. A narrow beam (15-30 degrees) is ideal for task lighting, such as over a cutting board, while a wider beam (40 degrees or more) provides general illumination. This knowledge helps in deciding how far apart to space your lights.
Key Points:
- Creating lighting zones enhances functionality and ambiance.
- Beam angle influences how effectively light covers a space.
💡 Plan your kitchen layout before installation to visualize lighting needs.
💡 Experiment with different beam angles to find the best fit for your space.
💡 Use a lighting design software or app to visualize placements before committing.
EXPERT TIPS Pro Advice
Consider natural light sources
Assess how much natural light enters your kitchen and adjust can light placement accordingly to balance artificial lighting throughout the day.
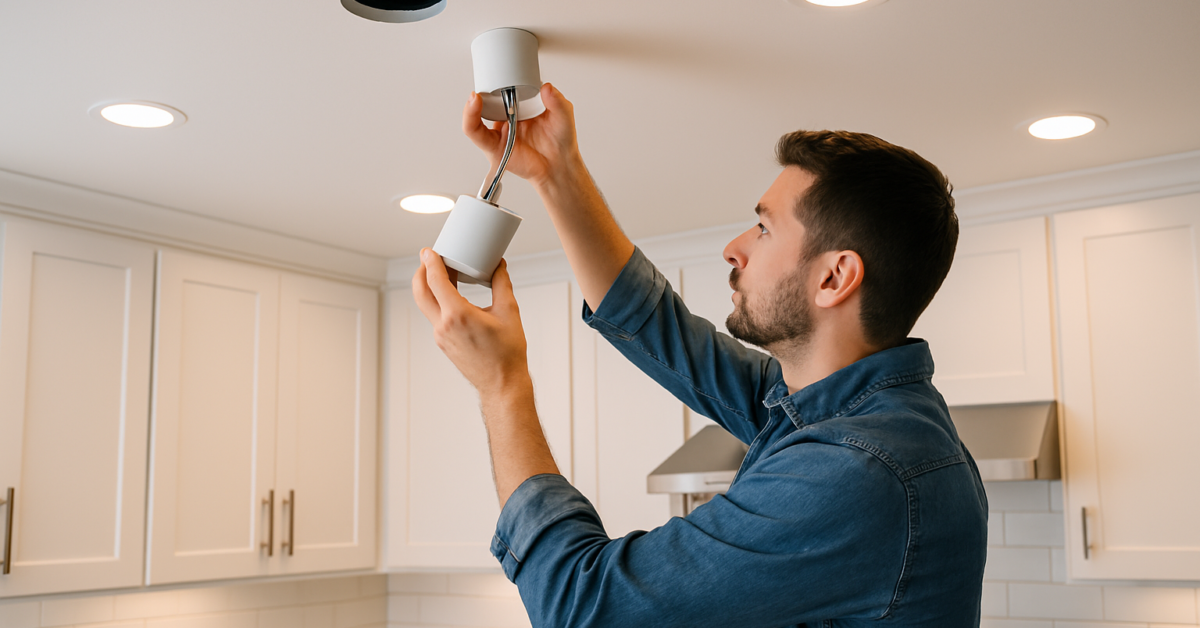
Use a professional for installation
Hiring a professional can ensure optimal placement and adherence to safety standards, especially in complex layouts.
Incorporate adjustable can lights
Installing adjustable fixtures allows for flexibility in directing light, catering to changes in kitchen use or decor.
Plan for future changes
Consider potential renovations or changes in kitchen use when planning placements, allowing for adaptability without major overhauls.
Test placements with temporary fixtures
Before permanent installation, use temporary fixtures to experiment with different placements and lighting effects in your kitchen.
Frequently Asked Questions
Conclusion
Effective can light placement in the kitchen enhances both functionality and ambiance. By considering spacing, bulb choice, and mixing with other light types, you can create a well-lit, inviting space. Whether you choose to DIY or hire an expert, planning is essential.
🎯 Key Takeaways:
- Place can lights 3-4 feet apart for even illumination.
- Calculate total lights needed based on kitchen square footage.
- Consider dimmable options for versatility in lighting levels.
- Maintain an ideal height of 8-10 feet for effective light distribution.
- Mix can lights with other lighting types for layered effects.
Expert Advice: Take the time to plan your lighting layout carefully. Experiment with different configurations to find what works best for your kitchen’s unique needs and style.
Start by sketching your kitchen layout and identifying key areas that need lighting focus.