Is a leak under the handle, a weak stream, or a faucet that will not turn smoothly disrupting your kitchen? Knowing how to repair a single handle kitchen faucet starts with identifying the symptom and the faucet’s internal design—not replacing parts at random. Many common problems come from worn seals, mineral buildup, a loose connection, or a cartridge that needs attention, but the right fix depends on where the water is escaping and how the handle behaves. This guide walks through a careful, practical troubleshooting process. You’ll learn how to shut off the water and prepare the work area, pinpoint leaks and flow problems, inspect and clean key components, and replace worn internal parts when needed. It also explains how to reassemble the faucet, test for leaks, and recognize when a repair is beyond a safe DIY fix. Because single-handle faucets vary, consult the relevant service instructions before disassembly, and avoid forcing stuck components. Take your time and keep parts organized to help prevent damage and make the repair easier.
What You’ll Do
Diagnose the Faucet and Prepare Safely
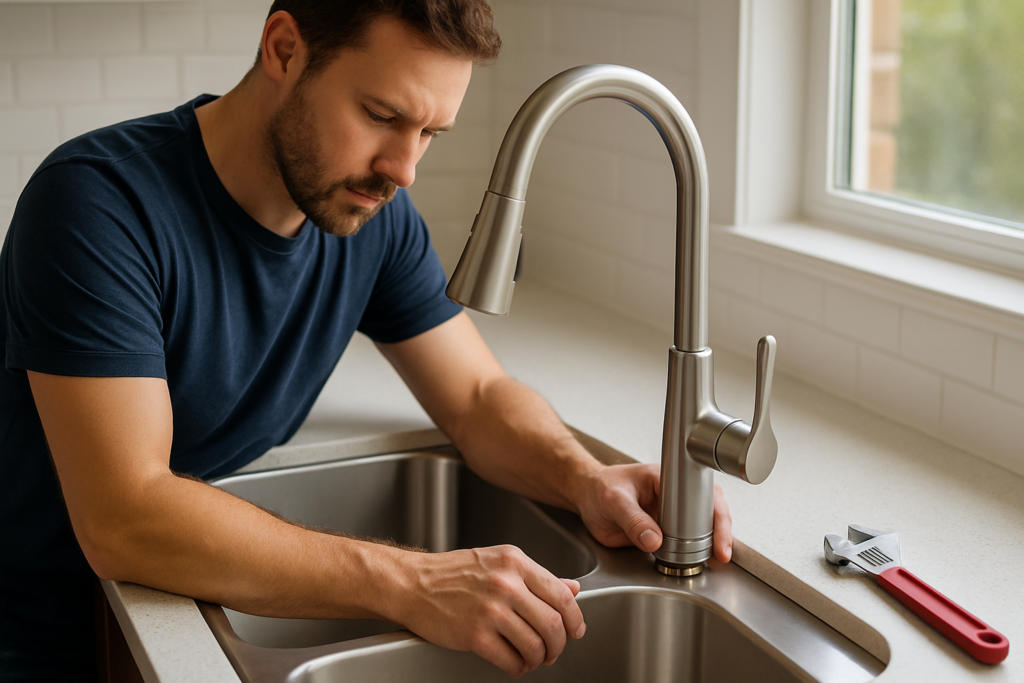
Before attempting to repair a single-handle kitchen faucet, identify what is going wrong and make the work area safe. A drip from the spout often points to worn internal seals or a damaged control assembly; water leaking around the handle may indicate a loose retaining part or failed seal. Low flow can come from a clogged aerator, mineral buildup, or a partially closed supply valve, rather than a fault inside the faucet. Note when the leak occurs and whether the handle moves smoothly. Then clear the sink cabinet, place a towel and a small container beneath the plumbing, and close both hot- and cold-water shutoff valves. Open the faucet to release pressure and confirm the water has stopped before disassembly. Faucet designs vary, so consult the faucet’s documentation if available and keep parts in removal order. If a shutoff valve will not close or plumbing is corroded, stop rather than forcing it; a damaged connection can turn a small repair into a major leak.
Match the Symptom to a Likely Cause
Check where water appears before taking anything apart. A steady drip at the spout commonly suggests worn seals or a damaged cartridge, ball, or ceramic-disc assembly. Water seeping beneath the handle can point to a loose cap or deteriorated seal. If flow is weak at every temperature, inspect the aerator for debris first; if only hot or cold flow is affected, check that supply valve and hose. These clues narrow the repair without replacing parts unnecessarily.
Shut Off Water and Organize the Work Area
Close the hot- and cold-water valves beneath the sink, turning gently rather than forcing stiff valves. Move the handle to the open position to drain residual pressure, and verify that water no longer flows. Cover the drain so small screws cannot fall in, and photograph each stage as you remove parts. Keep components in order on a towel. If a valve leaks, will not turn, or the pipes move when handled, pause and seek plumbing assistance.
Key Points
- Use the leak location and flow pattern to narrow down the cause before disassembly.
- Shut off both supply valves and verify the faucet is depressurized before starting.
💡 Take a clear photo before removing each layer; faucet parts often look similar, and the original orientation makes reassembly easier.
Open, Inspect, and Repair the Faucet
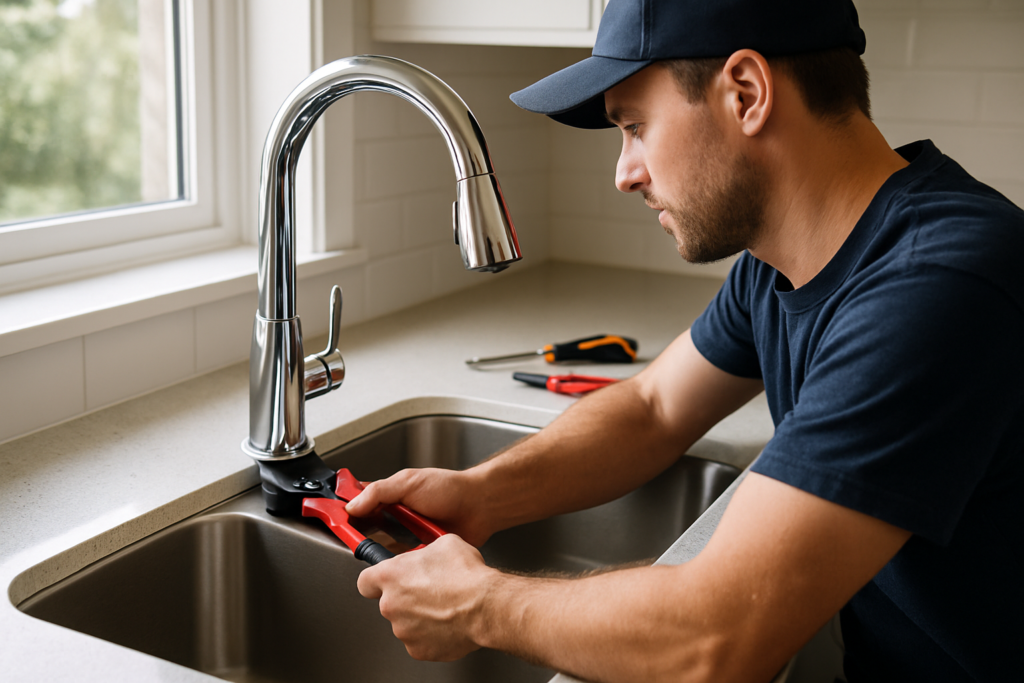
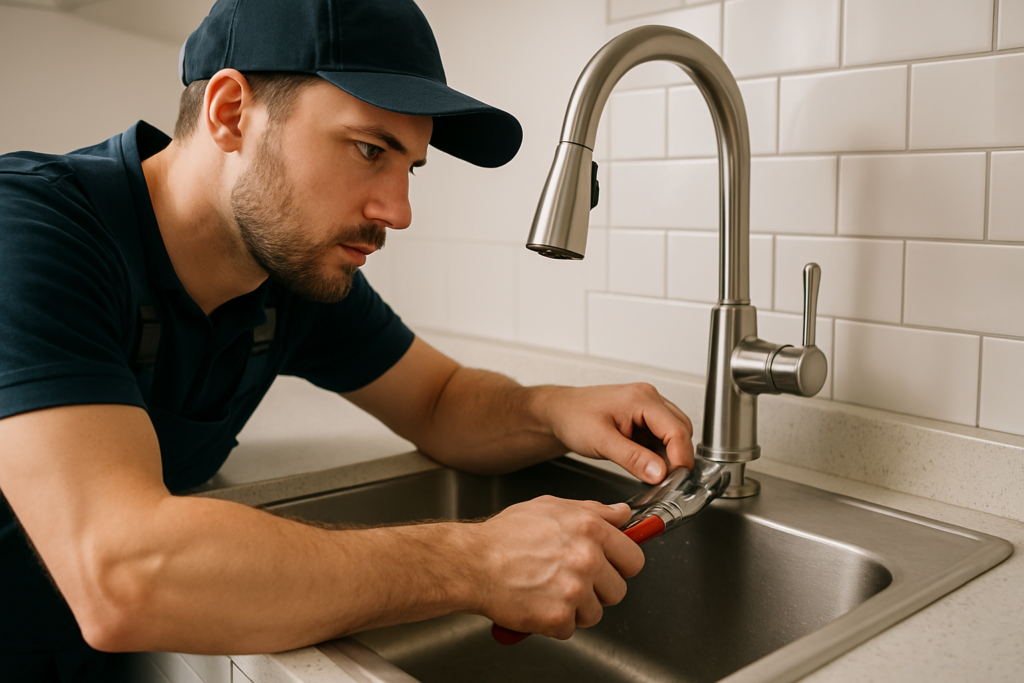
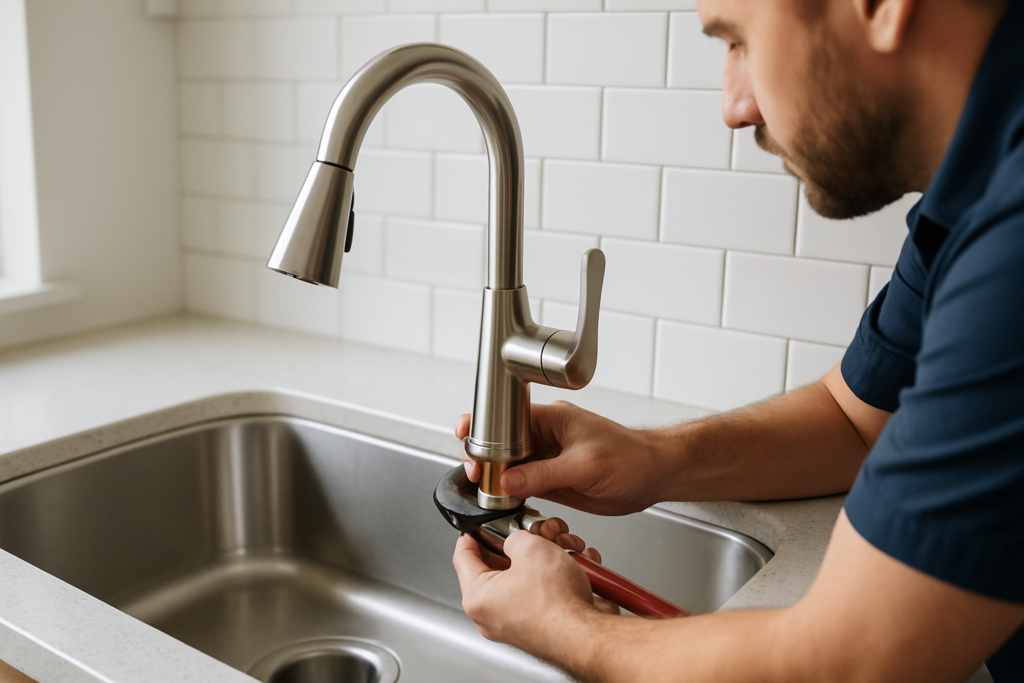
Once the water is off, remove the handle according to its design; a small cover may conceal a retaining screw. Lift off the handle and any cap or retaining nut carefully, using a cloth to protect finished surfaces. The internal mechanism may be a cartridge, ball assembly, or ceramic-disc unit, and the correct repair depends on that design. Inspect for cracked parts, worn seals, grit, and mineral deposits. Take the old assembly or a precise photo when identifying a replacement, because dimensions and arrangements can differ. Clean accessible openings with water and a soft cloth; avoid scratching sealing surfaces. Reassemble parts in their original order, tightening retainers securely but not excessively. Restore water slowly and check the faucet at the handle, base, spout, and supply connections. If the leak persists, shut the water off again and recheck seating and orientation. Persistent leakage, damaged threads, or uncertainty about the mechanism are reasons to consult a qualified plumber.
Inspect the Internal Mechanism
After removing the handle and retaining parts, note how the mechanism sits before lifting it out. Look for split or flattened seals, cracks, corrosion, and mineral deposits. A cartridge or ceramic-disc assembly may need replacement if damaged, while debris may be rinsed from reusable components. Avoid scraping surfaces that form a watertight seal. Keep the faucet opening covered when practical so loosened debris does not enter the plumbing.
Reassemble and Test for Leaks
Set the mechanism back in its original orientation and ensure locating tabs or notches are aligned before tightening the retaining parts. Refit the handle, then open the shutoff valves slowly. Run both hot and cold water and move the handle through its range. Check the spout, handle, faucet base, and connections beneath the sink with a dry tissue; it reveals small leaks more easily than a quick visual glance.
Key Points
- Identify the faucet’s internal mechanism before deciding what to clean or replace.
- After reassembly, test all handle positions and inspect both above and below the sink.
💡 Do not overtighten a retaining nut: excessive force can distort seals or damage threads and create the leak you are trying to fix.
Diagnose the Faucet and Prepare for the Repair
A successful repair starts with identifying where water escapes and what type of single-handle mechanism is inside the faucet. Water leaking from the spout while the handle is off often points to worn internal seals, a damaged cartridge, or debris on a sealing surface. A leak around the handle may indicate a loose retaining nut or worn O-rings. Water under the sink can come from a supply connection rather than the faucet body, so dry the area and observe where fresh water first appears. Before disassembly, close both shutoff valves beneath the sink and open the faucet to relieve pressure. If the valves are stiff or do not stop the flow, shut off the home’s main supply. Cover the drain so small screws cannot fall in, and take photos as you remove parts. Faucets vary: some use cartridges, others use ball assemblies or ceramic-disc mechanisms. Record the faucet’s configuration and the order and orientation of parts; this makes reassembly more reliable and helps you identify a correctly matched replacement.
Locate the Leak Before Taking Anything Apart
Dry the faucet, handles, countertop, and cabinet, then run the water and watch for the first wet spot. A drip from the spout with the handle closed usually indicates an internal sealing problem. Moisture around the handle can point to seals or a retaining component, while water at a supply connection suggests a separate plumbing issue. Check both hot and cold operation, and note whether the leak changes with handle position. This evidence narrows the repair and prevents unnecessary disassembly.
Shut Off Water and Document the Assembly
Turn off the hot and cold shutoff valves beneath the sink, then open the faucet to release remaining pressure. Confirm that water has stopped before loosening any parts. Plug the drain or cover it securely, and place a towel in the cabinet to catch residual water. Photograph each stage and arrange removed parts in order. Note the handle orientation and how seals sit in their recesses; a reversed or misplaced seal can cause a leak even when the parts are undamaged.
Key Points
- Identify the leak’s first point of origin before replacing parts.
- Shut off and verify the water supply, then document the faucet’s assembly.
💡 Test the shutoff valves before disassembly: if a valve leaks or fails to stop the water, resolve that issue or shut off the main supply first. This avoids flooding during the repair.
Replace Worn Internal Parts and Verify the Repair
Once the faucet is safely isolated, remove the handle to access the mechanism. The fastener may be hidden beneath a small cap or set screw; use a correctly fitting tool to avoid stripping it. Lift off the handle and any trim, then release the retaining clip, nut, or cap according to the faucet’s construction. Pull the cartridge or other internal assembly straight out when possible, taking care not to twist or damage the faucet body. Inspect the part and its seals for cracks, flattening, mineral buildup, or grit. Match replacement parts by shape, dimensions, and orientation rather than appearance alone. Clean accessible surfaces gently with a soft cloth; avoid scratching sealing faces. Install the new or cleaned components in the same orientation, reassemble without forcing parts, and tighten fittings securely but not excessively. Restore water slowly and check for leaks with the handle both off and running. If water still escapes, shut the supply off again and recheck alignment, seal placement, and debris before assuming a larger faucet-body problem.
Remove and Inspect the Faucet Mechanism
After removing the handle and trim, identify what secures the internal assembly before loosening it. Keep clips and small parts together, and lift the cartridge or mechanism out carefully. Look for worn, cracked, flattened, or displaced seals, as well as mineral deposits or particles on sealing surfaces. Compare the old assembly’s shape and orientation with its replacement. If the assembly resists removal, check for a remaining fastener rather than applying force that could damage the faucet body.
Reassemble and Test for Leaks
Clean accessible surfaces with a soft cloth and seat each seal and component in its original position. Reinstall retaining parts and the handle, tightening them firmly without overtightening. Open the shutoff valves gradually, then test cold, hot, and mixed water. Turn the faucet off and watch the spout, handle, and under-sink connections for several minutes. If a leak remains, close the valves and check for misalignment, a missing seal, trapped debris, or a loose connection.
Key Points
- Use the faucet’s mechanism and dimensions to match replacement parts accurately.
- Reassemble carefully and test each operating position while checking all nearby connections.
💡 Keep removed parts in sequence and photograph their orientation. This is especially useful when a retaining clip or seal can fit more than one way.
💡 Open shutoff valves slowly after reassembly and inspect while the faucet is both running and off. Some leaks appear only under pressure or after water settles.
💡 If the faucet body is cracked, badly corroded, or still leaks after correctly seated seals and a suitable replacement mechanism, stop and assess whether the faucet needs professional attention or replacement.
PRO TIPS
Treat the leak location as diagnostic evidence
Water at the spout, handle, or supply connection points to different likely faults. Drying the area and observing the first place that becomes wet helps focus the repair and reduces unnecessary part replacement.
Do not force a stuck cartridge
A hidden fastener or mineral buildup can make an assembly seem immovable. Check for retaining hardware first; excessive twisting or prying can damage the faucet body and turn a straightforward repair into a larger one.
Match parts by fit and orientation
Similar-looking internal parts may differ in dimensions or alignment. Compare the old and replacement assemblies closely, and preserve the original orientation so the water passages and seals seat correctly.
Test under more than one condition
Run hot, cold, and mixed water, then turn the handle off and inspect again. Different handle positions and water pressure can reveal leaks that a brief, single test would miss.
Frequently Asked Questions
You’re Done!
Repairing a single-handle kitchen faucet starts with identifying the symptom and shutting off both water supplies. A dripping spout or leaking handle often points to worn seals or a damaged cartridge, while low pressure may come from a clogged aerator or sediment. Remove parts carefully, keep track of their order, and use matching replacements. After reassembly, restore water slowly and check every connection for leaks. If a shutoff valve will not close, a pipe is damaged, or the repair does not solve the problem, pause and get qualified help rather than risking further damage.
Quick Recap
- Shut off hot and cold water before opening the faucet.
- Identify the faucet’s valve type before replacing internal parts.
- Clean the aerator first when water pressure is low.
- Keep removed parts organized and avoid overtightening fittings.
- Test for leaks after restoring the water supply.
Take a moment to identify the leak or pressure problem, then gather the right tools and plan the repair before you begin.