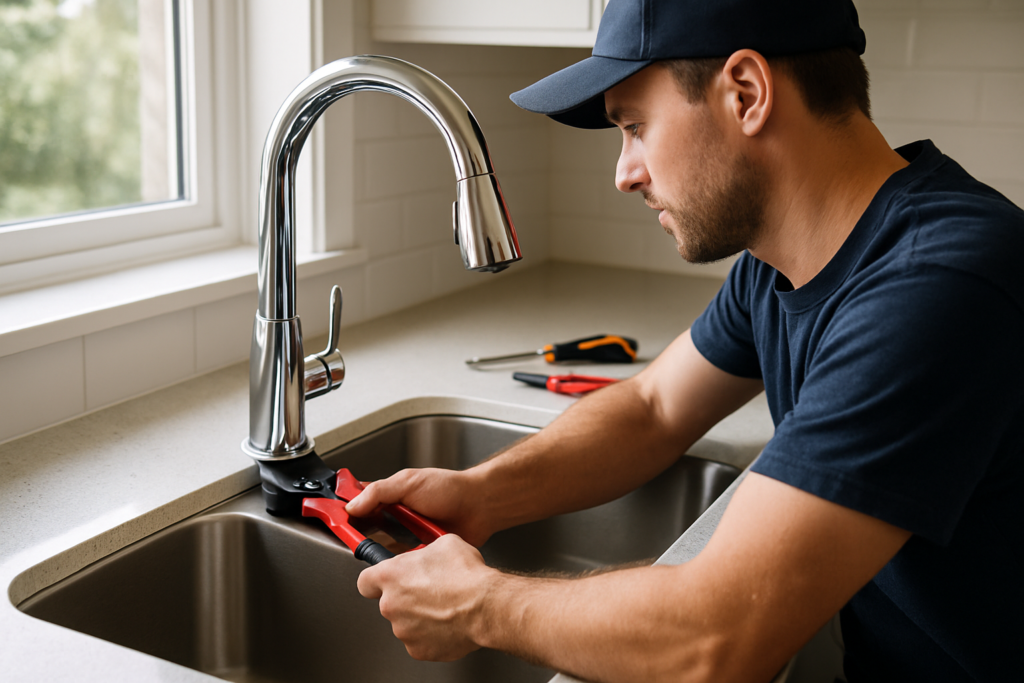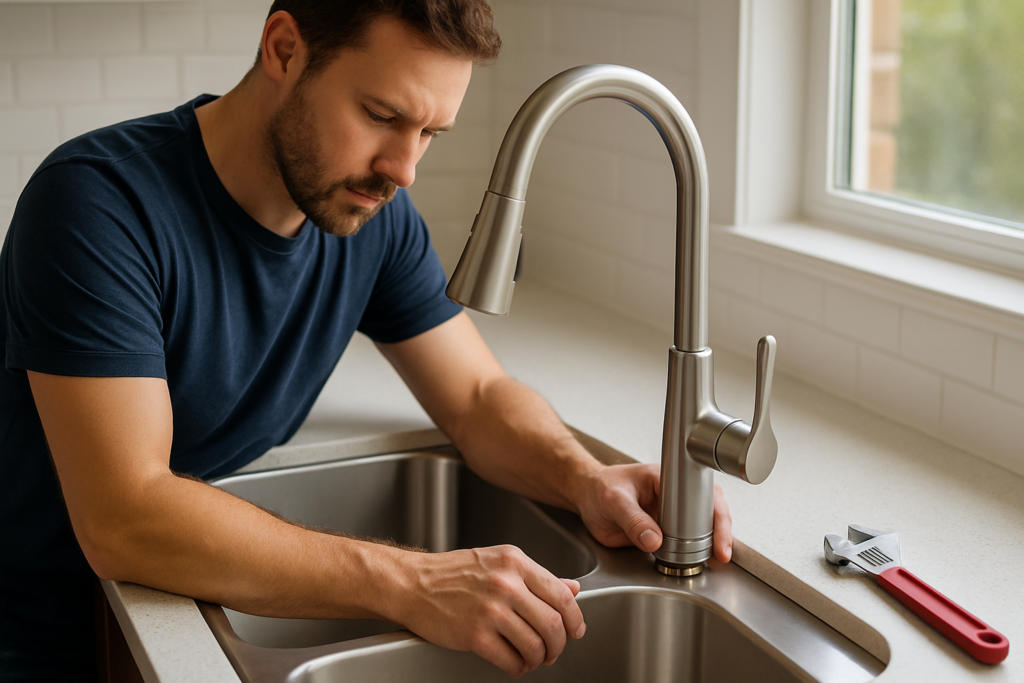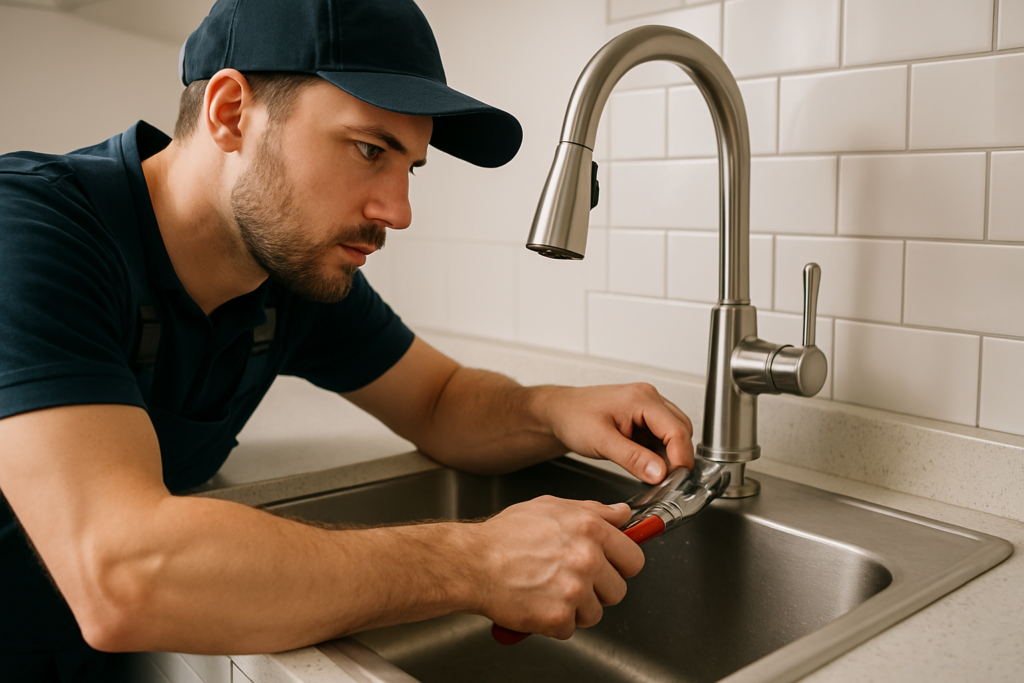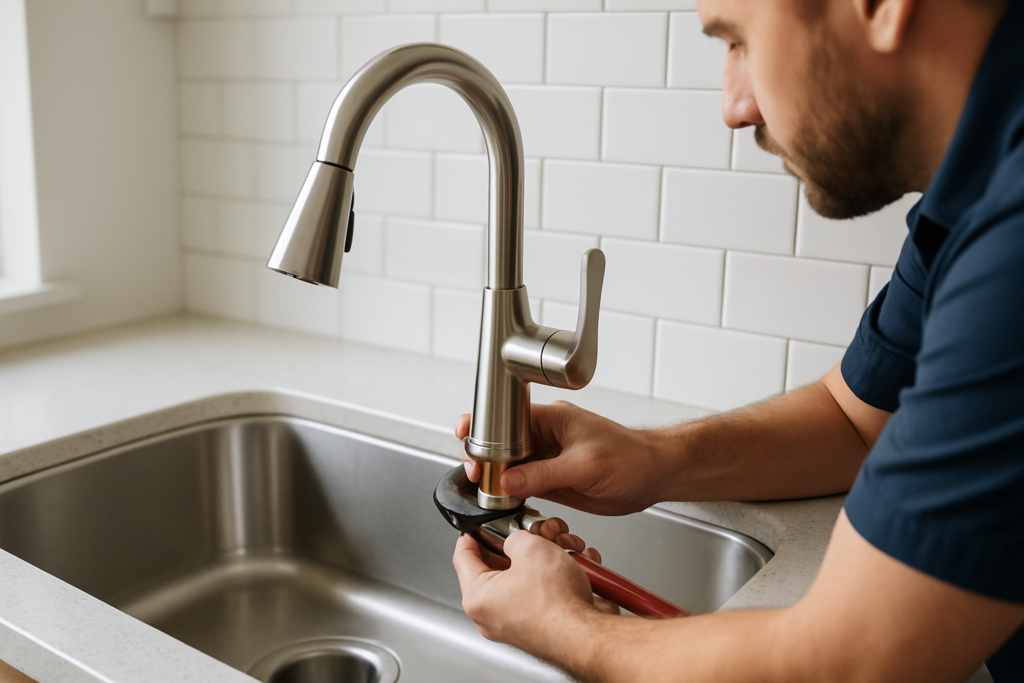
Have you ever turned on your kitchen faucet only to be met with a frustrating leak or inconsistent water flow? Learning how to repair a single handle kitchen faucet can save you both time and money, making it an invaluable skill for any homeowner. With over 15 years of experience in plumbing maintenance and repair, I’ll guide you through the essential steps needed to diagnose and fix common issues that arise with single handle faucets. In this article, you will discover the tools required, step-by-step instructions for various repairs, and tips to ensure your faucet functions flawlessly once again. Say goodbye to drips and hello to a fully functional kitchen faucet!
What You’ll Do
Understanding the Components of a Single Handle Kitchen Faucet
To effectively repair a single handle kitchen faucet, it’s essential to understand its basic components. A typical single handle faucet consists of a spout, handle, cartridge, and various seals and washers. The handle controls the flow and temperature of the water by manipulating the cartridge, which regulates the water’s passage. Familiarizing yourself with these parts will make troubleshooting and repairs much easier. Additionally, knowing the materials involved—often a mix of metal and plastic—will guide you in selecting the appropriate tools and techniques for repair.
Common Problems with Single Handle Faucets
Single handle kitchen faucets can face various issues, including leaks, reduced water flow, and difficulty in adjusting temperature. Leaks often originate from worn-out washers or faulty cartridges, while reduced flow might indicate mineral buildup. Understanding these problems will help you diagnose issues quickly and determine whether a minor adjustment or a full replacement is necessary.
Tools Needed for Faucet Repair
Before starting your repair, gather the necessary tools to make the process smooth. Common tools include a wrench, screwdriver, and pliers. Additionally, having plumber’s tape on hand can help prevent leaks during reassembly. Preparing your workspace and organizing your tools will save time and reduce frustration during the repair process.
Key Points
- Understanding faucet components aids in effective repairs
- Identifying common problems helps in quicker diagnostics
Step-by-Step Guide to Repairing a Single Handle Kitchen Faucet
Repairing a single handle kitchen faucet can be straightforward if approached methodically. Begin by turning off the water supply to prevent any flooding. Next, remove the handle, usually secured by a screw or cap, to access the cartridge. Check for wear and tear on the cartridge and seals, replacing them as necessary. After replacing parts, reassemble the faucet, ensuring all connections are tight to avoid leaks. Finally, turn the water supply back on and test the faucet for proper functionality.
Turning Off the Water Supply
Before starting any repair work, ensure the water supply is turned off. Locate the shut-off valves under the sink and rotate them clockwise. This crucial step prevents water from gushing out during the repair process and avoids potential water damage in your kitchen.
Removing the Handle and Cartridge
To access the internal components, carefully remove the handle of the faucet. This typically involves unscrewing a set screw located at the back or underside of the handle. Once the handle is off, gently pull out the cartridge, taking care not to damage any surrounding parts. Inspect the cartridge for signs of wear or damage, which are often the cause of leaks.
Key Points
- Follow safety steps to prevent leaks
- Systematic disassembly helps avoid losing parts
Understanding the Components of a Single Handle Kitchen Faucet
To effectively repair a single handle kitchen faucet, it’s crucial to understand its components. The main parts include the handle, cartridge, and spout. Each of these elements plays a vital role in the faucet’s functionality. The handle controls the water flow, while the cartridge regulates temperature and pressure. Familiarizing yourself with these components can streamline your repair process. Begin by turning off the water supply, then disassemble the faucet to inspect the parts for wear or damage. Look for mineral buildup or corrosion that may affect performance. Knowing how these components interact will help you identify the specific issue and apply the right repair techniques.
Identifying Common Issues
Common problems with single handle kitchen faucets include leaks, reduced water flow, and difficulty in turning the handle. Leaks often occur due to worn washers or O-rings. Reduced water flow can be caused by clogged aerators or internal buildup. To identify the issue, visually inspect the faucet and listen for unusual sounds when the water is running. A thorough examination will help you pinpoint the exact problem, making repairs more efficient.
Tools Required for Repair
Having the right tools is essential for a successful faucet repair. Basic tools include a wrench, screwdrivers, and pliers. Depending on the issue, you may also need a replacement cartridge or washer. Before you start, ensure you have all necessary tools within reach to avoid interruptions. Organizing your workspace can significantly enhance your efficiency and focus during the repair process.
💡 Familiarize yourself with the faucet components before starting repairs to save time.
💡 Always turn off the water supply before disassembling the faucet.
💡 Keep a towel nearby to catch any water spills during the repair.
Step-by-Step Repair Process for a Single Handle Kitchen Faucet
Once you’ve identified the issue and gathered your tools, follow a systematic repair process. Begin by removing the handle, usually secured with a screw. After detaching the handle, take out the cartridge or valve. Inspect for damage and if necessary, replace it. Reassemble the faucet, ensuring all parts fit snugly. Finally, turn the water supply back on and test the faucet for leaks or proper function. This structured approach minimizes errors and enhances the likelihood of a successful repair.
Removing the Handle and Cartridge
To remove the handle, locate the screw, which is often hidden beneath a decorative cap. Use a screwdriver to remove the screw, then gently pull the handle off. Next, grasp the cartridge and pull it straight out. If it’s stuck, use pliers to assist, but take care not to damage surrounding components. Proper handling during this stage is crucial to prevent further issues.
Reassembly and Testing
After replacing the damaged parts, reassemble the faucet in the reverse order of disassembly. Ensure all screws are tightened but do not overtighten, as this can cause damage. Once reassembled, turn the water supply back on and test the faucet. Check for any leaks and ensure the handle operates smoothly. This final step is essential to confirm that your repair was successful.
💡 Take photos during disassembly to remember the order of parts.
💡 Use a gentle hand when pulling out cartridges to avoid breaking them.
💡 Check all connections for tightness during reassembly to prevent leaks.
PRO TIPS
Research common faucet issues before starting repairs.
Understanding typical problems can help you troubleshoot effectively and avoid unnecessary repairs.
Use vinegar to clean mineral buildup.
Soaking components in vinegar can dissolve mineral deposits, ensuring smoother operation after repairs.
Wear gloves to protect your hands.
Gloves can help prevent cuts and abrasions while handling sharp or rough components.
Keep a bucket nearby during repairs.
This can catch any excess water and prevent messes while you work on the faucet.
Consult online resources or videos for visual guidance.
Visual aids can provide clarity on the repair process and help prevent mistakes.
Frequently Asked Questions
You’re Done!
Repairing a single handle kitchen faucet is a manageable task for most homeowners. By understanding common issues, identifying leaks, and knowing the right tools to use, you can effectively tackle repairs. Regular maintenance can also prolong the life of your faucet and prevent future problems.
Quick Recap
- Common faucet issues include leaks and difficulty turning the handle.
- Basic tools like wrenches and screwdrivers are essential for repairs.
- Disassemble the faucet carefully to access internal components.
- Regular maintenance can prevent future repairs and extend lifespan.
Take the first step by inspecting your faucet and gathering the necessary tools for a DIY repair.