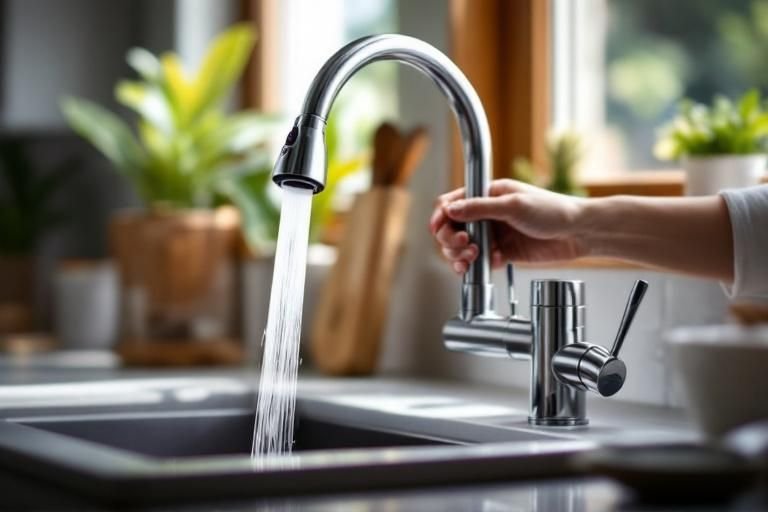
Have you ever experienced the frustration of a detached sprayer thumb control on your Delta kitchen faucet? You’re not alone. Many homeowners face this common issue, which can disrupt your kitchen tasks and lead to unnecessary mess. As a seasoned plumbing expert, I understand the importance of having a fully functional faucet, and I’m here to guide you through the simple steps to reattach your Delta kitchen faucet sprayer thumb control. In this article, you will learn not only how to fix this problem quickly but also tips to prevent future issues. With a few tools and a bit of patience, you can restore your faucet’s functionality and enjoy hassle-free kitchen experiences once again.
Understanding the Delta Kitchen Faucet Sprayer System
Delta kitchen faucets often feature a sprayer with a thumb control mechanism that allows for easy switching between different spray modes. Understanding the components of this system is crucial for effective reattachment. The thumb control is typically located on the sprayer head, allowing users to toggle between a steady stream and a spray pattern. Familiarizing yourself with these components ensures you can identify any issues during reattachment and maintenance. Additionally, knowing how the thumb control operates within the system helps in troubleshooting common problems, such as sticking or failure to switch modes.
Components of the Sprayer System
The main components of the Delta kitchen faucet sprayer system include the sprayer head, the thumb control, the hose, and the connection points. Each piece plays a vital role in the overall function. The sprayer head is where water is dispensed, while the thumb control regulates the spray type. The hose connects the sprayer to the faucet, allowing water to flow efficiently. Understanding these components will help identify where the issue may lie during reattachment.
Common Issues with Thumb Controls
Thumb controls may experience common issues such as disconnection, sticking, or complete failure to operate. Disconnection usually occurs due to wear or improper installation, while sticking might result from debris buildup. Regularly inspecting these components can prevent more significant problems. Being aware of these issues allows for timely maintenance, ensuring a smoother process when reattaching the thumb control.
Key Points:
- Understanding the sprayer system is crucial for effective repair
- Regular maintenance can prevent common issues with the thumb control
The Importance of Proper Reattachment Techniques
Proper reattachment of the thumb control on a Delta kitchen faucet sprayer is essential for ensuring functionality and longevity. Incorrect reattachment can lead to leaks, reduced water pressure, or even complete failure of the sprayer. Employing the right techniques not only restores functionality but also enhances the overall performance of the faucet. It’s important to approach this task methodically, ensuring that all components are aligned and secured correctly to avoid future issues. Following a structured process when reattaching the thumb control can save time and resources in the long run.
Step-by-Step Reattachment Process
To reattach the thumb control, first ensure all components are clean and free of debris. Begin by aligning the thumb control with the corresponding slot on the sprayer head. Gently press down until it clicks into place, ensuring a secure fit. Finally, test the sprayer to verify that the thumb control operates correctly. This step-by-step approach minimizes the risk of errors during reattachment and ensures optimal performance.
Tools and Materials Needed
Before starting the reattachment process, gather necessary tools and materials, such as a screwdriver, pliers, and a clean cloth. A clean cloth will help remove any debris, while pliers can assist in securing components without causing damage. Having these items on hand promotes a smooth reattachment process and reduces the likelihood of complications arising from improper techniques.
Key Points:
- Proper reattachment ensures faucet functionality
- Gathering tools beforehand streamlines the repair process
Understanding the Delta Kitchen Faucet Sprayer Mechanism
To successfully reattach the thumb control of a Delta kitchen faucet sprayer, it’s essential to understand its underlying mechanism. The thumb control functions as a valve that regulates water flow when engaged. Familiarizing yourself with how the components interact will enable you to troubleshoot and reattach the control effectively. Additionally, knowing the parts involved can help prevent damage during the reattachment process, ensuring the sprayer remains functional and durable over time.
Components of the Sprayer Control
The thumb control assembly typically includes the thumb lever, control valve, and a connecting rod. Understanding each component’s role helps in identifying issues. The thumb lever activates the flow, the control valve regulates water pressure, and the connecting rod links the lever to the valve mechanism. Recognizing these parts will facilitate a smoother reattachment process.
Common Issues with Thumb Controls
Common problems include disconnection from the valve, wear and tear of the connecting rod, or blockage within the valve. Identifying these issues before reattachment can save time. For example, if the connecting rod is bent, it may need straightening or replacement to ensure proper function. Addressing these problems first will ensure the thumb control operates smoothly once reattached.
Key Points:
- Understanding the sprayer mechanism is crucial for effective reattachment.
- Identifying common issues beforehand can streamline the process.
💡 Always turn off the water supply before starting the reattachment process.
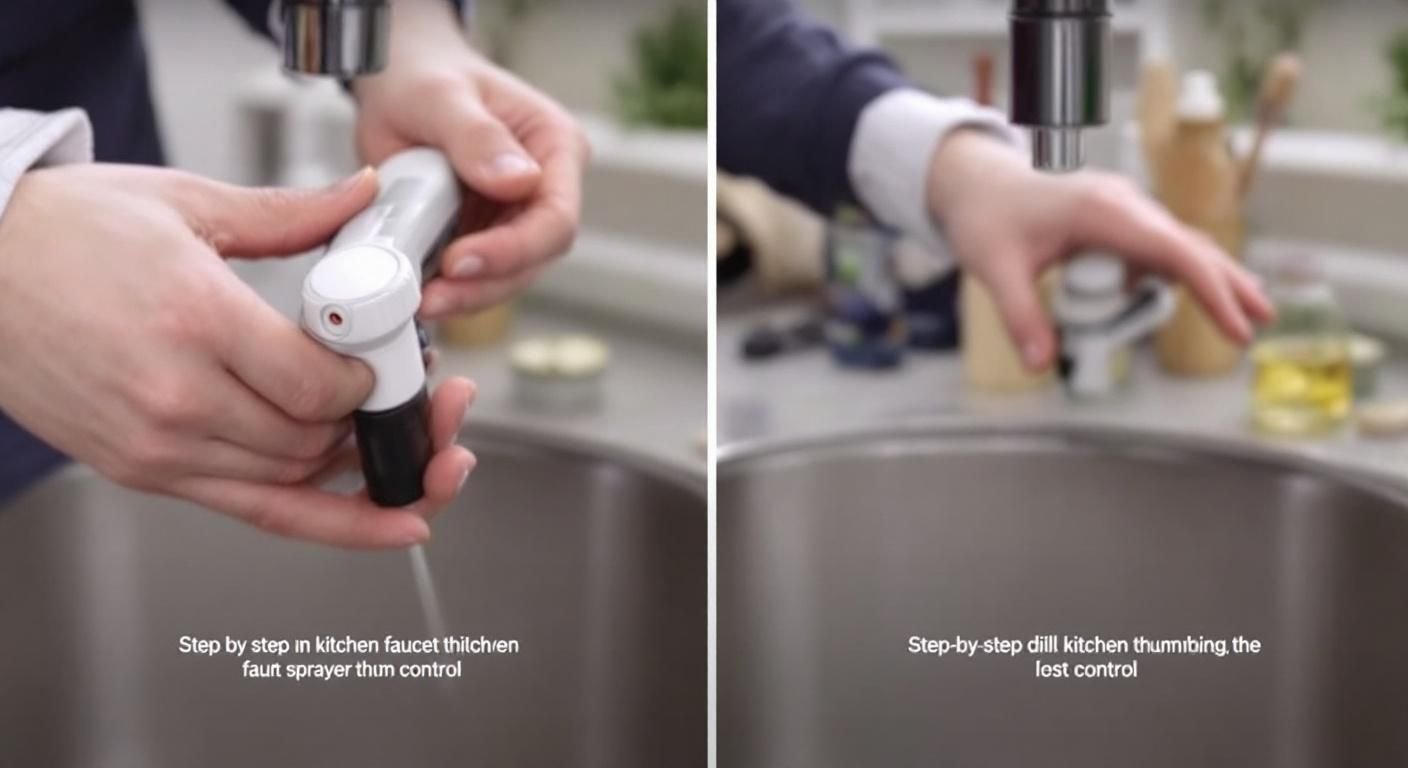
Step-by-Step Guide to Reattach Thumb Control
Reattaching the thumb control requires careful handling and precise steps. Begin by removing any obstructions around the faucet to access the assembly easily. Once exposed, check for any visible wear or damage on the components to ensure they can be reattached securely. By following a systematic approach, you can ensure that the thumb control is reattached correctly and functions as intended.
Preparation for Reattachment
Start by gathering necessary tools like a screwdriver and pliers. Ensure the workspace is dry and well-lit for better visibility. Remove the sprayer head carefully, as excessive force may cause damage. This preparation will make the reattachment process smoother and reduce the risk of mistakes.
Reattaching the Control
Align the thumb lever with the control valve and insert the connecting rod. Secure it in place with the appropriate fasteners, making sure not to overtighten, which could cause damage. After reattachment, test the movement of the thumb control to ensure it operates smoothly. This step is crucial to confirm that everything is properly aligned.
Key Points:
- Systematic preparation leads to a successful reattachment.
- Testing the reattached control ensures proper functionality.
💡 Test the sprayer after reattachment to ensure functionality.
EXPERT TIPS Pro Advice
Inspect for Damage
Before reattaching, check for any signs of wear or damage on the thumb control components. This preemptive step prevents future issues and ensures a longer lifespan for your faucet sprayer.
Use Proper Tools
Utilizing the correct tools minimizes the risk of damaging components during reattachment. A well-prepared toolset leads to a more efficient and effective repair process.
Follow Manufacturer Instructions
If available, consult the manufacturer’s instructions for specific guidance on reattaching the thumb control. This ensures compliance with safety standards and optimal performance.
Check for Leaks Post-Reattachment
After reattaching, run the faucet to check for leaks. Addressing any leaks immediately can prevent water damage and costly repairs down the line.
Frequently Asked Questions
Conclusion
Reattaching a delta kitchen faucet sprayer thumb control can be a straightforward task with the right tools and knowledge. Familiarize yourself with the parts, ensure secure connections, and perform regular maintenance to prevent future issues. Following these steps will help you restore functionality efficiently.
🎯 Key Takeaways:
- Identify required tools like screwdrivers and pliers.
- Familiarize yourself with the sprayer assembly parts.
- Wear and tear can cause disconnection of the thumb control.
- You can reattach it yourself with careful attention.
- Ensure secure connections to prevent leaks.
Expert Advice: Take your time while reattaching the thumb control, and always refer to any available manuals for guidance. Regular maintenance checks can save you time and hassle in the future.
Start your reattachment process today and enjoy the ease of a fully functioning kitchen faucet sprayer!


