Is your kitchen faucet dripping or leaking, causing you frustration and wasting water? You’re not alone—leaky faucets are a common household issue that can lead to higher water bills and more significant plumbing problems if left unaddressed. In this comprehensive guide on how to repair a leaking kitchen faucet, we will walk you through the essential steps to identify the problem, gather the right tools, and successfully fix the issue yourself. With over 15 years of experience in plumbing and home repair, I will share expert insights and practical tips to help you tackle this project with confidence. By the end of this article, you’ll not only know how to repair a leaking kitchen faucet but also understand how to maintain it for the future.
Understanding the Causes of a Leaking Kitchen Faucet
A leaking kitchen faucet is a common issue that can lead to wasted water and increased utility bills. Understanding the underlying causes can empower homeowners to address the problem effectively. The most frequent causes include worn-out washers, faulty O-rings, and corroded valve seats. Each of these components plays a critical role in the faucet’s operation, and identifying which part is malfunctioning is essential for effective repair. Regular maintenance can also help prevent leaks, ensuring that your faucet functions properly over time.
Worn-Out Washers
Washers are often the first line of defense against leaks in a faucet. Over time, they can wear out due to friction and temperature changes, leading to leaks. Inspecting and replacing washers is typically a straightforward task that can restore your faucet’s functionality without requiring extensive plumbing knowledge.
Faulty O-Rings
O-rings are rubber seals located around the faucet handle that prevent water from leaking out when the faucet is turned off. If these rings become damaged or deteriorate, they can cause leaks. Regularly checking and replacing O-rings can help maintain a leak-free faucet.
Corroded Valve Seats
The valve seat is the part that connects the faucet and the spout. Over time, it can corrode due to mineral buildup, which can lead to leaks. Cleaning or replacing the valve seat can be a more complex task but is crucial for long-term faucet performance.
Key Points:
- Identifying the cause of the leak is crucial for effective repair.
- Regular maintenance can prevent common issues like leaks.
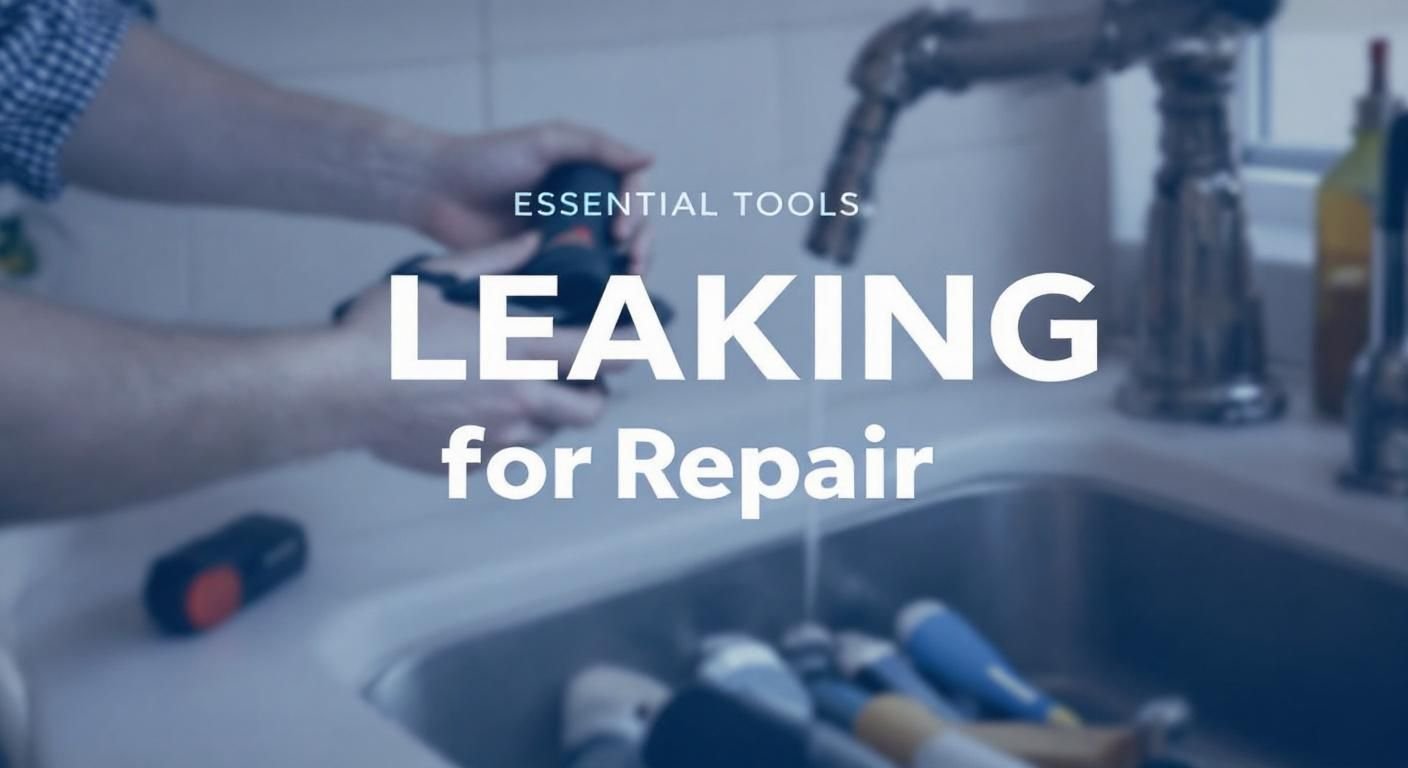
Basic Tools and Techniques for Faucet Repair
Repairing a leaking kitchen faucet can often be accomplished with a few basic tools and techniques. Knowing which tools are necessary and how to use them can make the repair process simpler and more efficient. Common tools include a wrench, screwdriver, and a towel for cleanup. Familiarizing yourself with the anatomy of your faucet will also help you navigate the repair process. Following a systematic approach can minimize errors and ensure that the repair is done correctly.
Essential Tools for Repair
Before starting the repair, gather essential tools, such as an adjustable wrench, flathead and Phillips screwdrivers, and pliers. These tools will help you disassemble the faucet and replace faulty parts. Having a towel handy can also assist in managing any water spills during the process.
Understanding Faucet Anatomy
Familiarize yourself with the different components of your faucet, such as the handle, spout, cartridge, and valve seat. Knowing how these parts work together will enable you to pinpoint the source of the leak and efficiently replace any defective components.
Step-by-Step Repair Process
Start by turning off the water supply to the faucet and draining any remaining water. Disassemble the faucet carefully, taking note of the order of parts for reassembly. Replace any worn-out washers or O-rings, and reassemble the faucet following the reverse order. Finally, turn the water supply back on and check for leaks.
Key Points:
- Gather the right tools before starting the repair process.
- Understanding your faucet’s anatomy can simplify repairs.
Identifying the Source of the Leak
Before you can repair a leaking kitchen faucet, you must identify where the leak is originating. Common leak points include the faucet handle, spout, or base. Inspect these areas closely for signs of water pooling or dripping. Sometimes, the leak can be traced back to worn-out washers or O-rings, which are often the culprits behind faucet leaks. Understanding the source will guide you on the necessary repair steps.
Inspecting the Faucet Handle
Begin by checking the faucet handle for drips. If the handle is leaking, it could indicate that the packing nut is loose or that the O-ring is worn. Tightening the packing nut can sometimes resolve the issue, but you may need to replace the O-ring if it appears damaged.
Examining the Spout
Check the spout for leaks when the faucet is in use. If you notice water leaking from the spout, it may be due to a worn cartridge or a damaged washer. In this case, you may need to disassemble the faucet to inspect and replace these components to stop the leak.
Assessing the Base of the Faucet
Water pooling around the base of the faucet can indicate a leak at the connection points. Inspect the mounting hardware and the supply lines. Tightening any loose connections may solve the problem, but if the leak persists, you might need to replace seals or gaskets.
Key Points:
- Identify the leak source to determine the appropriate repair method.
- Common leak locations include the handle, spout, and base.
💡 Use a towel to dry the faucet while inspecting for leaks; this makes it easier to spot the source.
💡 Turn off the water supply before beginning any repairs to prevent further leaks and flooding.
💡 Take note of the faucet assembly process by documenting or photographing each step for easier reassembly.
Repairing the Leak
Once you’ve identified the source of the leak, you can proceed with the repair. This may involve disassembling the faucet, replacing worn parts, and reassembling it. Use the correct tools for the job, such as a wrench and screwdriver, to avoid causing further damage. If you’re replacing parts, ensure they match the existing components in size and type. Follow a systematic approach to ensure that each step is completed correctly.
Disassembling the Faucet
To access the internal components, start by removing the handle. This typically involves loosening a screw or unscrewing a cap. Once the handle is off, you can access the cartridge or washer. Be cautious to not damage any components during disassembly.
Replacing Worn Components
After disassembly, replace any worn washers, O-rings, or cartridges. Ensure you select the correct size and type to avoid further leaks. When replacing components, use plumber’s grease to help seal the new parts and facilitate smoother operation.
Reassembling and Testing
Once the necessary replacements are made, carefully reassemble the faucet in reverse order, ensuring all screws are tightened properly. After reassembly, turn the water supply back on and test the faucet for leaks. Watch for any signs of dripping to confirm the repair was successful.
Key Points:
- Disassemble the faucet carefully to avoid damaging components.
- Reassemble and test thoroughly to ensure the leak is fixed.
💡 Document your disassembly process with photos to assist in reassembly.
💡 Use plumber’s tape on threaded connections to enhance sealing and prevent leaks.
💡 Test the faucet after each component replacement to identify any persistent issues immediately.
EXPERT TIPS Pro Advice
Know your faucet type
Understanding whether you have a compression, cartridge, or ball faucet helps you determine the right repair approach and part replacements.
Keep a plumbing toolkit handy
Having essential tools ready, such as wrenches and screwdrivers, makes repairs quicker and prevents frustration during the process.
Regular maintenance
Performing regular checks and maintenance on your faucet can help prevent leaks before they occur, saving you time and money.
Consider professional help if unsure
If the leak persists despite your efforts, seeking professional plumbing help can ensure the problem is resolved without further damage.
Frequently Asked Questions
Conclusion
Repairing a leaking kitchen faucet is a manageable task that can save water and prevent further damage. By identifying the cause, using the right tools, and following proper repair techniques, you can often resolve the issue on your own. Regular maintenance will also help prolong your faucet’s lifespan.
🎯 Key Takeaways:
- Identify the type of faucet for accurate repairs.
- Common causes of leaks include worn washers and loose fittings.
- DIY repairs are feasible with basic tools and knowledge.
- Inspect your faucet annually to catch leaks early.
- Call a plumber for persistent or complex issues.
Expert Advice: Take the time to understand your faucet and its components. Regular maintenance and prompt repairs will enhance the longevity of your kitchen fixtures and prevent more significant problems down the line.
Inspect your kitchen faucet today and start your repair journey with confidence!


