Are you frustrated with a leaky or malfunctioning sprayer hose on your kitchen sink? You’re not alone; many homeowners face this common plumbing issue. Knowing how to replace a sprayer hose on a kitchen sink can save you both time and money, enabling you to tackle this task without the need for a plumber. With over 15 years of experience in home repair and maintenance, I will guide you through the process step-by-step, ensuring you have the confidence to manage this DIY project. In this article, you will learn about the necessary tools, the replacement process, and common pitfalls to avoid, allowing you to restore your kitchen’s functionality quickly and efficiently.
Understanding the Kitchen Sink Sprayer Hose
A kitchen sink sprayer hose is an essential component that allows for greater flexibility and reach when rinsing dishes or cleaning the sink area. It typically connects the sprayer head to the water supply beneath the sink. Understanding its construction and how it operates is crucial for proper replacement. Common materials for sprayer hoses include plastic and metal, with varying lengths and diameters depending on the sink configuration. Familiarizing yourself with these aspects can help you select the right replacement hose and avoid compatibility issues.
Common Signs of Wear and Tear
Over time, a sprayer hose can develop issues such as leaks, cracks, or reduced water flow. Signs of wear may include visible fraying, water pooling under the sink, or inconsistent spray patterns. Addressing these issues promptly can prevent further damage to the hose or connected fixtures. Regular inspection can help you identify problems early, ensuring a more efficient kitchen experience.
Tools Needed for Replacement
Before starting the replacement process, gather the necessary tools to ensure a smooth installation. Common tools include an adjustable wrench, pliers, a bucket to catch any water, and a towel for cleanup. Having these items handy will save time and reduce frustration during the replacement. Always ensure that you have the right size wrench to avoid damaging the fittings.
Key Points:
- Understand the construction and function of the sprayer hose
- Identify signs of wear for timely replacement
Preparation Steps for Replacing the Sprayer Hose
Before you begin replacing the sprayer hose, it’s essential to prepare adequately to ensure a successful installation. Start by turning off the water supply to the sink to prevent any leaks or water spills during the replacement process. Next, you may need to disconnect the sprayer head from the hose to access the connection beneath the sink. Proper preparation not only makes the replacement easier but also minimizes the risk of accidents or damage to surrounding fixtures.
Turning Off the Water Supply
Locate the shut-off valves under the sink and turn them clockwise to close. If your sink doesn’t have individual shut-off valves, you may need to turn off the main water supply to your home. This step is crucial to avoid flooding and ensure a safe working environment. After turning off the water, open the faucet to drain any remaining water in the lines.
Removing the Old Sprayer Hose
To remove the old sprayer hose, first, disconnect it from the water supply line. Use an adjustable wrench to loosen the fitting, being careful not to damage surrounding pipes. After detaching it, inspect the old hose for damage or blockages. Properly disposing of the old hose can help prevent any confusion during the replacement process. Keeping the workspace organized will help streamline the installation of the new hose.
Key Points:
- Turn off the water supply before starting the replacement
- Carefully remove the old hose to avoid damaging existing fixtures
Understanding Your Kitchen Sink Sprayer Hose System
Replacing a sprayer hose in your kitchen sink starts with understanding its components. The sprayer hose connects the faucet to the sprayer head, allowing for a versatile water flow. Identifying the type of connection—either threaded or quick-disconnect—is crucial for a successful replacement. Ensure the water supply is turned off before proceeding to avoid leaks or water damage. Familiarize yourself with the layout under your sink to facilitate easier access to the hoses and connections during the replacement process.
Identifying Hose Type and Length
Sprayer hoses come in various lengths and diameters. Measure your current hose before purchasing a replacement to ensure a proper fit. The standard length typically ranges from 48 to 72 inches, depending on your sink configuration. If you find it difficult to measure, check the specifications in your kitchen sink’s manual or consult reliable online resources for common hose sizes.
Understanding Connection Types
Most sprayer hoses connect via either a threaded or quick-release fitting. Threaded connections require unscrewing, while quick-release fittings involve pressing tabs to detach. Familiarize yourself with your current connection type to avoid damage during removal. Having the right tools on hand, such as pliers for threaded connections or simply your hands for quick-release fittings, makes the process smoother.
💡 Take a picture of your existing setup before disassembly. This provides a reference for reassembly and ensures you don’t miss any components.
💡 Label any disconnected hoses or parts to avoid confusion during reinstallation. This can save time and prevent errors.
Step-by-Step Process for Replacing the Sprayer Hose
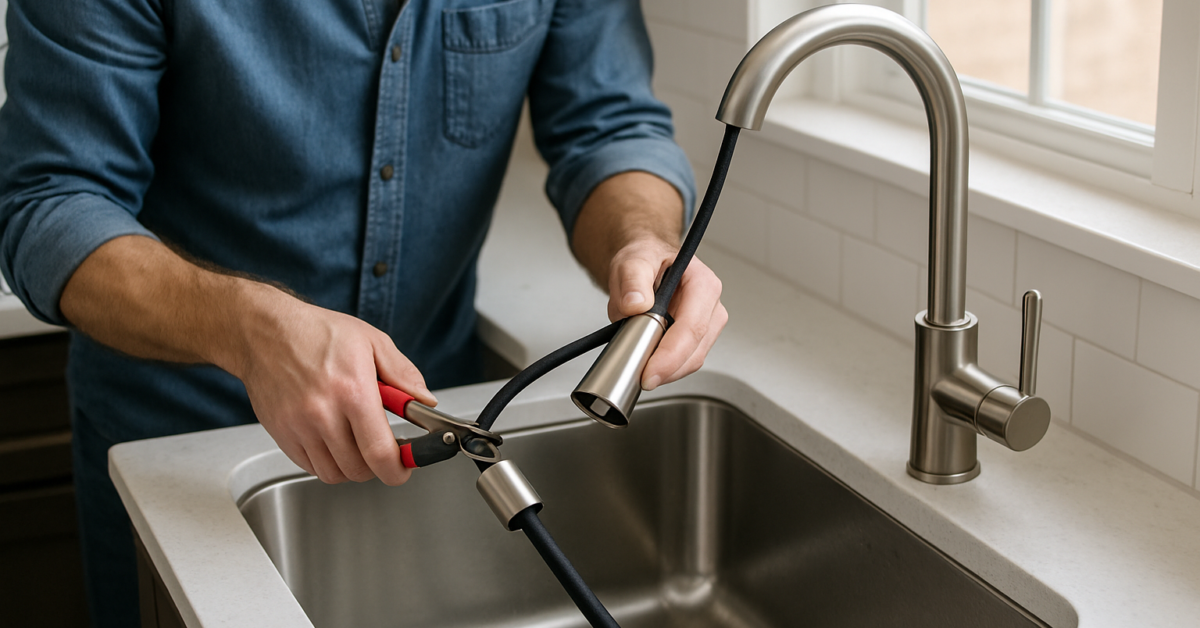
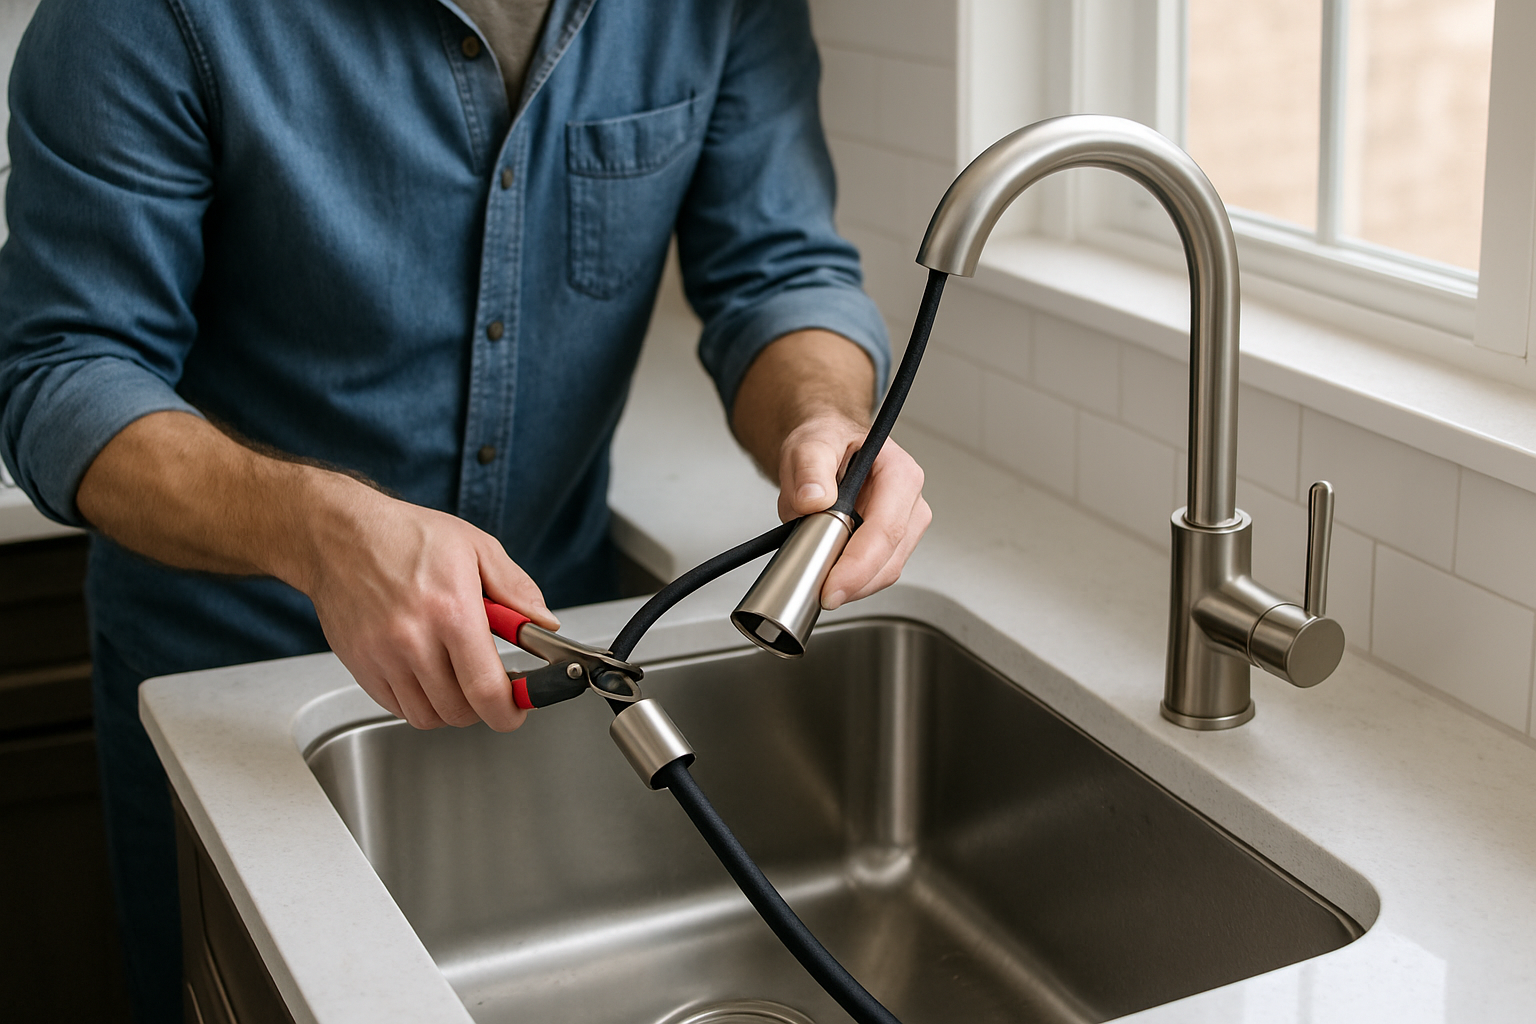
Once you’ve gathered your materials and understood your system, it’s time to replace the sprayer hose. Begin by disconnecting the old hose from both the sprayer head and the faucet. Carefully pull out the hose from the assembly to prevent damaging any surrounding components. After removing the old hose, insert the new sprayer hose into the same pathway, ensuring it sits correctly in any brackets or guides. Finally, reconnect it securely to the faucet and sprayer head, checking for any leaks by running water through the system.
Disconnecting the Old Hose
To disconnect the old hose, first turn off the water supply. Next, loosen the connections either by unscrewing or pressing the release tabs, according to your hose type. Carefully pull the hose out, taking care not to damage surrounding plumbing. If the hose is stuck, gently wiggle it to free it without excessive force, which could break parts.
Installing the New Hose
Insert the new hose into the same pathway as the old one, ensuring it is correctly aligned with any guides or supports. Connect the hose to the faucet and sprayer head, tightening connections securely but avoiding overtightening, which can lead to leaks. After installation, turn the water supply back on and test the sprayer for proper function and leaks.
💡 Use a towel or bucket under the sink to catch any residual water during the replacement process. This keeps your workspace dry and clean.
💡 After installation, run the sprayer for a minute to clear any air pockets and ensure water flows smoothly.
EXPERT TIPS Pro Advice
Always check for compatibility.
Ensure the new hose matches the specifications of your existing setup to avoid compatibility issues that can cause leaks or malfunction.
Keep a toolbox handy.
Having essential tools like wrenches, pliers, and screwdrivers ready speeds up the process and prevents unnecessary trips to fetch tools.
Regularly inspect your sprayer hose.
Routine inspections can prevent unexpected leaks or breaks, allowing you to address issues before they escalate into larger problems.
Frequently Asked Questions
Conclusion
Replacing a sprayer hose on a kitchen sink is a straightforward task that can enhance your kitchen’s functionality. By gathering the right tools, recognizing signs of wear, and following proper installation steps, you can effectively tackle this DIY project. Always ensure to check for leaks after installation to maintain efficiency.
🎯 Key Takeaways:
- Identify signs of sprayer hose wear.
- Always turn off the water supply before starting.
- Use plumber’s tape for a secure fit.
- Check all connections for leaks after installation.
Expert Advice: Approach the replacement process step-by-step, and don’t hesitate to consult instructional videos if needed. With patience and the right approach, you can successfully complete the task.
Now that you know how to replace a sprayer hose, gather your tools and start your DIY project today for a more functional kitchen.