Are you experiencing leaks or low water pressure in your kitchen? Knowing how to replace a kitchen sink shut off valve can save you both time and money. As a seasoned plumbing expert, I understand the importance of having a functional shut off valve, which can prevent water damage and make repairs easier. In this comprehensive guide, you’ll learn the essential tools needed, the step-by-step process to safely replace your shut off valve, and helpful tips to avoid common pitfalls. Whether you’re a DIY novice or an experienced handyman, this article will equip you with the knowledge to tackle this home improvement project with confidence.
Understanding the Kitchen Sink Shut Off Valve
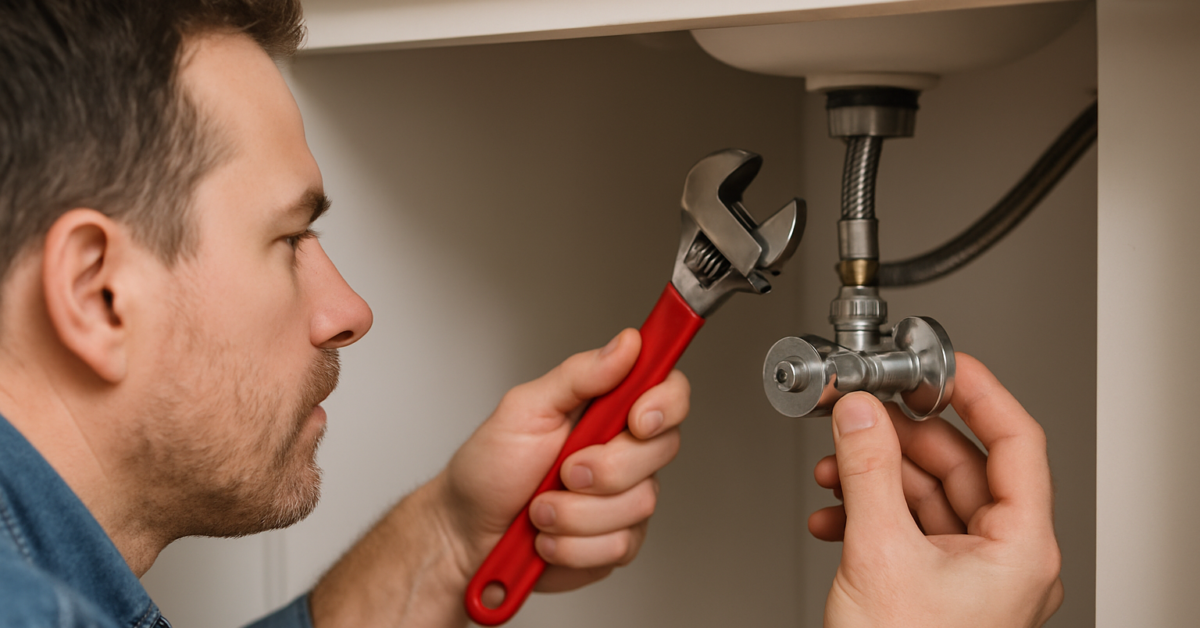
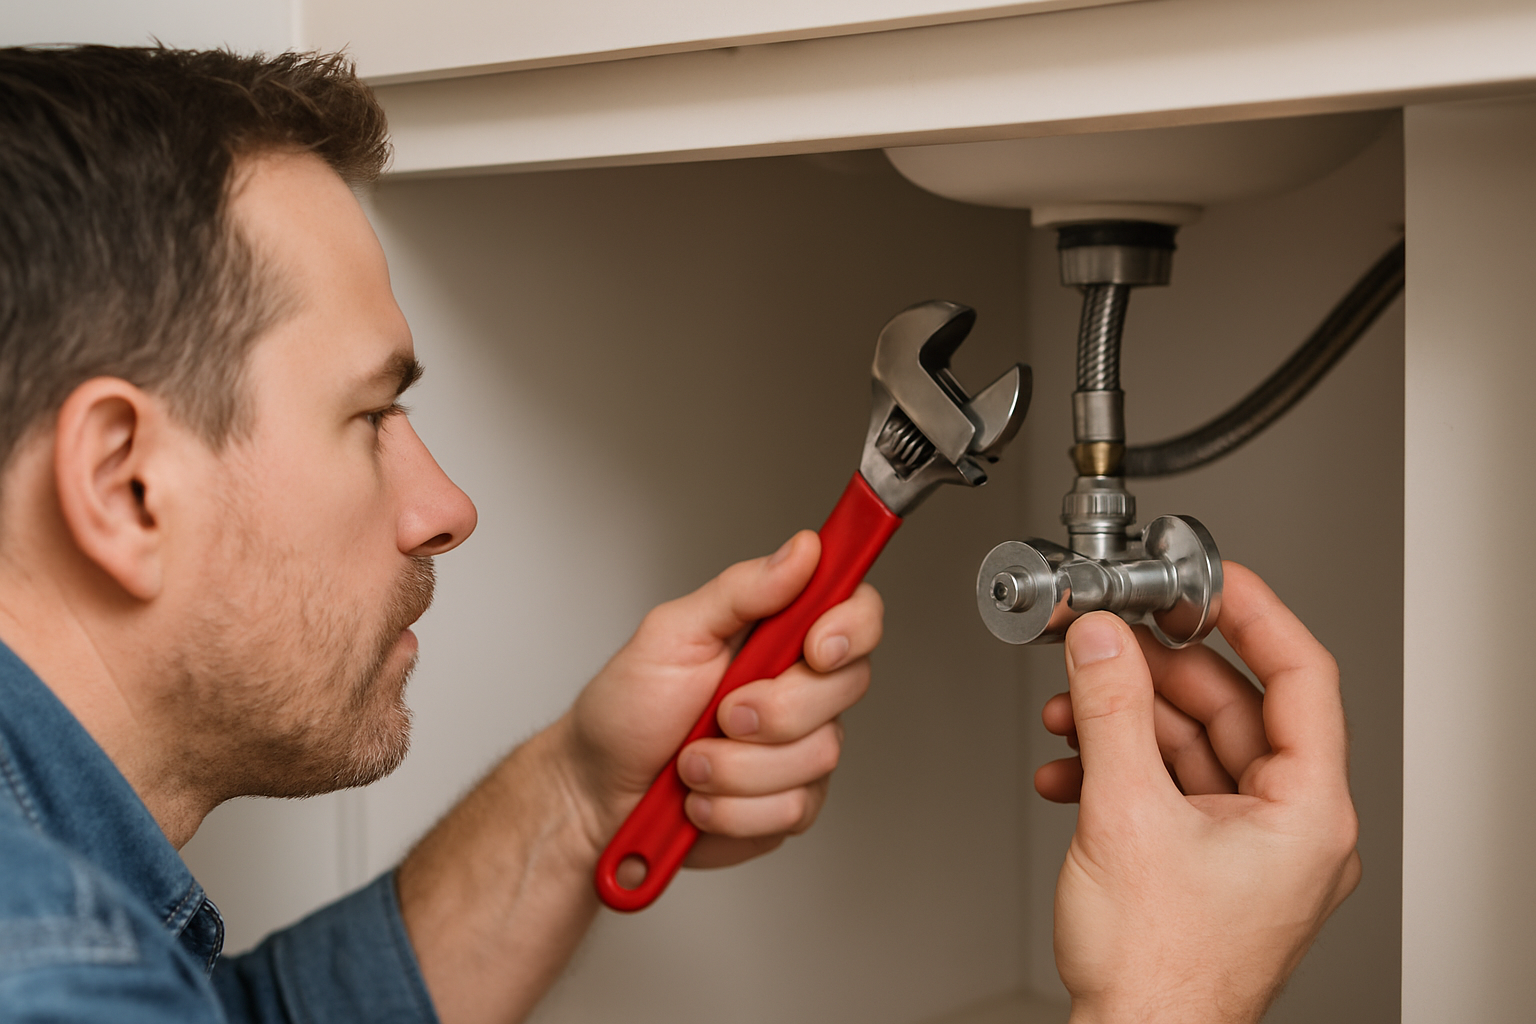
The kitchen sink shut off valve is a crucial component that allows you to control the water supply to your sink. Typically located under the sink, this valve can be either a compression or a quarter-turn valve. Understanding its function and structure is essential before attempting a replacement. Regular maintenance can prevent leaks and ensure smooth operation, making it vital to be familiar with the shut off valve’s role in your plumbing system.
Types of Shut Off Valves
There are primarily two types of shut off valves found under kitchen sinks: compression valves and quarter-turn valves. Compression valves require a clockwise turn to close and are more common in older homes. Quarter-turn valves, however, are easier to operate and provide a tighter seal, making them a preferred choice in modern plumbing. Knowing the type of valve in your kitchen is the first step toward a successful replacement.
Signs of a Faulty Shut Off Valve
Identifying a faulty shut off valve is crucial for timely replacement. Common signs include leaks around the valve, difficulty in turning the valve, or no water flow despite the valve being open. These issues can lead to larger plumbing problems if not addressed promptly. Regularly inspecting your shut off valve can help you catch these problems early, saving you time and money.
💡 Regularly inspect your shut off valve for leaks or corrosion to ensure longevity.
💡 Know the type of valve you have to simplify the replacement process.
Preparing for Replacement
Before replacing a kitchen sink shut off valve, proper preparation is essential for a successful installation. This includes gathering necessary tools, understanding the water supply system, and ensuring safety measures are in place. Taking these steps can prevent potential mishaps and ensure a smooth replacement process, allowing you to restore functionality to your kitchen sink efficiently.
Gathering Necessary Tools
To replace a kitchen sink shut off valve, you will need a few basic tools: an adjustable wrench, a pipe cutter, plumber’s tape, and a bucket to catch water. Having these tools ready before starting the job will streamline the process and minimize interruptions. Additionally, wearing safety goggles can protect your eyes from debris during the replacement.
Shutting Off the Water Supply
Before attempting to replace the valve, it is critical to shut off the main water supply to prevent flooding. Locate the main shut off valve in your home, typically found in the basement or near the water meter, and turn it clockwise to close. Once the water is turned off, open the kitchen faucet to relieve any remaining pressure in the pipes, ensuring a safer working environment.
💡 Always ensure the main water supply is shut off to avoid water damage.
💡 Use plumber’s tape on threaded connections to prevent future leaks.
Understanding the Kitchen Sink Shut Off Valve
Before replacing a kitchen sink shut off valve, it’s crucial to understand its function and types. The shut off valve controls water flow to the sink and can be located under the sink or at the main water line. Knowing the type of valve—compression or ball valve—will guide your replacement process as each type has different installation requirements. Familiarize yourself with the existing pipe connections and the layout of your plumbing to ensure a smooth replacement.
Types of Shut Off Valves
Kitchen sink shut off valves generally fall into two categories: compression valves and ball valves. Compression valves are operated by turning a handle, while ball valves utilize a lever. Understanding these differences helps in selecting the correct replacement valve that matches your plumbing system, ensuring compatibility and functionality.
Locating the Shut Off Valve
Typically, the shut off valve is located under the kitchen sink, attached to the water supply lines. It’s important to identify whether it is easily accessible or if you need to clear out cabinetry. Ensure you have a clear workspace before starting the replacement to avoid any interruptions during the process.
Key Points:
- Understanding valve types is essential for a successful replacement.
- Locating the valve correctly simplifies the replacement process.
💡 Always turn off the main water supply before starting the replacement process to prevent flooding.
💡 Keep a bucket handy to catch any residual water when disconnecting the old valve.
💡 Label pipes and connections to ensure correct reassembly after replacing the valve.
Step-by-Step Replacement Process
Replacing a kitchen sink shut off valve involves several steps that require careful execution to avoid leaks and ensure proper functionality. Start by turning off the main water supply and draining any remaining water from the lines. Next, disconnect the old valve by loosening the nut connections with a wrench. Install the new valve by following the manufacturer’s instructions, ensuring all connections are tight and secure.
Preparation for Replacement
Gather necessary tools such as a wrench, plumber’s tape, and a bucket. Before starting, turn off the main water supply and drain the lines by running the faucet until no water flows. This minimizes water spillage and makes the replacement process more manageable.
Installing the New Valve
With the old valve removed, install the new valve by wrapping the threads with plumber’s tape to ensure a watertight seal. Tighten the connections carefully to avoid overtightening, which can damage the fittings. Once connected, turn the main water supply back on and check for leaks.
Key Points:
- Preparation is key to prevent water damage during the replacement.
- Proper installation and testing help ensure the new valve functions correctly.
💡 Use plumber’s tape on threaded connections to prevent leaks.
💡 Test for leaks by gradually turning the water supply back on and monitoring connections.
💡 Keep the workspace clean and organized to avoid losing small parts during the installation.
EXPERT TIPS Pro Advice
Check local plumbing codes
Understanding local plumbing codes ensures your installation is compliant and avoids potential legal issues.
Consider upgrading to a more efficient valve
An upgrade may provide better control over water flow and reduce the risk of future leaks, saving you time and money.
Inspect surrounding pipes for wear
While replacing the valve, check for signs of corrosion or damage on nearby pipes to address any issues proactively.
Frequently Asked Questions
Conclusion
Replacing a kitchen sink shut off valve is a manageable task with the right tools and knowledge. Ensure you turn off the water supply, follow the steps for removal and installation, and check for leaks. Regular maintenance can prolong the life of your valve.
🎯 Key Takeaways:
- Gather necessary tools before starting.
- Always turn off the main water supply first.
- Follow proper steps for removing and installing the valve.
- Check for leaks after installation.
- Use pipe tape for a secure seal.
Expert Advice: Approach the task with care and ensure you understand each step. If you encounter difficulties, don’t hesitate to seek professional help to avoid potential mishaps.
Take the time to educate yourself further on plumbing tasks, and consider tackling small projects around your home for greater confidence.