Are you struggling to remove the sprayer from your kitchen faucet? You’re not alone—many homeowners face this common challenge. Knowing how to remove sprayer from kitchen faucet can save you time and frustration, especially when it comes to cleaning or replacing parts. As a seasoned expert in plumbing, I’ve encountered various faucet designs and removal techniques that can simplify this task. In this guide, you’ll learn the essential steps to effectively detach your kitchen sprayer, along with tips to ensure a smooth process. Whether you’re tackling a minor repair or a complete kitchen upgrade, this article will equip you with the knowledge you need to handle your faucet with confidence.
Understanding Your Kitchen Faucet Sprayer
Removing a sprayer from a kitchen faucet can seem daunting, but understanding its components is crucial. Most kitchen faucets with sprayers have a hose connected to a nozzle that allows for versatility in washing dishes and cleaning. Familiarizing yourself with the anatomy of your faucet will enable you to remove the sprayer efficiently. Typically, the connection point is located under the sink, where the hose connects to the main faucet body.
Types of Kitchen Faucet Sprayers
Kitchen faucet sprayers come in various designs, including pull-down, pull-out, and side-mounted models. Pull-down sprayers have a hose that retracts into the faucet, while pull-out sprayers extend from a separate nozzle. Side-mounted sprayers are fixed alongside the main faucet. Identifying your sprayer type is essential for determining the correct removal method.
Common Tools Needed
To remove a kitchen faucet sprayer, you typically need basic tools such as an adjustable wrench, pliers, and a towel. The towel helps catch any water spillage during disassembly. Having the right tools on hand will streamline the process and minimize potential damage.
Key Points:
- Familiarize yourself with the sprayer’s design
- Gather necessary tools before starting
Preparation for Removal Process
Before removing the sprayer, it’s essential to prepare to avoid mishaps. Start by turning off the water supply to prevent leaks and flooding. Next, clear out the under-sink area to give you ample space to work. Taking these steps ensures a safer and more efficient removal process.
Shutting Off Water Supply
Locate the water supply valves under the sink and turn them clockwise to shut off the water. This prevents any accidental water flow when you disconnect the sprayer. If your faucet has a separate shut-off for hot and cold water, make sure to turn both off to avoid confusion and ensure a dry working environment.
Clearing Under the Sink
Remove any items stored under the sink to create a clear workspace. This not only provides you with better access but also prevents any tools or parts from getting lost. A tidy area will help you stay organized during the removal process.
Key Points:
- Always turn off the water supply first
- Keep your workspace organized and clear
Understanding Your Kitchen Faucet Sprayer
Before attempting to remove a sprayer from a kitchen faucet, it’s important to understand its components and how they are connected. Typically, kitchen faucet sprayers are attached with either a threaded connection or a quick-connect mechanism. Familiarizing yourself with these components will save time and prevent damage during removal. Additionally, knowing the specific type of sprayer can help you anticipate the tools and techniques required for the job. Proper identification of the sprayer type will guide you through the removal process effectively and ensure that you can reinstall or replace the sprayer without issues.
Identifying the Connection Type
Start by examining the base of the sprayer where it connects to the faucet. A threaded connection usually requires unscrewing, while a quick-connect type may involve pressing tabs or levers. Understanding which type you have will determine the tools and methods needed for removal. If you aren’t sure, consult the faucet’s manual or look for online diagrams that illustrate your specific model.
Gathering Necessary Tools
Once you know the connection type, gather the appropriate tools. Common tools include adjustable wrenches, pliers, and screwdrivers. Having the right tools on hand not only speeds up the process but also minimizes the risk of damaging the faucet or plumbing. Make sure to wear safety gloves to protect your hands from sharp edges or grime.
Key Points:
- Understanding the connection type is crucial for successful removal.
- Gathering the right tools can save time and prevent damage.
💡 Turn off the water supply before starting to prevent leaks and water damage.
💡 Use a towel to catch any residual water when disconnecting the sprayer.
💡 Keep a bucket nearby to catch any unexpected spills during the removal process.
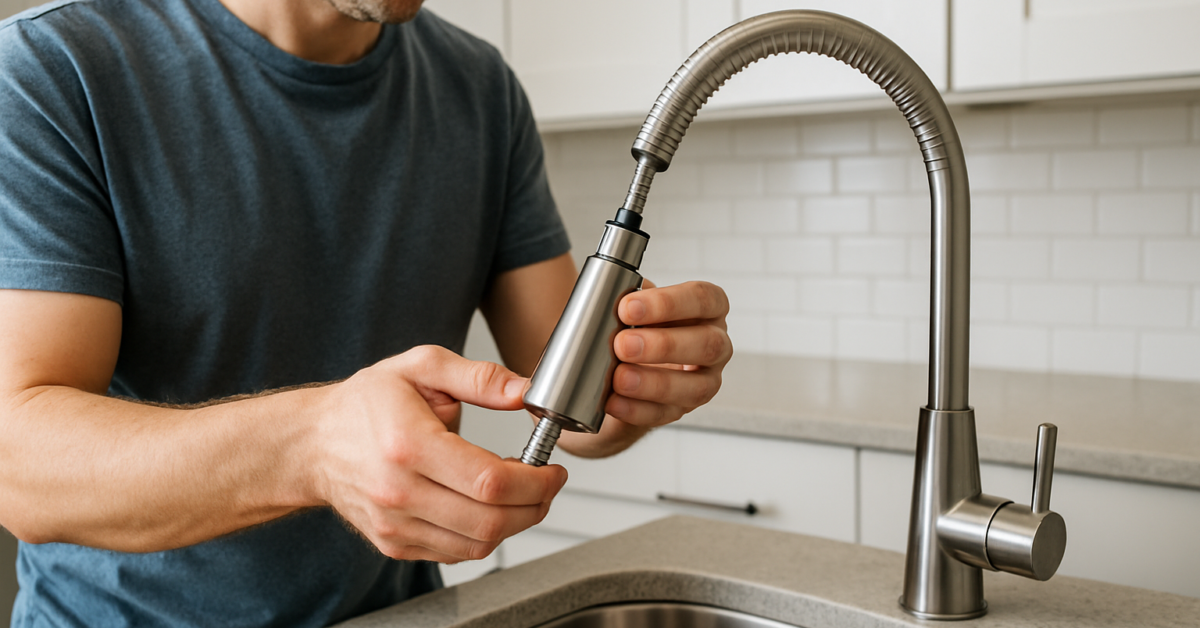
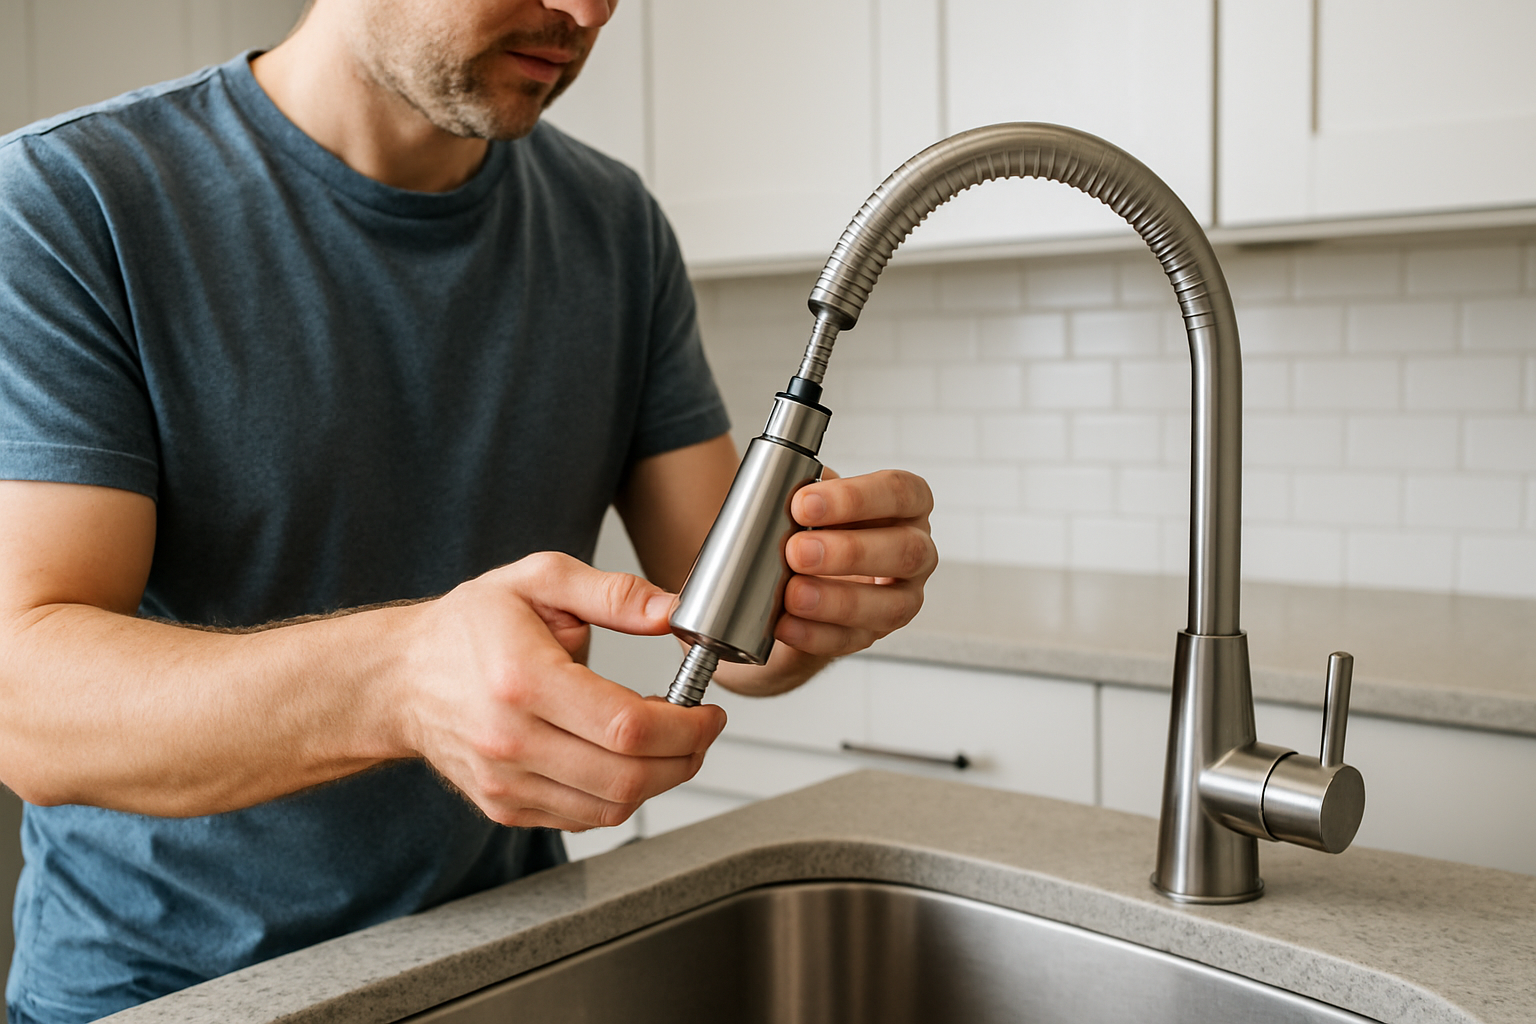
Step-by-Step Removal Process
Once you’ve identified the connection type and gathered your tools, you can proceed with the removal process. If you have a threaded connection, begin by unscrewing the sprayer from the faucet base. For quick-connect systems, locate the release mechanism, usually a tab or lever, and press or pull it to detach the sprayer. It’s important to work slowly and carefully to avoid stripping threads or breaking components. If you encounter resistance, double-check that you are using the correct method and apply gentle, even pressure to avoid damage.
Removing a Threaded Sprayer
For threaded sprayers, hold the base of the faucet with one hand while using a wrench or pliers to turn the sprayer counterclockwise. If it’s too tight, apply penetrating oil to loosen the connection. Always ensure you support the faucet to prevent it from twisting or breaking under pressure. Once loose, unscrew it completely and set it aside.
Detaching a Quick-Connect Sprayer
If your sprayer has a quick-connect mechanism, look for the release button or lever. Press or pull this mechanism while gently pulling the sprayer away from the faucet. If it does not budge, check for any additional locking tabs or mechanisms that may not be immediately visible. Ensure you’re applying even pressure to prevent damage to the connector.
Key Points:
- Careful handling during removal can prevent damage to the faucet.
- Understanding the removal method is key to a successful process.
💡 Always support the faucet firmly to prevent it from moving during removal.
💡 If you encounter corrosion, use vinegar to help dissolve any buildup before attempting to unscrew.
💡 Document the removal process with photos to aid in reinstallation if needed.
EXPERT TIPS Pro Advice
Use penetrating oil for stubborn connections
If a sprayer is stuck, applying penetrating oil can help loosen rust or grime buildup, making the removal process smoother and reducing the risk of breaking components.
Keep track of small parts
During disassembly, small washers or nuts can easily get lost. Use a small container to keep these parts organized until reinstallation.
Check for leaks post-removal
After removing the sprayer, inspect the connection points for any signs of wear or damage to prevent leaks when reinstalling or replacing.
Consult online resources
If you’re unsure about your specific faucet model, searching for installation videos or diagrams can provide visual guidance and tips for your exact setup.
Consider professional help if in doubt
If you feel uncomfortable with the removal process or encounter unexpected complications, hiring a professional can save time and prevent potential plumbing issues.
Frequently Asked Questions
Conclusion
Removing a sprayer from a kitchen faucet involves a few straightforward steps, such as shutting off the water supply and loosening the locknut. Regular maintenance can prevent issues like corrosion. Always ensure proper reconnection to avoid leaks.
🎯 Key Takeaways:
- Turn off the water supply before starting.
- Use proper tools like wrenches or pliers.
- Check for mineral buildup if sprayer is stuck.
- Replace the sprayer if it’s damaged or leaking.
- Reconnect carefully to prevent leaks.
Expert Advice: Always prioritize safety by shutting off the water supply and being gentle with connections to avoid damage. Regular maintenance can prolong the life of your faucet components.
Now that you know how to remove and manage your kitchen faucet sprayer, take a moment to inspect your plumbing for any needed maintenance.


