Are you struggling with low water pressure in your kitchen? A clogged aerator could be the culprit. Learning how to remove the Moen kitchen faucet aerator is essential for maintaining optimal water flow and performance in your kitchen. With over 15 years of experience in home maintenance, I can guide you through this simple yet often overlooked task. In this article, you will discover the step-by-step process to safely and effectively remove your Moen kitchen faucet aerator, along with tips for cleaning and reinstalling it to ensure smooth operation. Say goodbye to frustrating water flow issues and hello to a fully functional kitchen faucet!
Understanding the Moen Kitchen Faucet Aerator
A Moen kitchen faucet aerator is a small device fixed at the tip of the faucet that helps control water flow and reduce splashing. It mixes air with water, creating a steady stream. Over time, aerators can accumulate mineral deposits and debris, affecting water flow and quality. Understanding how these components work can help in effective maintenance and removal. Regular maintenance of the aerator can enhance your faucet’s performance and prolong its lifespan. Knowing your specific model is also crucial, as the removal process may vary slightly depending on the design.
What is an Aerator?
An aerator is a device that attaches to the end of a faucet and regulates the flow of water. It consists of a screen that filters sediment and a mesh that mixes air with water. This not only conserves water but also provides a smoother flow, which is particularly beneficial in kitchen settings. Understanding its function is essential for proper maintenance.
Signs Your Aerator Needs Cleaning or Replacement
Common signs that your aerator requires attention include reduced water flow, irregular spray patterns, or visible mineral buildup. These issues can affect your kitchen’s efficiency and water quality. Addressing these problems promptly can prevent further plumbing issues and enhance your faucet’s functionality. Regular inspection is advisable.
Tools Needed for Removal
To remove a Moen kitchen faucet aerator, you typically need a simple set of tools, including a wrench or pliers, and a soft cloth to protect the faucet’s finish. Having these tools ready will streamline the process and minimize the risk of damaging the faucet. Always ensure that the water supply is turned off before beginning.
Key Points:
- Aerators improve water flow and efficiency
- Regular maintenance can prevent buildup issues
Step-by-Step Guide to Removing the Aerator
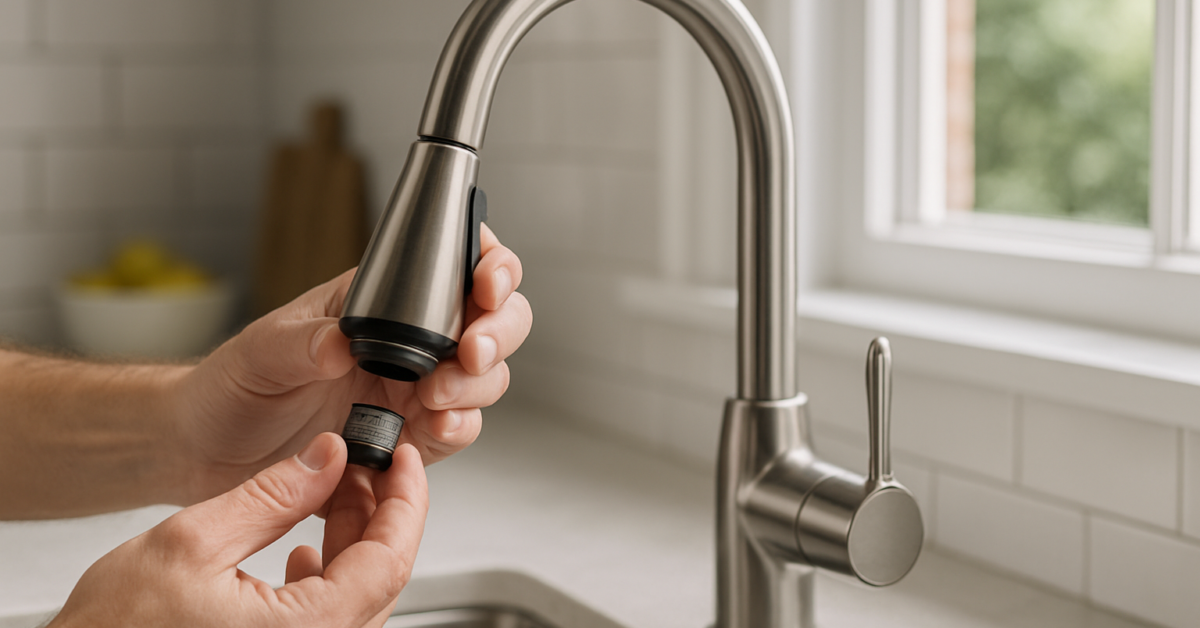
Removing the aerator from a Moen kitchen faucet is a straightforward process that can be completed in a few simple steps. First, ensure the faucet is turned off and the water supply is disconnected to prevent any leaks. Next, wrap a cloth around the aerator to protect its surface, then use a wrench or pliers to carefully twist and remove it. If it’s stuck, applying some vinegar or a penetrating lubricant can help loosen it. Once removed, inspect the aerator for any buildup and clean or replace it as needed. Reattach the cleaned or new aerator by twisting it back into place until secure, ensuring a tight fit to prevent leaks.
Preparation Before Removal
Before starting the removal process, it’s essential to prepare your workspace. Gather necessary tools, ensure the area is clean, and turn off the water supply. This preparation helps avoid mess and complications during the removal. Having everything ready will make the process smoother and more efficient.
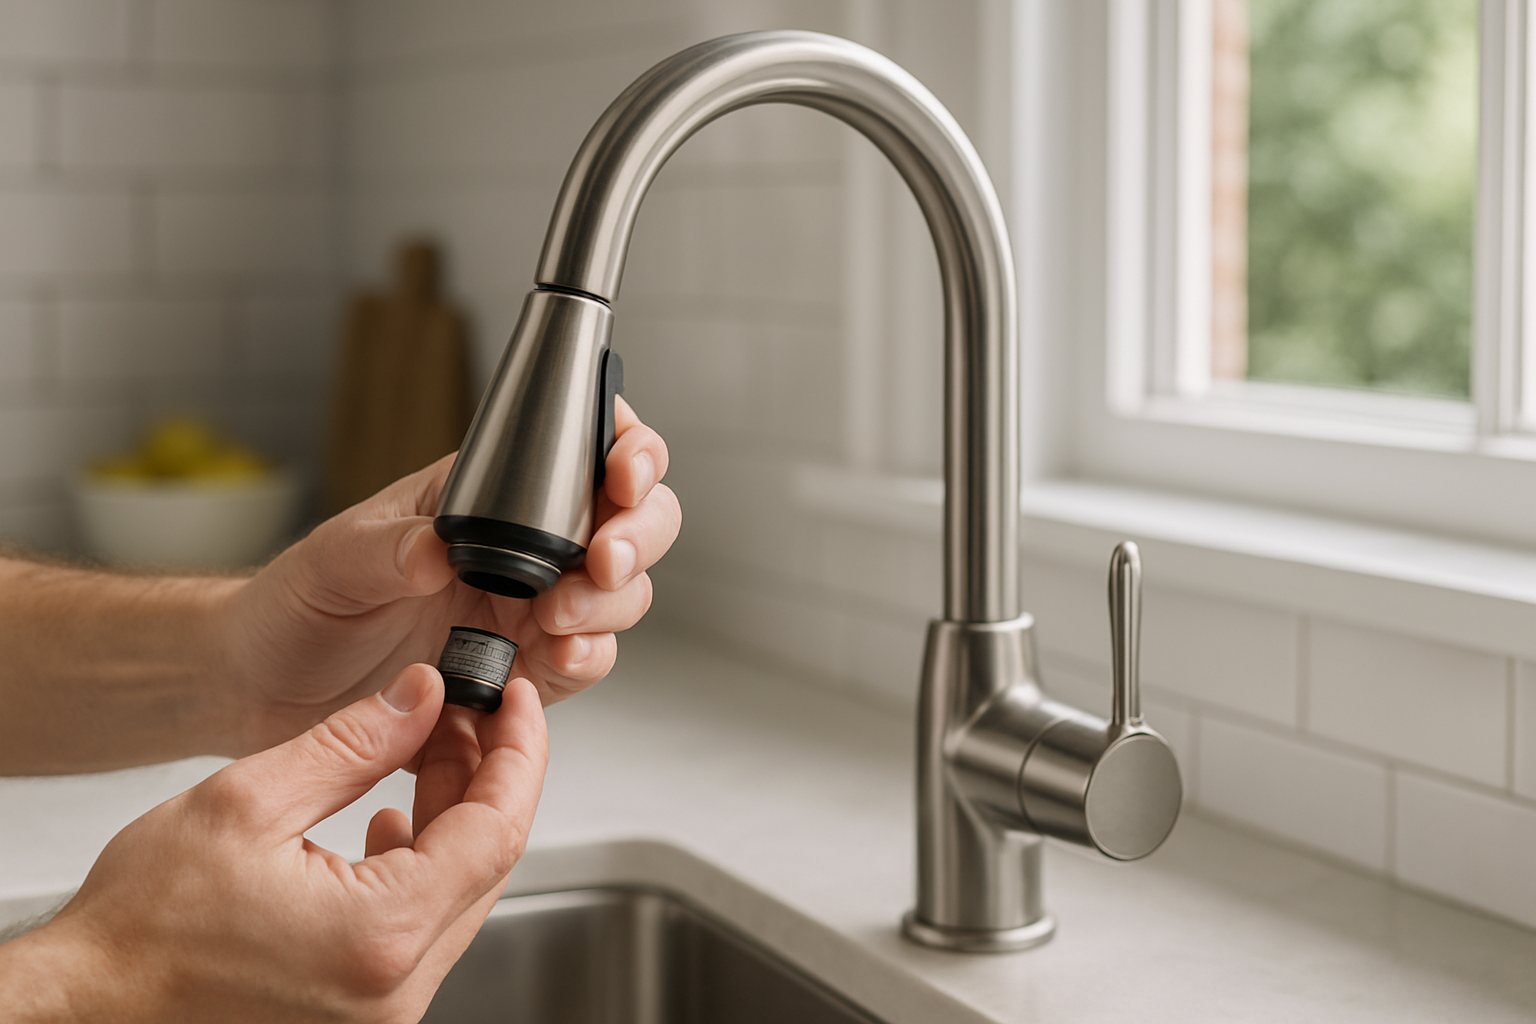
Removing the Aerator Step-by-Step
Start by placing a cloth around the aerator to protect the finish. Using a wrench or pliers, gently twist the aerator counterclockwise. If it resists, consider soaking it in vinegar for a few minutes to dissolve mineral deposits. Once loose, continue twisting until it comes off. This careful approach minimizes damage to the faucet.
Post-Removal Cleaning and Inspection
After removing the aerator, inspect it for any buildup or damage. Clean it thoroughly using a brush and vinegar or replace it if necessary. Regular cleaning can prevent future blockages and maintain optimal water flow. Ensuring the aerator is in good condition is important for the overall performance of your faucet.
Key Points:
- Preparation is key for a smooth removal
- Inspect and clean the aerator regularly to maintain performance
Understanding the Moen Kitchen Faucet Aerator
The aerator is a small device at the tip of your kitchen faucet that mixes air with water, providing a steady, splash-free stream. Understanding its function is crucial for effective maintenance. Regular cleaning or replacement of the aerator can enhance water flow and improve efficiency. If you notice a drop in water pressure or a change in the water stream, it may be time to remove and clean the aerator. Knowing the components of the aerator, such as the screen, washer, and housing, will make the removal process more straightforward and help you identify any issues.
Common Issues with Aerators
Clogged aerators can lead to reduced water pressure or inconsistent flow. This is often caused by mineral buildup, especially in areas with hard water. Regularly checking the aerator for blockages can prevent long-term damage to the faucet. If your water flow is uneven or weak, addressing the aerator should be your first step before considering more extensive plumbing issues.
Tools Needed for Removal
To remove the aerator, you typically need a pair of pliers or an adjustable wrench, a cloth to protect the faucet finish, and possibly a small bowl to catch water. Having these tools on hand makes the process smoother and minimizes the risk of damage during removal. Ensuring you are equipped will save time and frustration.
Key Points:
- Understanding aerator function helps in effective maintenance.
- Regular checks can prevent more significant plumbing issues.
💡 Always turn off the water supply before starting the removal process to prevent any unexpected leaks.
💡 Use a cloth between the pliers and the aerator to avoid scratches or damage to the faucet finish.
Step-by-Step Guide to Removing the Aerator
Removing a Moen kitchen faucet aerator is a straightforward process. Begin by ensuring that the faucet is turned off and the water supply is closed. Depending on the model, you may need to unscrew the aerator by hand or with pliers. If you encounter resistance, apply gentle pressure to avoid damaging the fixture. Once removed, inspect the aerator for buildup and clean it thoroughly with vinegar or water. Reassemble the aerator and check for leaks before resuming normal use. This simple procedure can enhance your faucet’s performance significantly.
Preparation Steps
Before starting, gather your tools and ensure you have a clear workspace. Place a towel or bowl underneath the faucet to catch any water that may drip during the removal process. This preparation minimizes mess and provides easy access to the faucet. Being organized will streamline your efforts.
Cleaning the Aerator
After removal, soak the aerator in a vinegar solution for 30 minutes to dissolve mineral deposits. Use a soft brush to scrub any remaining buildup, and rinse thoroughly before reinstallation. Proper cleaning can restore water flow and extend the life of the faucet. Regular maintenance keeps your kitchen faucet functioning optimally.
💡 Soaking the aerator in vinegar is an effective way to remove mineral deposits without scrubbing harshly.
💡 Always check the rubber washer for wear during reinstallation to prevent leaks.
EXPERT TIPS Pro Advice
Inspect the aerator regularly
Frequent inspections can help catch issues early, preventing larger plumbing problems and maintaining consistent water flow.
Use gentle pressure when removing the aerator
Applying too much force can damage the faucet. Gentle pressure ensures safe removal and prolongs the faucet’s lifespan.
Consider water quality in maintenance frequency
If your water is hard, you may need to clean the aerator more often to prevent buildup that can affect water pressure.
Keep a record of maintenance
Documenting when you last cleaned or replaced the aerator can help you stay on top of maintenance and avoid surprises.
Frequently Asked Questions
Conclusion
Removing and cleaning your Moen kitchen faucet aerator is essential for maintaining optimal water flow and preventing clogs. Regular inspection and cleaning can extend the life of your faucet. If cleaning doesn’t work, consider replacement for continued efficiency.
🎯 Key Takeaways:
- Use appropriate tools like pliers and cloth for removal.
- Identify clogs by checking water flow and spray patterns.
- Regularly clean aerators to prevent mineral buildup.
- Soak in vinegar for effective cleaning.
- Replace damaged aerators for optimal performance.
Expert Advice: Regular maintenance of your faucet aerator is key to efficient water use. Don’t hesitate to clean or replace it as needed to ensure your kitchen faucet remains functional and effective.
Take a moment to check your faucet aerator today and ensure it’s in good working condition for better water flow.


