Have you ever experienced reduced water flow from your kitchen faucet? This common issue can often be attributed to a clogged aerator. Understanding how to remove the aerator on your kitchen faucet not only helps restore water pressure but also enhances the overall functionality of your faucet. With over 15 years of plumbing experience, I’ll guide you through the simple steps needed to remove and clean or replace your faucet aerator. In this article, you’ll learn the tools required, the removal process, and tips for maintaining your faucet’s performance. Say goodbye to frustrating low water pressure and hello to a fully functional kitchen faucet!
Understanding the Kitchen Faucet Aerator
An aerator is a small device located at the tip of a kitchen faucet, designed to mix air with water, thereby reducing water usage while maintaining pressure. Understanding its function is essential for effective maintenance and troubleshooting. Regular cleaning or replacement is vital to ensure optimal water flow and quality. Over time, aerators can become clogged with mineral deposits, leading to reduced water pressure and uneven flow. Familiarizing yourself with the aerator’s components will make the removal process easier and more efficient.
Components of an Aerator
An aerator generally consists of a screen, a mesh filter, and a casing. The screen controls the water flow rate, while the mesh filter captures sediment and debris. Understanding these parts helps in identifying issues like clogging or leaking, which can be resolved by cleaning or replacing the aerator.
Signs of a Clogged Aerator
Common signs of a clogged aerator include reduced water flow, irregular water pressure, and visible sediment in the water. If you notice any of these issues, it’s a good indicator that the aerator needs to be removed and cleaned or replaced. Regular checks can prevent more significant plumbing issues.
Key Points:
- Aerators mix air with water to reduce usage.
- Regular maintenance can prevent clogs and pressure issues.
How to Safely Remove the Aerator
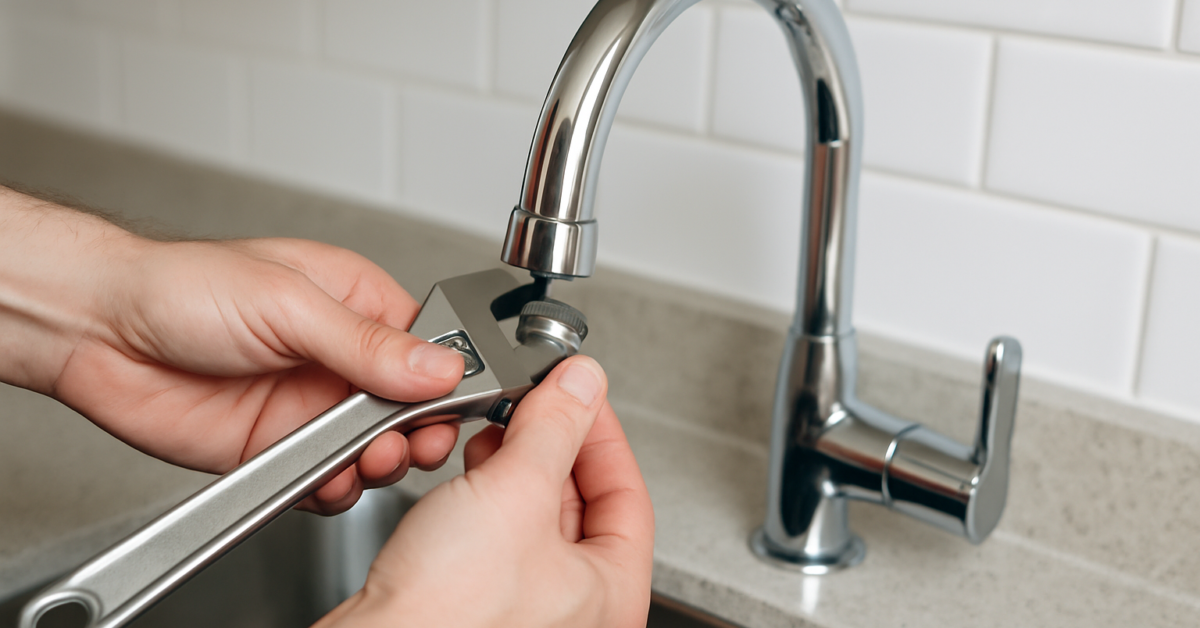
Removing the aerator from a kitchen faucet is a straightforward process that requires minimal tools. Typically, a simple hand twist or a wrench is sufficient for removal. Begin by ensuring the water supply is turned off to avoid any spills or accidents. If the aerator is stuck due to mineral buildup, applying a penetrating oil can help loosen it. Always handle the aerator carefully to avoid damaging the threads or the faucet itself during removal.
Tools and Supplies Needed
Before removing the aerator, gather necessary tools such as a wrench or pliers, a soft cloth to protect the faucet, and possibly a bowl to catch any water. Having these items on hand will streamline the removal process and minimize mess.
Step-by-Step Removal Process
1. Turn off the water supply to your faucet. 2. Place a cloth around the aerator to protect the finish. 3. Use a wrench or pliers to grip the aerator and turn it counterclockwise. 4. If it’s stuck, apply a penetrating oil and wait a few minutes before trying again. Following these steps can ensure a smooth and safe removal.
Key Points:
- Ensure water supply is off before removal.
- Use proper tools to avoid damaging the faucet.
Understanding the Kitchen Faucet Aerator
The aerator is a small device at the tip of your kitchen faucet that mixes air with water, improving flow and reducing splash. Over time, it can become clogged with mineral deposits, affecting water pressure and quality. Understanding how it works is vital for efficient removal and maintenance. Knowing the different types of aerators, including screw-on and pull-out models, can help you prepare for their removal. Regular cleaning or replacement can enhance faucet performance, making it essential to be familiar with the aerator’s function and maintenance.
Types of Aerators
Aerators come in various designs, with the most common being the screw-on type. These can typically be unscrewed by hand or with a tool. There are also pull-out aerators, which may require additional steps to remove. Understanding the type of aerator you have is the first step in the removal process, as it dictates the tools and techniques needed.
Signs of Clogged Aerators
Clogged aerators can cause reduced water flow and inconsistent pressure. If you notice a significant drop in water pressure or irregular flow patterns, it may be time to inspect and remove your aerator. Regular maintenance can prevent build-up, but recognizing these signs early can save you from more extensive plumbing issues.
Key Points:
- Understanding types of aerators helps in proper removal.
- Regular inspection can prevent plumbing issues.
💡 Always turn off the water supply before starting the removal process to prevent leaks.
💡 Keep a towel handy to catch any water that may spill during the aerator removal.
💡 Use a pair of pliers with a cloth to protect the aerator’s finish if it is stuck.
Step-by-Step Removal Process
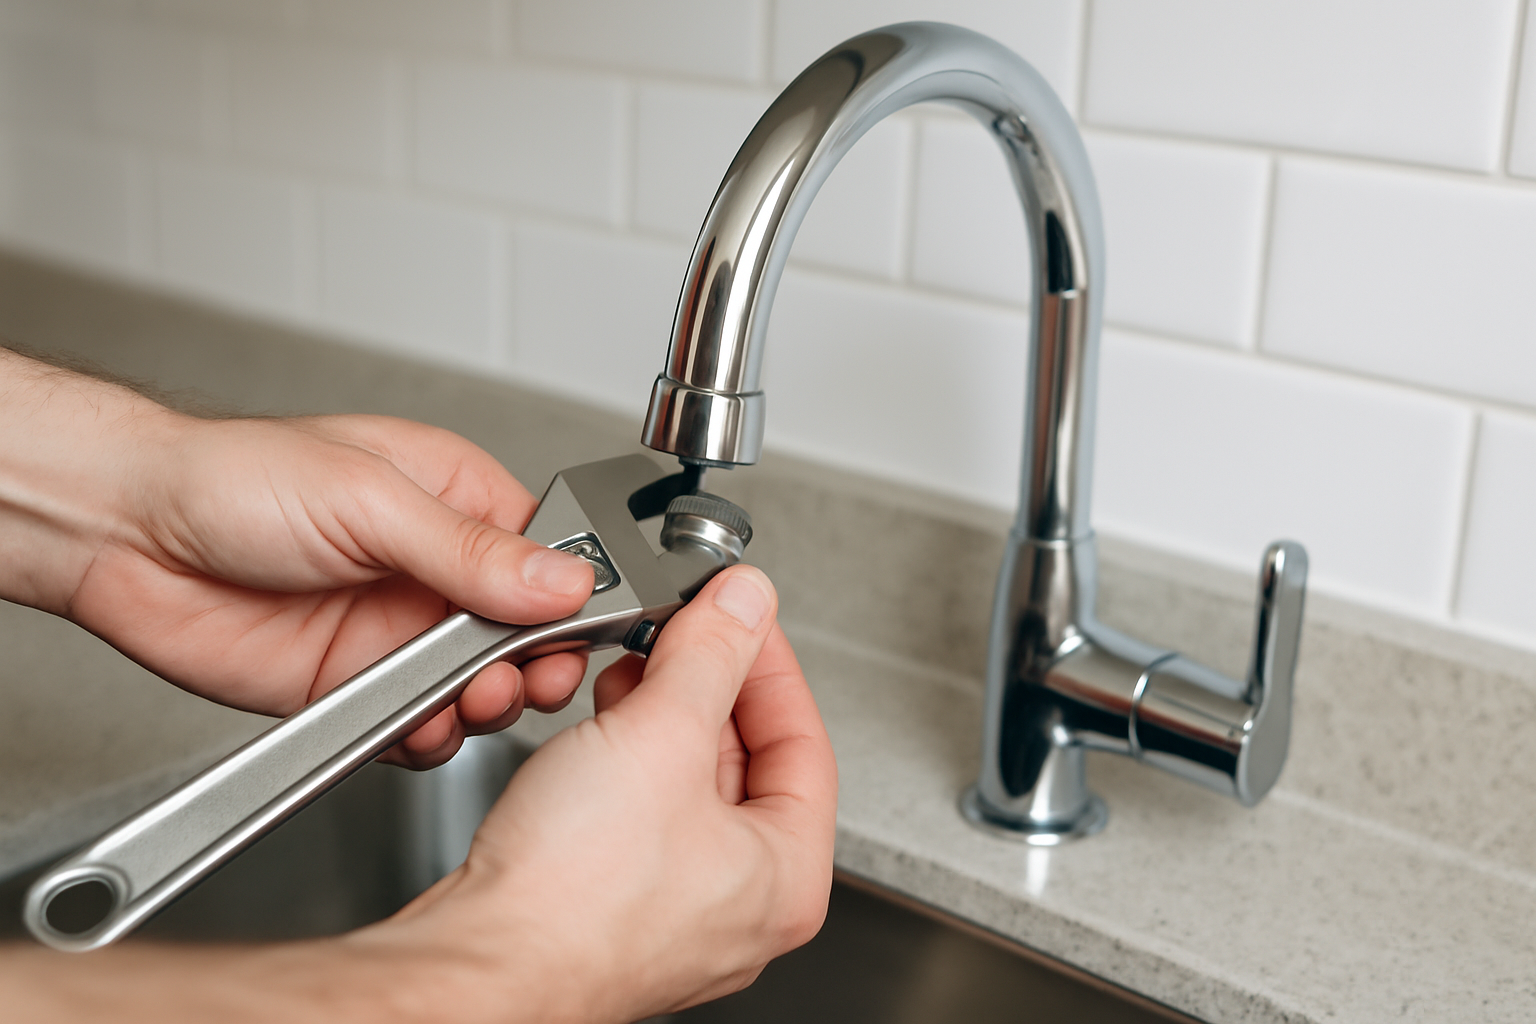
Removing an aerator from a kitchen faucet can be straightforward if done correctly. Begin by turning off the water supply to avoid leaks. Use the right tools, such as pliers or a wrench, and follow a systematic approach. Start by unscrewing the aerator counterclockwise, and if it’s stuck, apply penetrating oil or heat to loosen it. Once removed, clean or replace the aerator based on its condition. Following these steps will not only ensure a successful removal but also prolong the life of your faucet.
Preparation Steps
Before attempting to remove the aerator, gather necessary tools: pliers, a towel, and possibly a wrench. Ensure that the water supply is turned off, and place a towel under the faucet to catch any drips. Preparation is key to a smooth removal process and minimizes mess.
Removing the Aerator
With the tools ready, grasp the aerator firmly. If it’s hand-tight, try unscrewing it by hand. If it won’t budge, use pliers with a cloth to avoid scratching. Turn counterclockwise and apply gentle pressure. For stubborn aerators, applying heat or a penetrating lubricant can help. This step requires patience and care to avoid damaging the faucet.
Cleaning and Reinstallation
Once the aerator is removed, inspect it for mineral deposits or damage. Clean it with vinegar or a soft brush, ensuring all debris is removed. If the aerator is damaged, replace it before reinstallation. To reinstall, simply screw it back on clockwise, ensuring a snug fit without over-tightening, which can cause damage.
Key Points:
- Proper preparation simplifies the removal process.
- Cleaning prolongs the life of your faucet aerator.
💡 Consider soaking the aerator in vinegar overnight for stubborn mineral deposits.
💡 Always check the aerator’s screen for damage before reinstallation.
💡 If the aerator is damaged, replace it rather than attempting to fix it.
EXPERT TIPS Pro Advice
Use heat for stubborn aerators
Applying heat can expand the metal slightly, making it easier to unscrew a stuck aerator, reducing the risk of damage.
Regular maintenance
Cleaning the aerator every few months prevents build-up and maintains optimal water flow, saving time and effort in the long run.
Keep a record of aerator types
Noting the type and size of your aerator can simplify future replacements and maintenance, ensuring you have the right tools on hand.
Inspect washers and seals
Check for worn washers or seals when reassembling. Replacing these can prevent leaks and ensure a tight fit.
Be gentle with tools
Using tools carefully prevents damage to the faucet finish and helps maintain the aesthetic appeal of your kitchen.
Frequently Asked Questions
Conclusion
Removing and maintaining your kitchen faucet aerator is essential for optimal water flow and efficiency. Regular checks for clogs and cleaning can prevent issues. If damaged, replacing the aerator is a simple process that enhances your faucet’s performance.
🎯 Key Takeaways:
- Aerators improve water flow and efficiency.
- Regular cleaning prevents clogs and maintains performance.
- Removing an aerator can often be done by hand.
- Use care when reinstalling to avoid damage.
- Replace damaged aerators to ensure proper function.
Expert Advice: Regular maintenance of your kitchen faucet aerator can lead to significant water savings and improved performance. Familiarize yourself with the removal and cleaning process to keep your faucet in top condition.
Take the time to check your faucet aerator today and ensure it’s functioning properly for better water efficiency.


