Have you ever faced a plumbing emergency, only to realize you don’t know how to turn off water in kitchen sink? This situation can be stressful, especially when water is leaking or overflowing. Understanding how to quickly shut off the water supply is essential for every homeowner. With over 15 years of experience in plumbing and home maintenance, I will guide you through the process of turning off your kitchen sink water supply with ease. In this article, you’ll learn about the different methods to shut off the water, including locating the shut-off valves, and tips to prevent common plumbing issues. Don’t let a minor mishap turn into a major disaster; read on for essential knowledge that could save you time and money.
Understanding Your Kitchen Sink’s Water Supply
Before attempting to turn off the water in your kitchen sink, it’s crucial to understand the plumbing system that supplies it. Typically, there are shut-off valves located under the sink, which control the flow of hot and cold water. Familiarizing yourself with these components can save you time and prevent potential water damage in case of a leak. It’s also essential to know where your home’s main water shut-off valve is located, as this can be useful in emergencies when immediate action is required.
Identifying the Shut-Off Valves
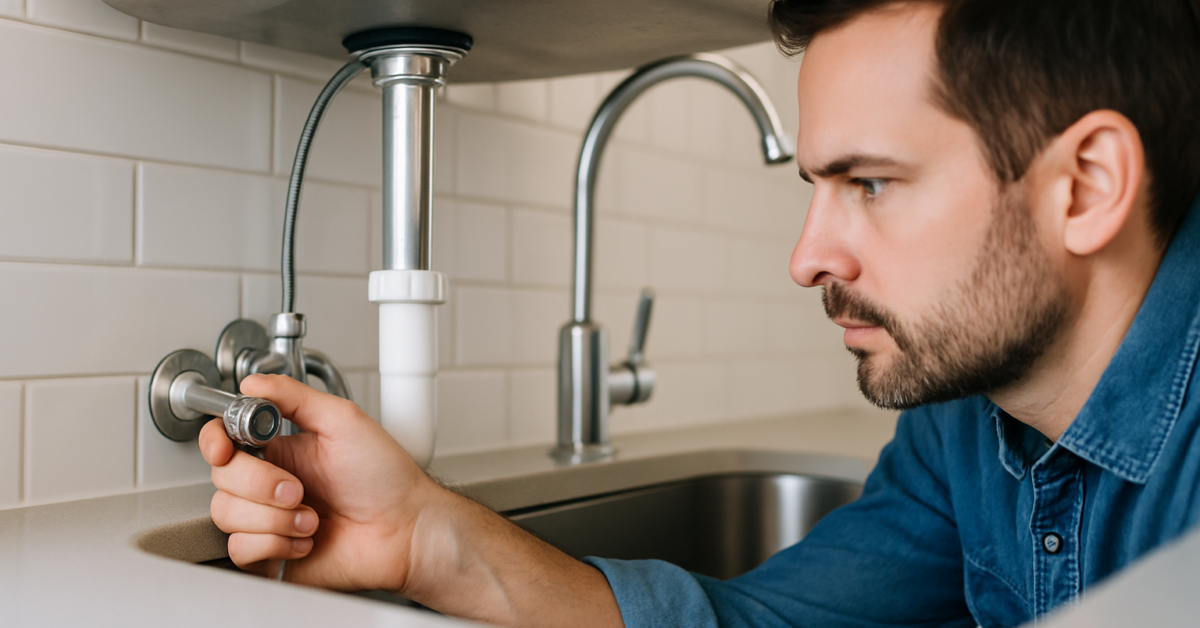
Shut-off valves are usually located directly beneath the sink. There are typically two valves: one for hot water and one for cold. They can be either a knob or a lever. Take a moment to locate these valves and understand their operation. Knowing their exact position can expedite the process when you need to turn off the water.
Importance of the Main Water Shut-Off
In case of a significant leak or plumbing emergency, the main water shut-off valve can halt all water supply to your home. This valve is typically located near the water meter. Knowing how to operate this valve is essential for preventing extensive water damage. Regularly check its functionality to ensure it’s easy to turn in an emergency.
💡 Familiarize yourself with your plumbing system to act quickly in emergencies.
💡 Regular maintenance checks on valves can prevent malfunction during critical times.
Steps to Turn Off Water in Your Kitchen Sink
Turning off the water supply to your kitchen sink is a straightforward process. Start by gathering necessary tools like a towel to catch any drips and possibly a wrench if the valves are too tight. Ensure you have access to the shut-off valves beneath the sink. If you’re dealing with a leaky faucet or need to replace a fixture, it’s best to turn off the water supply first to avoid a mess during repairs. Follow the steps carefully to ensure a smooth operation.
Preparing the Area
Clear any items beneath the sink to give yourself space to work. Place a towel on the floor to catch any water that may escape when you turn off the valves. It’s also wise to have a bucket handy for more significant leaks. This preparation will make the process much easier and cleaner.
Turning Off the Valves
To turn off the water, rotate the valves clockwise until they are fully closed. You may feel resistance, but do not force it; just ensure they are tight enough to stop water flow. After closing, check for leaks by turning on the faucet. If no water comes out, you’ve successfully shut off the supply.
💡 Always prepare your workspace to prevent accidents.
💡 If valves are stiff, apply gentle pressure rather than forcing them to avoid damage.
Understanding Your Kitchen Sink’s Water Supply
Before attempting to turn off the water at your kitchen sink, it’s crucial to identify where your water supply lines are located. Typically, there are two main shut-off valves for the hot and cold water lines. These valves are often found under the sink, attached to the water supply pipes. Knowing their location enables you to shut off the water quickly in case of a leak or repair. Additionally, familiarize yourself with the plumbing layout in your home, as this can vary significantly. If the under-sink valves are inaccessible, you may need to shut off the main water supply to your house, which is usually located near the water meter. Understanding these aspects will make the process smoother and more efficient when the need arises.
Identifying the Shut-off Valves
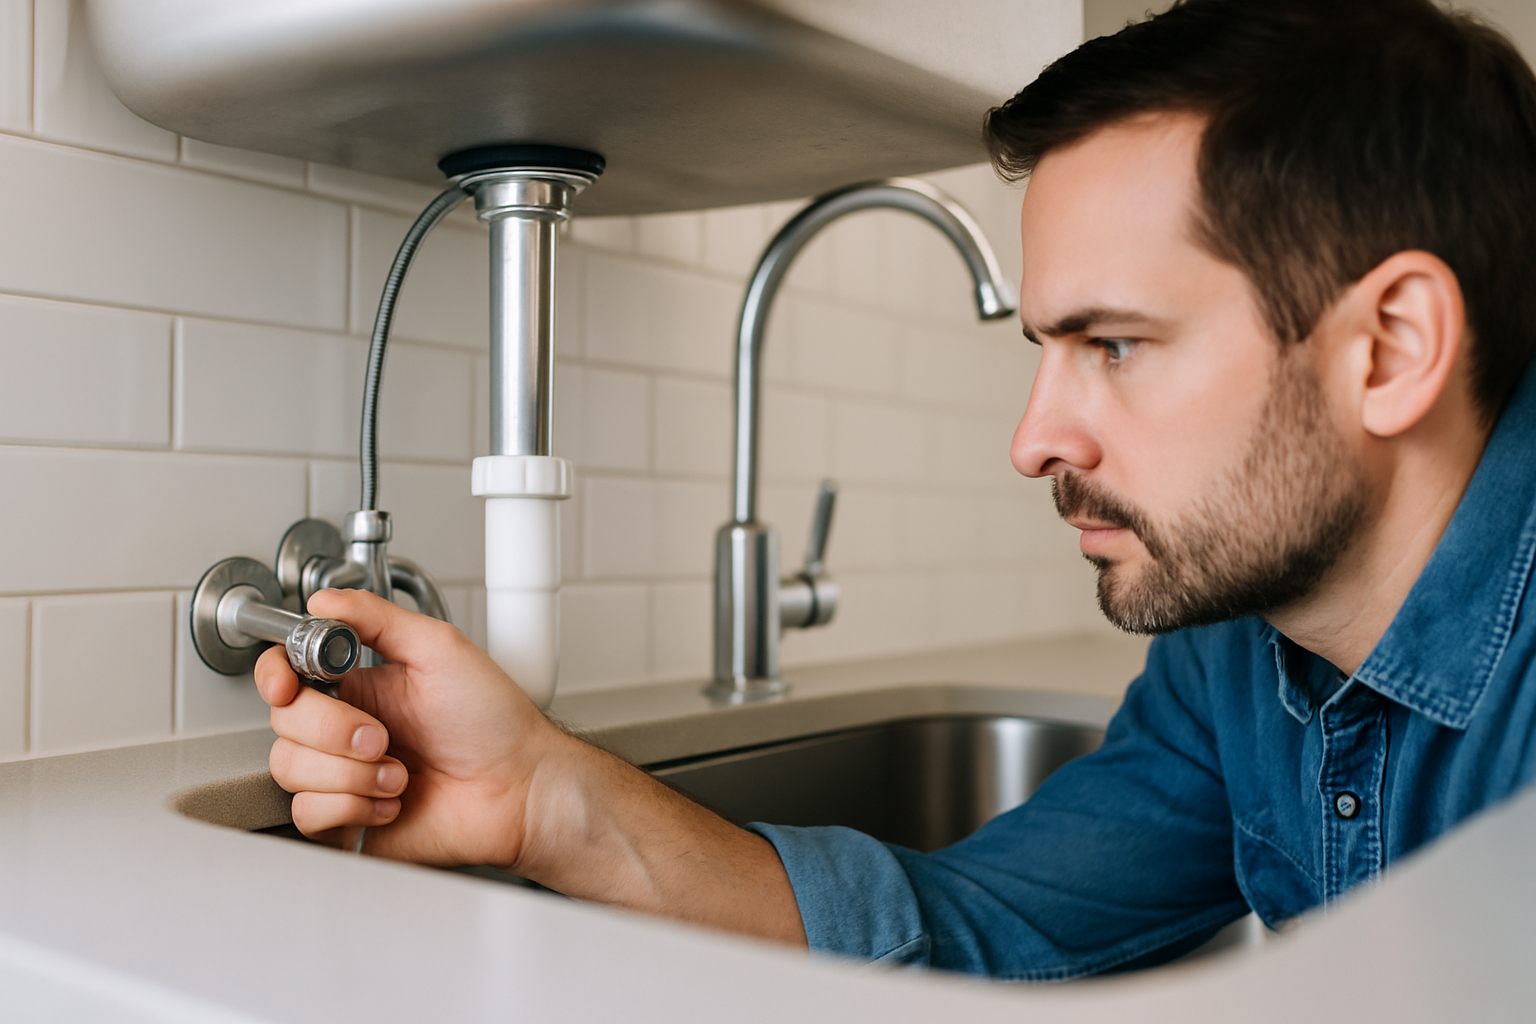
To identify the shut-off valves, look for two knobs or levers located on the pipes beneath the sink. The hot water valve is typically on the left, while the cold water valve is on the right. These valves can be either a knob that you turn clockwise or a lever that you pull or push. Ensuring you know which valve corresponds to each water line can save time during emergencies.
Turning Off the Main Water Supply
If the under-sink valves are not functioning or are unreachable, locate the main water supply shut-off for your home. This valve is commonly found in the basement, crawl space, or near the perimeter of your home, close to the foundation. Turning off the main supply will stop all water flow to your house, but it may be necessary for extensive repairs or emergencies.
Key Points:
- Know the location of your sink’s shut-off valves.
- Understand the main water supply shut-off for emergencies.
💡 Regularly check valve functionality to ensure they can be easily turned off when needed.
Step-by-Step Process to Turn Off Water
Turning off the water supply to your kitchen sink is a straightforward process that can prevent water damage and facilitate repairs. Start by clearing the area under the sink to access the shut-off valves easily. Once clear, locate the hot and cold water shut-off valves and turn them clockwise until they stop. This action will stop the water flow to the sink. After shutting off the valves, test the faucet by turning it on to ensure the water has stopped completely. If you experience any issues or leaks, ensure that the valves are tightly closed or consider shutting off the main supply. This method is effective for both minor repairs and more significant plumbing tasks.
Clearing the Area
Before you begin, remove any items stored under the sink. This will provide you with the necessary space to maneuver and make the process easier. A clutter-free area also allows you to quickly respond to any leaks or unexpected situations.
Testing for Water Flow
After turning off the shut-off valves, always test the sink by turning on the faucet. This step verifies that the water supply is effectively cut off. If water still flows, double-check that the valves are fully closed. This precaution helps avoid any surprises during repairs.
Key Points:
- Clear the area under the sink for better access.
- Test the faucet after shutting off the water to ensure it’s completely off.
💡 Always have a bucket or towel handy to catch any residual water when you turn off the sink.
EXPERT TIPS Pro Advice
Label your shut-off valves.
Labeling your valves can save time during emergencies, ensuring you can quickly identify which valve to turn off without confusion.
Perform regular maintenance checks.
Regularly check the condition of your shut-off valves and pipes for signs of wear or leaks to prevent future problems.
Keep necessary tools nearby.
Having a wrench or pliers on hand can help if the valves are stuck or difficult to turn, making the process smoother.
Frequently Asked Questions
Conclusion
Turning off the water in your kitchen sink is essential for repairs and maintenance. Familiarize yourself with the shut-off valves, and remember to turn them clockwise to stop the flow and counterclockwise to restore it. Knowing how to address stuck valves can save you time.
🎯 Key Takeaways:
- Locate the shut-off valves under the sink for easy access.
- Understand the purpose of shutting off water before repairs.
- Identify hot and cold water valves for efficient maintenance.
- Use caution when turning valves to avoid damage.
- Consider professional help for stuck valves or complex issues.
Expert Advice: Always be prepared by knowing how to turn off your water supply. Regular maintenance of valves can prevent issues in the future. Empower yourself by practicing these steps before you need them.
Take a moment to locate your kitchen sink’s shut-off valves today, so you’re ready for any future maintenance.