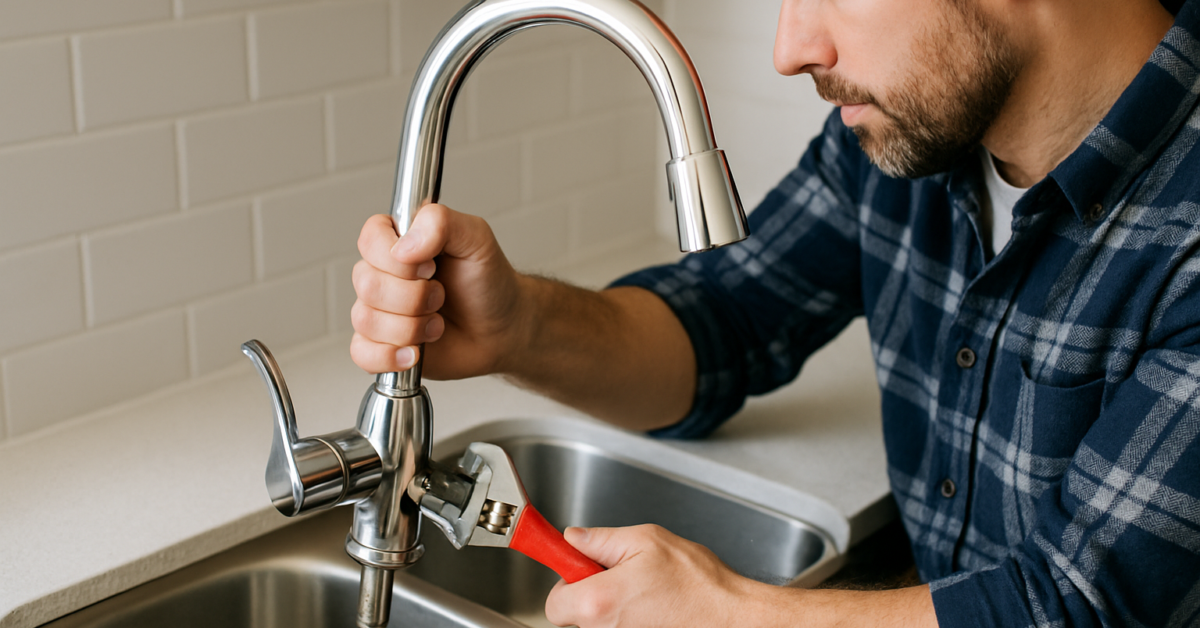
How to Take Out a Kitchen Faucet: A Step-by-Step Guide
Are you facing the challenge of replacing or repairing your kitchen faucet? Knowing how to take out a kitchen faucet can save you both time and money. Many homeowners shy away from DIY plumbing tasks for fear of making mistakes or causing leaks. However, with the right guidance and tools, this task can be manageable and straightforward. In this comprehensive guide, we’ll walk you through each step required to safely and effectively remove your kitchen faucet. From understanding the tools you’ll need to troubleshooting common issues, you’ll gain the confidence to tackle this project like a pro.
Understanding Your Kitchen Faucet
Before attempting to take out a kitchen faucet, it’s crucial to understand its components and how they function. Kitchen faucets typically consist of the spout, handle, and the mounting assembly. Familiarizing yourself with these parts will facilitate the removal process. Additionally, knowing the type of faucet you have—whether it’s a single-handle, double-handle, or pull-down model—will influence the method you use to take it out. Make sure to have a clear workspace, and gather necessary tools such as a basin wrench, screwdriver, and bucket to catch any residual water. This foundational knowledge will make the removal process smoother and more efficient.
Types of Kitchen Faucets
Kitchen faucets come in various styles, including single-handle, double-handle, and pull-out or pull-down models. Each type has a unique mechanism for operation. Single-handle faucets use one lever for both hot and cold water, while double-handle faucets require separate controls. Understanding the type of faucet you have will help determine the specific steps needed for removal.
Common Tools Required
To successfully take out a kitchen faucet, you’ll need some basic tools. A basin wrench is essential for reaching the nuts that secure the faucet to the sink, while a screwdriver can help with any screws. A bucket is also handy to catch any water that may spill during the process. Having these tools ready will streamline your work and minimize mess.
Key Points:
- Know your faucet type for effective removal
- Gather necessary tools before starting the process
Preparation Steps for Faucet Removal
Proper preparation is key to successfully removing your kitchen faucet. Start by turning off the water supply to avoid any leaks or spills during the process. Once the water is off, open the faucet to release any remaining water pressure. It’s also advisable to clear the area under the sink for easy access to the plumbing connections. Take a moment to inspect your faucet for any visible screws or nuts that may need attention. By preparing adequately, you’ll minimize the risk of damage and ensure a smoother removal.
Shutting Off the Water Supply
Locate the shut-off valves under your sink and turn them clockwise to close. If your sink doesn’t have individual shut-off valves, you may need to turn off the main water supply for your home. This step is crucial to prevent water from gushing out when you disconnect the faucet.
Clearing the Workspace
Before you start, remove any items from under the sink and clear the area around the faucet. This provides you with ample room to maneuver and reduces the chance of losing small parts during the removal process. A clean workspace also enhances safety and efficiency.
Key Points:
- Always turn off the water supply first
- Clear the work area to avoid complications
Preparation for Faucet Removal
Before diving into the removal of your kitchen faucet, proper preparation is essential to ensure a smooth process. Start by gathering the necessary tools, typically including a basin wrench, pliers, and a bucket to catch any water. Next, turn off the water supply to avoid any leaks or spills during the process. It’s also helpful to clear the area under the sink to give yourself ample working space and to make it easier to access the plumbing connections. Finally, have towels or a sponge handy to soak up any residual water that may escape when you begin disassembly.
Gathering Tools and Materials
To effectively remove your kitchen faucet, you will need specific tools. A basin wrench is crucial for loosening the nuts that secure the faucet to the sink, while pliers can help with any stubborn connections. Have a bucket ready to catch any water that may drip from the pipes during the process. Additionally, a towel or sponge will be useful for cleanup, ensuring that any remaining water is dealt with promptly.
Turning Off the Water Supply
Locate the shut-off valves beneath the sink and turn them counterclockwise until they are fully closed. If you cannot find these valves, you may need to turn off the main water supply for your home. This step is critical to prevent water from flowing when you disconnect the faucet. After closing the valves, turn on the faucet to drain any remaining water in the lines, ensuring a dry workspace and minimizing mess.
Key Points:
- Preparation is key for a successful faucet removal.
- Always turn off the water supply before starting.
💡 Always check for leaks after reinstallation to ensure a proper seal.
💡 Label any disconnected hoses or pipes for easier reassembly.
Step-by-Step Faucet Removal Process
Once you are prepared, you can begin the removal process. Start by disconnecting the water supply lines from the faucet using your basin wrench or pliers, being cautious of any residual water. Next, locate the mounting nuts that hold the faucet in place, usually found underneath the sink. Carefully loosen these nuts with your wrench, ensuring you support the faucet above. After all connections are removed, gently lift the faucet out of the sink. It’s crucial to keep track of all parts for reinstallation or replacement.
Disconnecting Water Supply Lines
Using your basin wrench or pliers, carefully disconnect the water supply lines from the faucet. Be prepared for a small amount of water to escape; having your bucket in place will help catch this. Ensure that you are turning the connections counterclockwise to prevent stripping the threads. If the connections are tight, you might need to apply a bit more force, but be cautious not to damage the fittings.
Removing the Faucet from the Sink
After the water supply lines are disconnected, locate the mounting nuts securing the faucet to the sink. Use your basin wrench to loosen these nuts. Once they are free, gently pull the faucet upwards to remove it from its mounting hole. Be sure to support the faucet from above to prevent it from falling. If there is any buildup of sediment or mineral deposits, it may be necessary to wiggle the faucet slightly to free it from the sink.
Key Points:
- Follow a systematic approach to avoid missing any connections.
- Always support the faucet during removal to prevent damage.
💡 Use a flashlight to see under the sink clearly; visibility can ease the process.
💡 If stuck, apply penetrating oil to rusted joints to facilitate easier removal.
EXPERT TIPS Pro Advice
Take photos during disassembly
Documenting each step with photos helps ensure that you can easily reassemble everything correctly, saving time and frustration during reinstallation.
Use a towel to collect water
Placing a towel under the sink while working can catch drips and help maintain a clean work area, making the process smoother.
Wear gloves for protection
Wearing gloves can protect your hands from sharp edges and any residual chemicals in the plumbing, enhancing safety during the project.
Frequently Asked Questions
Conclusion
Removing a kitchen faucet involves a few straightforward steps: turning off the water supply, disconnecting lines, and unscrewing mounting nuts. Equip yourself with necessary tools and knowledge. Taking photos can simplify reinstallation. Ensure you check for leaks after the new faucet is in place.
🎯 Key Takeaways:
- Turn off the water supply before starting.
- Use the right tools like a basin wrench.
- Document connections with photos for reference.
- Take time to clean the area before installing a new faucet.
Expert Advice: Approach the faucet removal with patience and care, ensuring safety and efficiency. If you feel uncertain, don’t hesitate to consult a professional to avoid complications.
Ready to tackle your kitchen faucet removal? Gather your tools and follow the steps outlined to get started today!


