Are you tired of your old undermount kitchen sink and ready for a change? Replacing an undermount kitchen sink can seem daunting, but it’s a manageable DIY project that can significantly enhance your kitchen’s aesthetics and functionality. With over 15 years of experience in home improvement projects, I’ll guide you through the entire process, ensuring that you have the confidence and knowledge to undertake this task successfully. In this article, you will learn about the necessary tools, the step-by-step replacement process, and tips to avoid common pitfalls. By the end, you’ll be well-equipped to replace your undermount kitchen sink effectively.
Understanding Undermount Kitchen Sinks
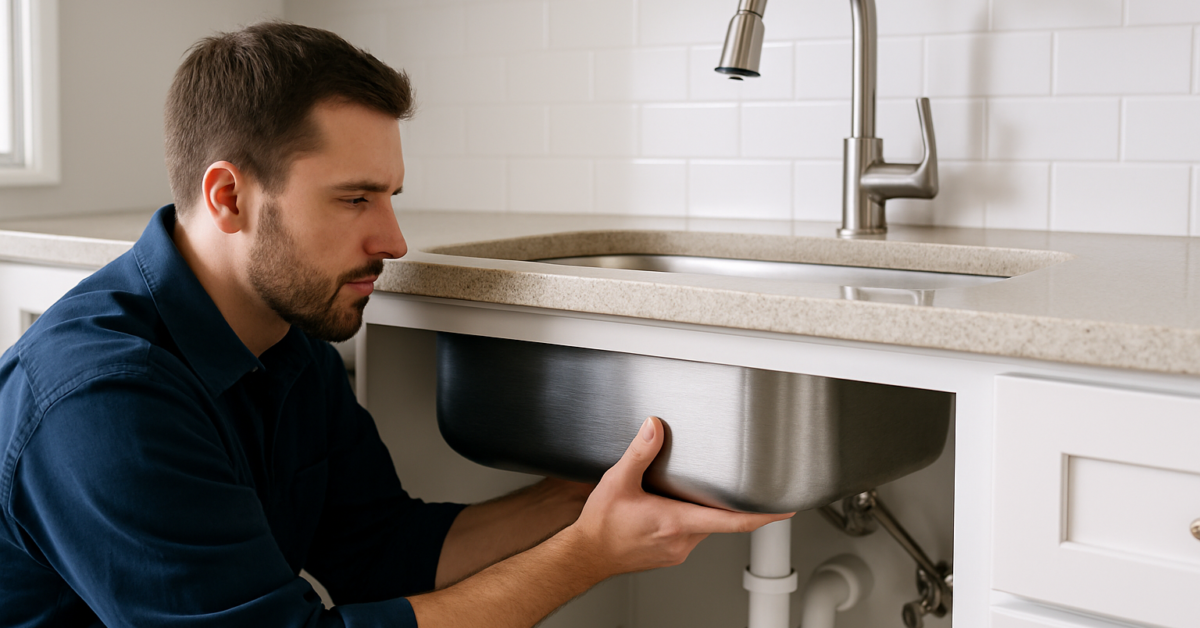
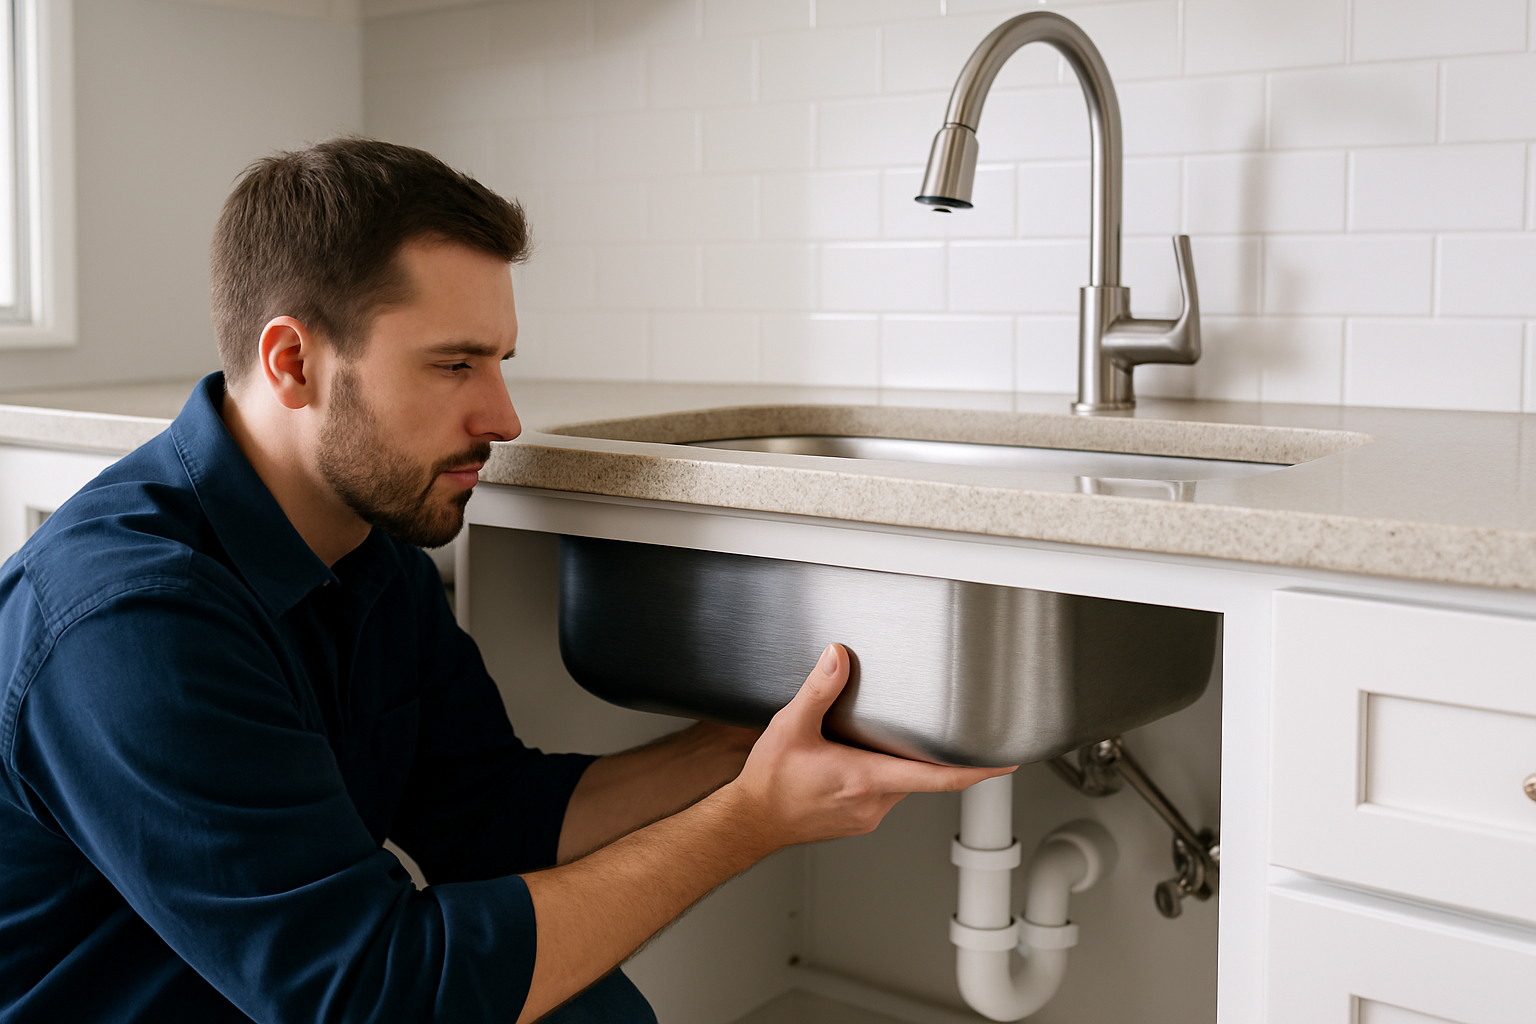
Undermount kitchen sinks are installed beneath the countertop, providing a seamless look and making it easier to clean the countertop. This design is popular in modern kitchens due to its aesthetic appeal and functionality. However, replacing an undermount sink can be more complex than a top-mounted sink because it often involves dealing with adhesives and potentially the countertop itself. Understanding the construction and installation process is essential for a successful replacement. Proper planning and knowledge can ensure that your new sink fits well and functions optimally.
Components of an Undermount Sink
An undermount sink typically consists of the sink basin, clips for securing it to the countertop, a drain assembly, and a sealant to prevent leaks. Knowing these components will help you identify what you need during the replacement process. The sink basin is usually made from materials such as stainless steel, porcelain, or composite, each offering different benefits regarding durability and maintenance.
Common Reasons for Replacement
There are several reasons you might need to replace your undermount sink, including damage from wear and tear, staining, or a change in kitchen design. Cracks, chips, or rust can compromise the sink’s integrity and lead to leaks. Additionally, upgrading to a larger or more modern sink can enhance functionality and aesthetics. Identifying the reason for replacement will guide your choice of the new sink.
Key Points:
- Undermount sinks provide a sleek, modern look and ease of cleaning.
- Understanding sink components is essential for a successful replacement.
Preparation for Sink Replacement
Before replacing an undermount kitchen sink, proper preparation is crucial to ensure a smooth process. This involves gathering the necessary tools, assessing the existing setup, and planning for any potential challenges. Depending on the type of countertop, the process may vary significantly, so being aware of your specific situation will help mitigate issues. Additionally, it’s important to turn off the water supply and disconnect plumbing to prevent any leaks or flooding during the replacement.
Essential Tools and Materials
To replace an undermount sink, you will need specific tools such as a screwdriver, wrench, utility knife, and possibly a pry bar. Materials may include a new sink, plumbing supplies, sealant, and clamps. Having everything ready before starting ensures a more efficient replacement process. Make sure to also have rags and a bucket handy to catch any residual water during disconnection.
Assessing Your Current Setup
Take time to evaluate your existing sink and countertop. Check for any damage and determine whether the new sink will fit the current cutout. If the new sink is larger or shaped differently, you may need to modify the countertop, which can add complexity to the project. Understanding these factors will help you make informed decisions during the replacement process.
Key Points:
- Proper preparation can prevent complications during the replacement.
- Assessing your current setup helps ensure the new sink fits properly.
Preparation for Replacing an Undermount Kitchen Sink
Replacing an undermount kitchen sink involves several preparatory steps to ensure a successful installation. First, gather all necessary tools and materials, including a putty knife, caulk, and safety gear. Turn off the water supply and disconnect the plumbing to prevent leaks. It’s essential to carefully measure the dimensions of the new sink to ensure it fits properly in the existing countertop cutout. Additionally, inspect the surrounding area for any damage or mold that may need addressing before installation. Lastly, take note of the sink’s installation instructions, as different sinks may require specific procedures.
Gathering Tools and Materials
Collect essential tools such as a wrench, screwdriver, and putty knife, as well as materials like caulk and mounting clips. Having everything on hand will streamline the process and minimize interruptions during installation.
Turning Off Water Supply and Disconnecting Plumbing
Before starting the replacement, ensure the water supply is turned off to avoid any leaks. Disconnect the plumbing by loosening the nuts connecting the faucet and drain lines, ensuring a dry workspace.
Key Points:
- Proper preparation is key to a successful sink replacement.
- Measure your new sink to ensure it fits the existing cutout.
💡 Label each plumbing connection as you disassemble it to simplify reassembly later.
💡 Always wear safety goggles and gloves to protect yourself from sharp edges and debris.
Installation Steps for an Undermount Kitchen Sink
Once preparation is complete, begin the installation process by applying a bead of silicone caulk around the sink’s edge. Carefully position the sink under the countertop cutout and attach it using the mounting clips provided. Ensure the sink is level by adjusting the clips as necessary. After securing the sink, reconnect the plumbing, ensuring all connections are tight to prevent leaks. Once everything is connected, turn the water supply back on and check for any leaks. Finally, clean up any excess caulk and debris to leave a polished finish.
Applying Silicone Caulk
Start by applying a continuous bead of silicone caulk around the top edge of the sink. This step is crucial as it creates a watertight seal between the sink and the countertop, preventing leaks.
Securing the Sink with Mounting Clips
Position the sink under the countertop and attach it using the mounting clips. Ensure the clips are tightened evenly to keep the sink level. A level sink is essential for proper drainage and aesthetics.
Key Points:
- Secure the sink properly to avoid future issues with leaks.
- Allow adequate curing time for the silicone caulk to ensure durability.
💡 Use a level to verify that your sink is perfectly aligned before securing it.
💡 Allow the caulk to cure for the recommended time before using the sink to ensure a strong seal.
EXPERT TIPS Pro Advice
Double-check measurements before cutting any materials.
Accurate measurements prevent costly mistakes and ensure a proper fit for your new sink.
Consider using a second pair of hands for heavy sinks.
Having assistance during installation can help avoid accidents and ensure the sink is positioned correctly.
Perform a water test before finalizing the installation.
Checking for leaks after installation ensures that any issues can be addressed immediately.
Choose high-quality caulk for better longevity.
Quality caulk can withstand moisture and temperature changes, extending the life of your installation.
Frequently Asked Questions
Conclusion
Replacing an undermount kitchen sink can enhance both functionality and aesthetics. Key steps include gathering the right tools, removing the old sink carefully, sealing the new sink properly, and ensuring secure plumbing connections. Taking your time and following instructions will yield the best results.
🎯 Key Takeaways:
- Gather essential tools before starting the replacement process.
- Carefully remove the old sink to avoid damaging the countertop.
- Proper sealing is crucial to prevent water damage.
- Double-check all plumbing connections for leaks.
Expert Advice: Approach the replacement project methodically, and don’t hesitate to consult resources or professionals if needed. This will ensure a successful installation and long-lasting results.
Ready to upgrade your kitchen? Start your sink replacement project today and enjoy your newly enhanced space!