Have you ever struggled with a kitchen sink spray hose that just won’t work? You’re not alone. Many homeowners face this frustrating issue, but the good news is that learning how to replace a kitchen sink spray hose is easier than you might think. With over 15 years in plumbing and home improvement, I’ve helped countless homeowners tackle this common problem with confidence. In this guide, you will discover a step-by-step approach to replacing your spray hose, tips for ensuring a proper fit, and advice on maintenance to extend its lifespan. Say goodbye to leaks and hello to a fully functional sink with our expert insights!
Understanding the Kitchen Sink Spray Hose
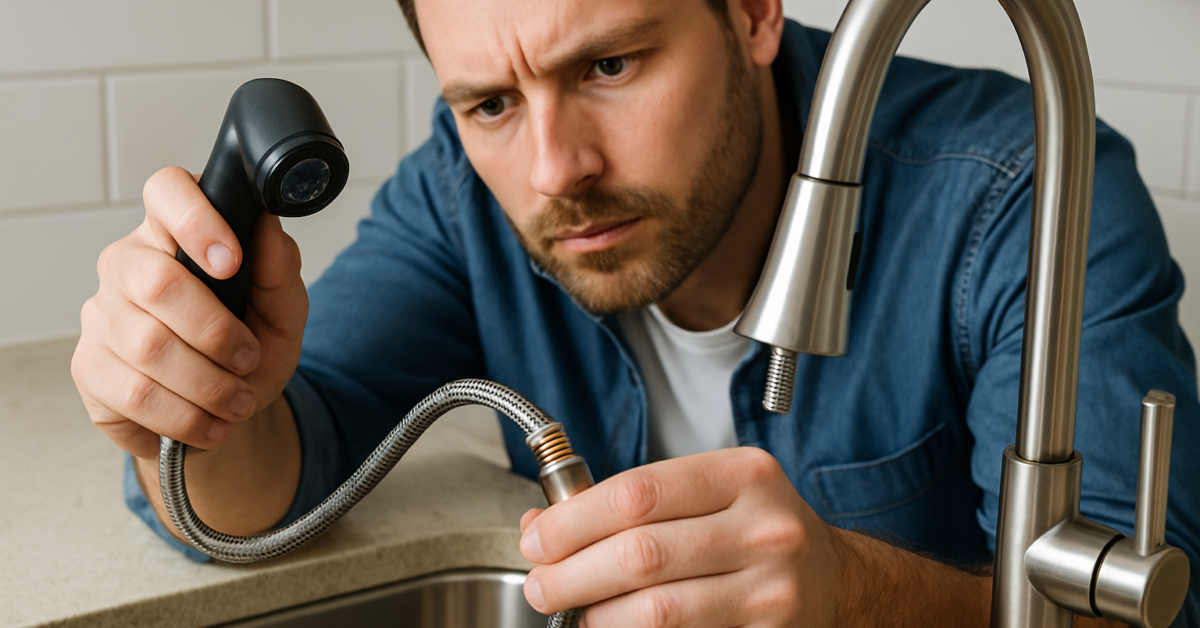
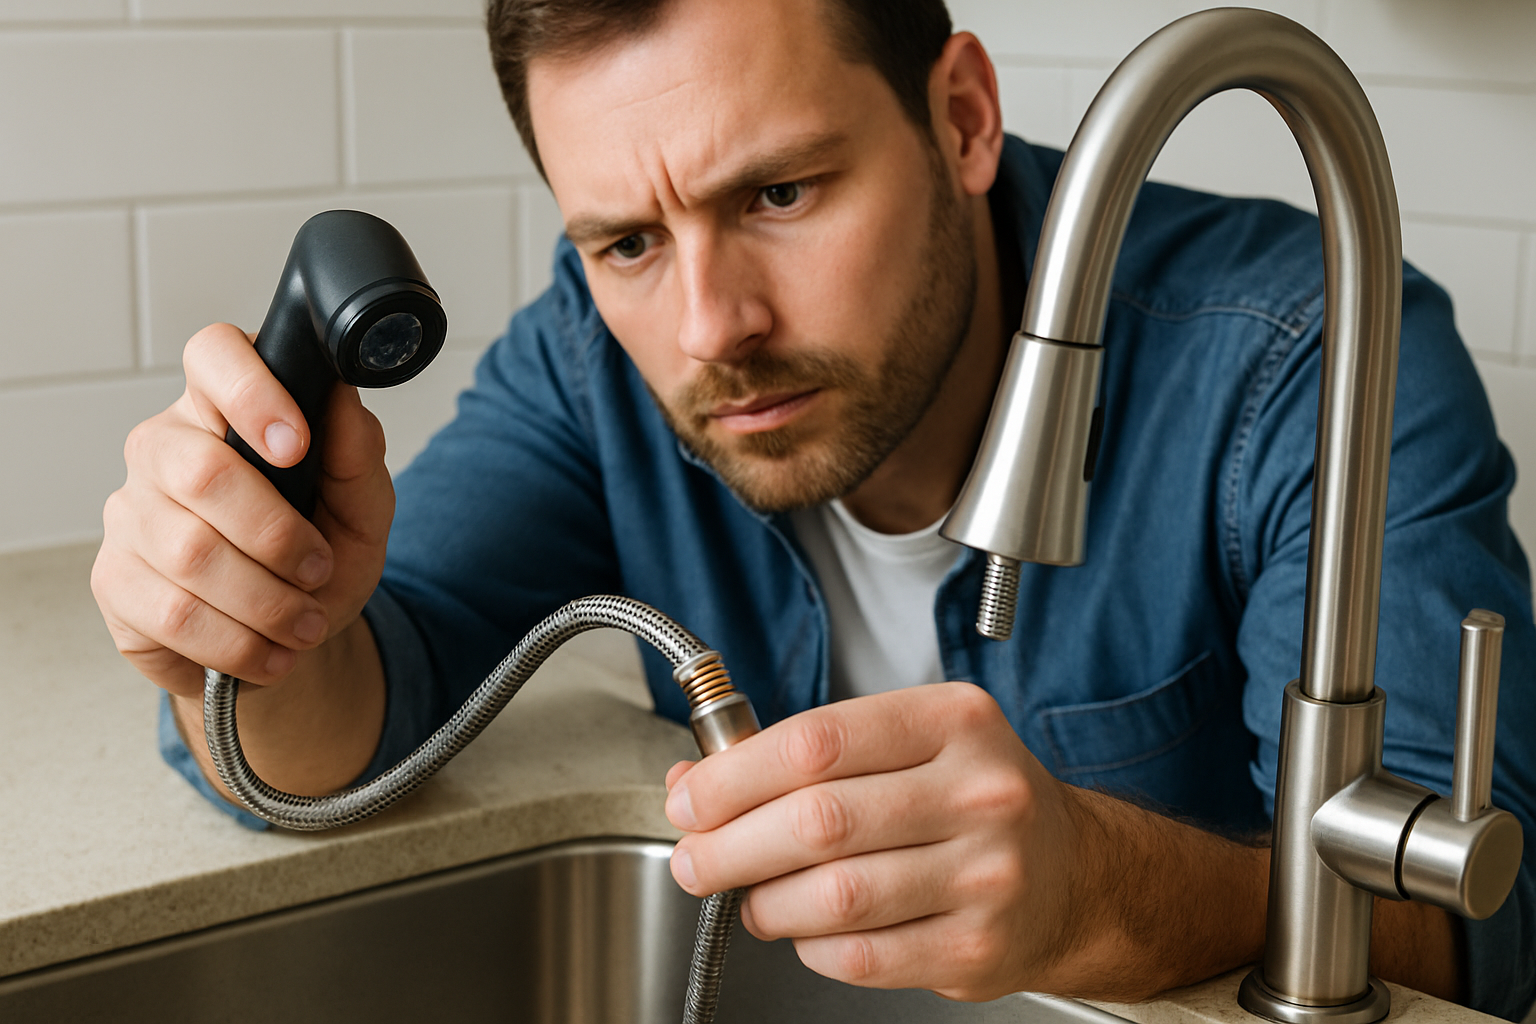
A kitchen sink spray hose is an essential component that enhances the functionality of your kitchen faucet. It allows for easy rinsing of dishes, cleaning of the sink, and filling pots. Understanding its construction and operation is crucial before attempting to replace it. Typically, spray hoses are made from flexible materials like rubber or vinyl, designed to withstand water pressure and frequent use. Familiarizing yourself with the parts of the spray hose system, including the sprayer head, hose, and connectors, ensures a smoother replacement process. Additionally, knowing the common issues that arise with spray hoses, such as leaks or clogs, can help you identify when replacement is necessary.
Common Issues with Spray Hoses
Spray hoses can develop several problems over time. Common issues include leaks, which may occur due to wear and tear, or clogs caused by mineral buildup. Identifying these problems early can save you from more extensive repairs. Regularly inspecting the hose for cracks or corrosion can help maintain its condition. If you notice water pooling under the sink or a weak spray, it may be time to consider a replacement.
Identifying Your Spray Hose Type
Before replacing a kitchen sink spray hose, it’s essential to identify the type of hose you have. Spray hoses come in various lengths and connection styles. Measure the existing hose to ensure you purchase the correct size. Additionally, check the connector type, as they can vary between models and may affect compatibility with your new hose. Understanding these details will streamline your replacement process.
Key Points:
- A kitchen sink spray hose enhances kitchen efficiency.
- Regular inspections can prevent the need for frequent replacements.
Preparation for Replacement
Replacing a kitchen sink spray hose requires some preparation to ensure a successful installation. First, gather the necessary tools, which typically include a wrench, pliers, and a bucket to catch any water. Before starting, turn off the water supply to avoid any spills. It’s also advisable to clear out the cabinet under the sink for easier access. Understanding the layout of your plumbing can help you visualize the replacement process, making it more straightforward. Lastly, familiarize yourself with any specific instructions that may be included with your new hose, as installation methods can vary slightly between models.
Gathering Tools and Materials
Before starting the replacement, ensure you have all the necessary tools on hand. A wrench and pliers are typically required to detach the old hose and secure the new one. Having a bucket or towel ready can help manage any residual water that may leak during the process. Preparing your workspace by removing items from under the sink can also make the replacement easier and more efficient.
Turning Off Water Supply
Before beginning any plumbing work, always turn off the water supply to the sink. Locate the shut-off valves under the sink and turn them clockwise to close them. This step is critical to prevent flooding and water damage during the replacement process. After turning off the supply, run the faucet to release any remaining water in the lines.
Key Points:
- Preparation is key for a smooth replacement process.
- Turning off the water supply prevents unwanted leaks.
Understanding the Components of a Kitchen Sink Spray Hose
Before replacing a kitchen sink spray hose, it’s vital to understand its components. The spray hose typically consists of a flexible hose, a sprayer head, and a weight for proper positioning. Familiarizing yourself with these parts will help you identify issues and facilitate a smoother replacement process. Check for any signs of damage such as leaks or kinks in the hose, which can indicate that a replacement is necessary. Always ensure that you have the correct measurements before purchasing a new hose to avoid compatibility issues.
Identifying Common Issues
Common issues with a kitchen sink spray hose include leaks, reduced water pressure, and a malfunctioning sprayer head. Leaks can often be found at connection points, while low pressure may indicate a blockage. Identifying these problems early can save time and prevent further damage.
Gathering Necessary Tools
To replace a kitchen sink spray hose, gather essential tools such as an adjustable wrench, pliers, a bucket to catch any water, and a towel for cleanup. Having the right tools on hand will streamline the process and reduce frustration during the replacement.
Key Points:
- Understanding component issues can save time in repairs.
- Gathering tools in advance ensures a smoother replacement process.
💡 Always turn off the water supply before starting to avoid flooding.
💡 Have a towel and bucket ready to catch water during the replacement process.
Step-by-Step Guide to Replacing a Kitchen Sink Spray Hose
Replacing a kitchen sink spray hose involves several key steps. First, disconnect the existing hose from the sprayer and the water supply. Then, remove any weight attached to the hose. Next, install the new hose by attaching it securely to both the sprayer and the water supply. Finally, test the new hose for leaks before securing everything back in place. This systematic approach minimizes errors and ensures the new hose functions optimally.
Disconnecting the Old Hose
Begin by turning off the water supply and disconnecting the old hose from the spray head and the water supply connection. Use an adjustable wrench to loosen the fittings. Be prepared for water to spill out, so have your bucket and towel ready.
Installing the New Hose
Attach the new hose to the sprayer head and water supply, ensuring each connection is tight to prevent leaks. If a weight is included, slide it onto the hose at the appropriate position to facilitate proper hanging and function.
Key Points:
- Following a step-by-step process reduces the chance of errors.
- Testing for leaks ensures a successful installation.
💡 Test the connections with water before finalizing the installation.
💡 Double-check all parts for compatibility to avoid issues during installation.
EXPERT TIPS Pro Advice
Measure your old hose before purchasing a new one.
This ensures that the new hose will fit correctly, preventing the hassle of returns and additional work.
Consider using plumber’s tape on connections.
Plumber’s tape helps create a watertight seal, reducing the likelihood of leaks at the connection points after installation.
Check the manufacturer’s instructions for specific guidance.
Each hose might have unique installation requirements; following specific guidelines helps avoid common pitfalls.
Inspect the sprayer head for clogs.
Cleaning or replacing the sprayer head can improve water flow, ensuring optimal performance of the new hose.
Keep an eye on the hose after installation.
Monitoring the new hose for the first few days can help catch any early signs of leaks or improper connections.
Frequently Asked Questions
Conclusion
Replacing a kitchen sink spray hose is a straightforward process that can save you money and time. Ensure you have the right tools, choose a compatible hose, and follow proper steps for removal and installation. With a little care, your new hose will function effectively.
🎯 Key Takeaways:
- Gather necessary tools like pliers and a bucket.
- Turn off the water supply before starting.
- Choose a compatible replacement hose for the best fit.
- Test for leaks after installation to ensure a tight seal.
Expert Advice: Take your time during the replacement process to avoid mistakes. Following the outlined steps will help you successfully replace your kitchen sink spray hose without the need for professional help.
Ready to tackle your kitchen upgrade? Gather your tools and get started on replacing your spray hose today!