How to Replace Kitchen Faucet: A Complete Guide
Are you tired of your old, leaky kitchen faucet? Knowing how to replace kitchen faucet can save you time and money, and it’s a rewarding DIY project. With over 15 years of experience in home improvement, I can guide you through the process step-by-step. In this article, you’ll learn about the essential tools needed, the steps to remove the old faucet, and how to install the new one correctly. Whether you’re a seasoned DIYer or a beginner, our tips will ensure you can confidently tackle this project and enjoy a functional, stylish kitchen faucet in no time.
Understanding Kitchen Faucets
Before embarking on the journey of replacing your kitchen faucet, it’s essential to understand the different types available and their components. Kitchen faucets come in various styles, including pull-down, pull-out, and traditional faucets, each serving specific purposes and preferences. Familiarizing yourself with these options will help you choose a replacement that fits your needs and aesthetics. Additionally, knowing the basic components of a faucet, such as the spout, handle, and cartridge, can simplify the replacement process significantly.
Types of Kitchen Faucets
Kitchen faucets can be categorized based on their design and functionality. Pull-down faucets feature a spray head that can be pulled down for easier rinsing, while pull-out faucets allow the user to pull the nozzle outwards. Traditional faucets usually have separate handles for hot and cold water. Understanding these types will help you select the best fit for your kitchen.
Components of a Faucet
A standard kitchen faucet consists of several key components: the spout, handle, cartridge, and base. The spout is where the water flows out, while the handle controls the water’s temperature and flow. The cartridge is crucial as it regulates water flow and pressure. Knowing these components will aid in troubleshooting and replacement during your DIY project.
💡 Research different faucet types to find what suits your cooking style
💡 Familiarize yourself with faucet parts to ease installation
Preparation for Replacement
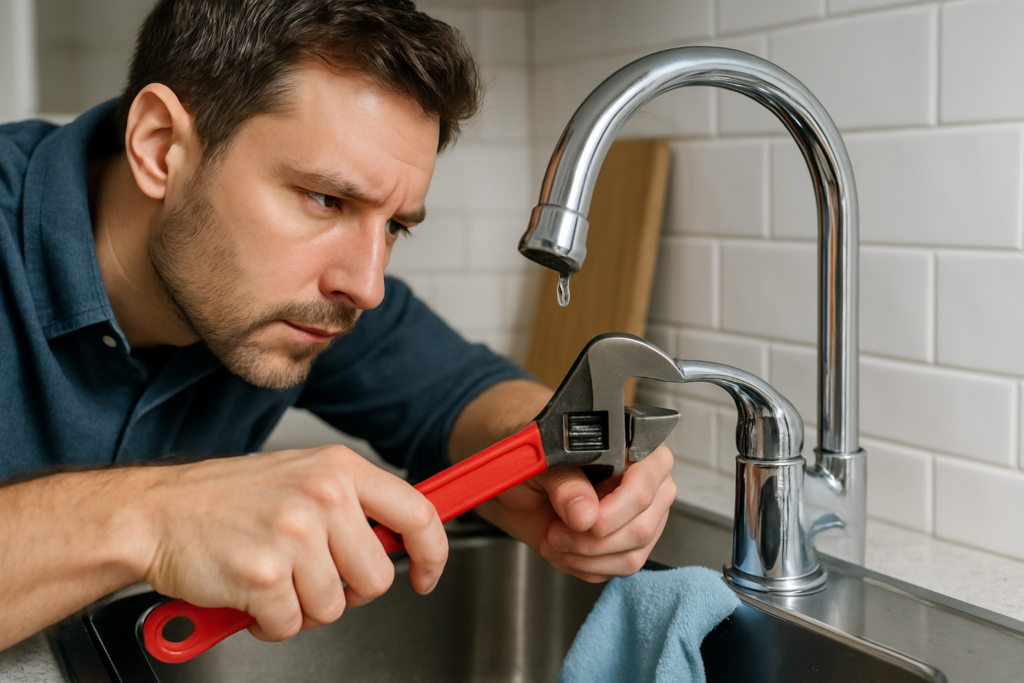
Proper preparation is vital for a successful kitchen faucet replacement. Start by gathering all necessary tools, such as an adjustable wrench, basin wrench, and plumber’s tape. Before beginning the project, turn off the water supply to avoid any leaks or flooding. Clearing the area under the sink will provide ample workspace and prevent unnecessary clutter during the process. Taking these preparatory steps will streamline your installation and reduce the risk of complications.
Essential Tools for Replacement
To replace a kitchen faucet efficiently, you will need certain tools. An adjustable wrench is crucial for loosening and tightening nuts, while a basin wrench helps access hard-to-reach areas. Plumber’s tape is also important for sealing threads on water supply lines. Having these tools ready can significantly speed up the replacement process.
Shutting Off the Water Supply
Before starting any work, locate the shut-off valves under your sink and turn them clockwise to stop the water flow. It’s advisable to test the faucet to ensure that no water is coming out. If there are no shut-off valves, you may need to turn off the main water supply for your home. This precaution is essential to prevent water damage during the replacement.
💡 Always keep your tools organized to avoid losing them
💡 Double-check that the water supply is off before proceeding
Preparation for Faucet Replacement
Before diving into replacing your kitchen faucet, it’s crucial to prepare adequately. Start by gathering the necessary tools, such as a basin wrench, adjustable wrench, and plumber’s tape. Turn off the water supply to prevent any leaks or flooding during the process. Next, remove any existing faucet components, including the handles and supply lines, to create a clean workspace. Having a towel handy is also beneficial for cleaning up any residual water.
Tools You’ll Need
To successfully replace a kitchen faucet, ensure you have the right tools at your disposal. Essential tools include a basin wrench for tightening and loosening nuts, an adjustable wrench for gripping various sizes, and plumber’s tape for sealing connections. Additionally, a screwdriver set may be necessary for removing the faucet handles and securing the new fixture.
Turning Off Water Supply
Locate your home’s main water shut-off valve, typically found under the sink or in the basement. Turn the valve clockwise to shut off the water supply. After this step, it’s advisable to open the faucet to relieve any remaining pressure and ensure no water flows while you work on the replacement.
Key Points:
- Preparation is essential for a smooth faucet replacement process.
- Gathering the right tools minimizes the risk of errors.
💡 Double-check the size of your new faucet to ensure compatibility with existing plumbing.
💡 Always wear protective gloves to prevent cuts or injuries while handling tools and plumbing parts.
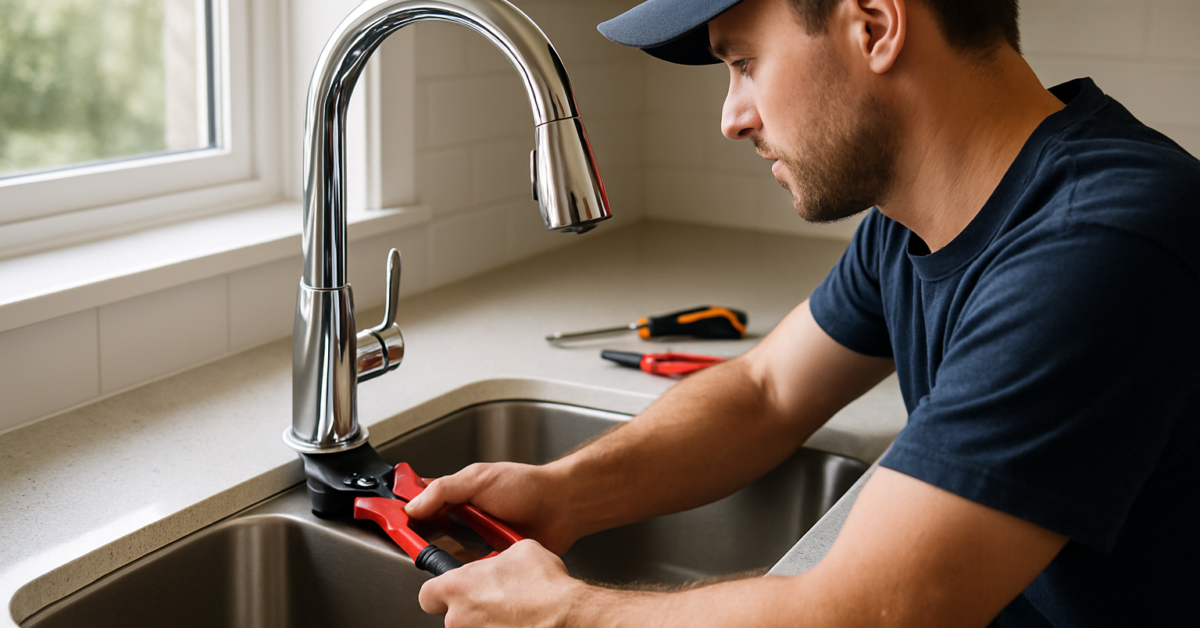
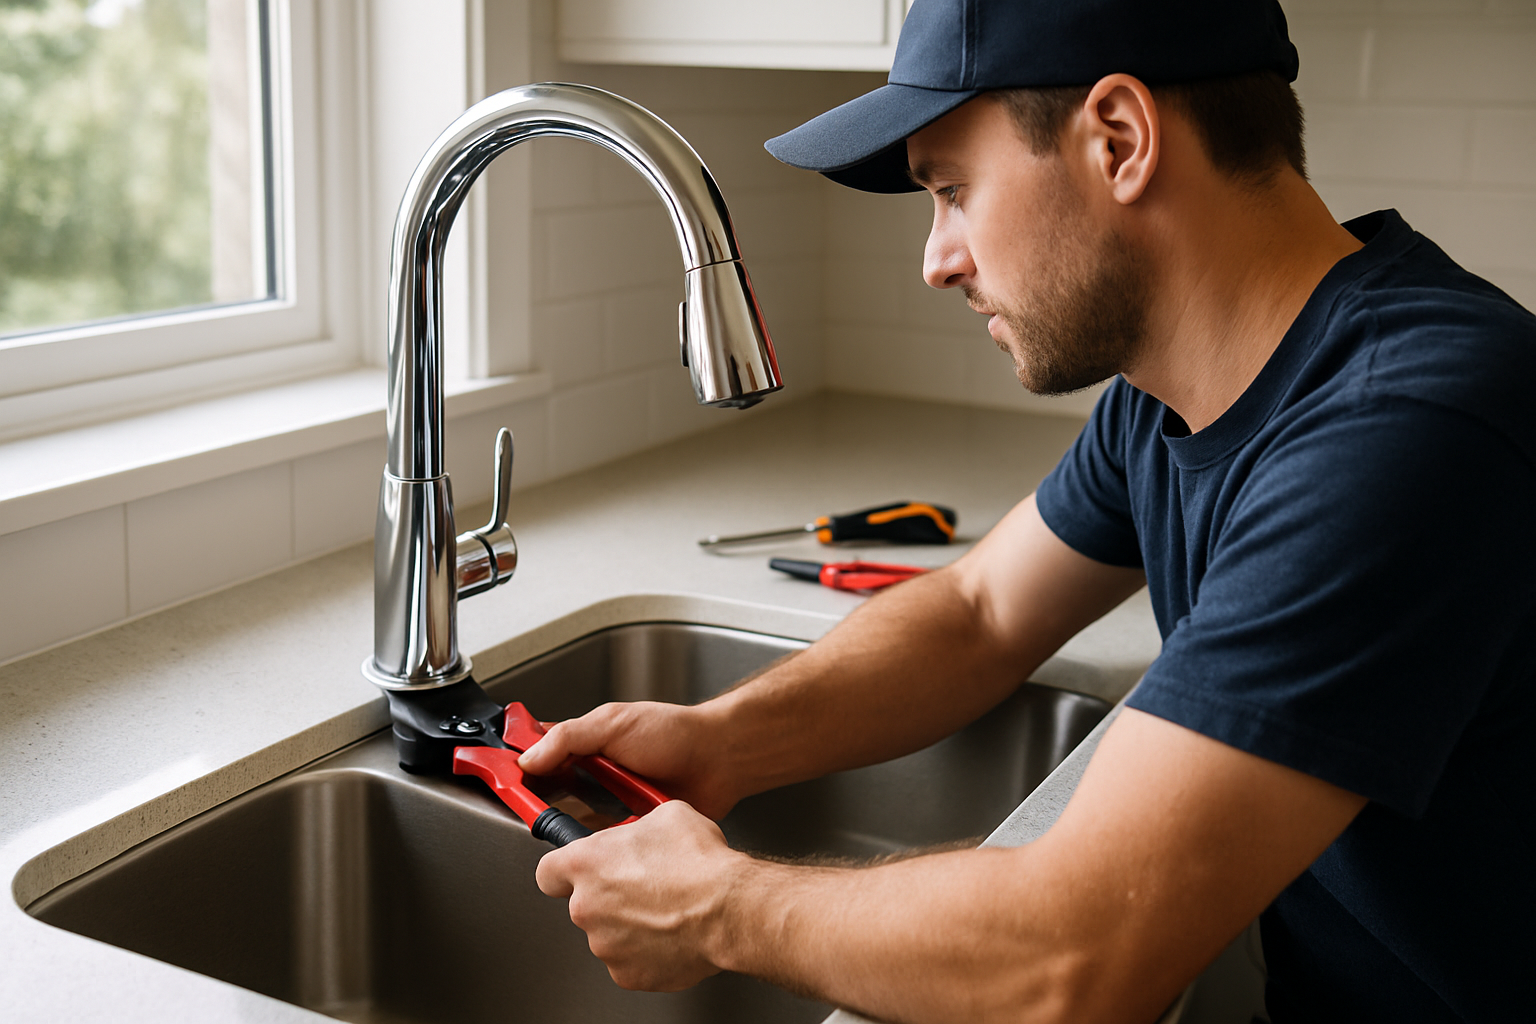
Installing the New Faucet
Once you’ve prepared, the next step is to install your new kitchen faucet. Begin by following the manufacturer’s instructions for mounting the faucet base and connecting the supply lines. Ensure the faucet is aligned properly with the sink and that all connections are secure. After completing the installation, turn the water supply back on and check for leaks. It’s crucial to test the faucet functionality before finalizing the installation.
Mounting the Faucet Base
Start by placing the new faucet base onto the sink’s mounting holes. Secure it using the included mounting hardware, typically nuts and washers. Ensure that the base is level and properly aligned to prevent any issues with water flow later on. Tightening the hardware with a wrench can help secure the base firmly to the sink.
Connecting Supply Lines
After mounting the faucet, it’s time to connect the supply lines. Use plumber’s tape on the threads of the supply lines to prevent leaks. Attach the hot and cold water lines to their respective inlets on the faucet, ensuring they are tightened securely but not overtightened, which can cause damage to the fittings.
Key Points:
- Proper alignment during installation is critical for optimal performance.
- Testing for leaks post-installation can save you from future water damage.
💡 Use a level tool to check that your faucet is straight before fully tightening it.
💡 Always check for leaks after installation by running the faucet for a few minutes.
EXPERT TIPS Pro Advice
Take photos during disassembly
Photographing each step helps you remember the original configuration, making reassembly easier.
Consider the sink’s material
Different sinks require specific installation techniques; knowing your sink type helps ensure a secure fit.
Consult local plumbing codes
Being aware of local plumbing regulations can help you avoid potential issues during installation.
Perform regular maintenance checks
Regularly checking your faucet for leaks can prolong its lifespan and prevent costly repairs.
Frequently Asked Questions
Conclusion
Replacing a kitchen faucet can be a straightforward DIY task. Gather the necessary tools, ensure you turn off the water supply, and follow the installation steps carefully. Troubleshoot any leaks by checking connections. With patience and attention to detail, you can successfully complete the project.
🎯 Key Takeaways:
- Gather essential tools like a basin wrench and plumber’s tape.
- Always turn off the water supply before starting.
- Carefully remove the old faucet and install the new one.
- Check for leaks after installation and troubleshoot as needed.
Expert Advice: Approach the faucet replacement process with confidence and take your time. Following each step carefully will help ensure a successful installation without leaks. Don’t hesitate to consult online guides for visual assistance.
Ready to tackle your kitchen faucet replacement? Gather your tools and start your project today!