Are you facing low water pressure or leaks from your kitchen faucet? Knowing how to replace the hose on your kitchen faucet can save you both time and money on repairs. With over 15 years of experience in plumbing maintenance, we’ve compiled a thorough guide that will walk you through each step of the process. In this article, you will learn about the tools you’ll need, the steps to safely remove and replace the hose, and tips to ensure a watertight seal. Whether you’re a seasoned DIYer or a beginner, our expert advice will empower you to tackle this common household issue with confidence.

Understanding Your Kitchen Faucet Hose
Before diving into the replacement process, it’s important to understand the components of your kitchen faucet. The hose connects the faucet to the water supply and allows for water flow. Common issues that necessitate replacement include leaks, kinks, or deterioration over time. Familiarizing yourself with the type of hose used in your faucet will help you select the right replacement. Additionally, knowing the installation method of your current hose, whether it’s a threaded connection or a quick-connect type, will guide your approach during replacement.
Identifying Hose Types
Kitchen faucet hoses can vary significantly in design. The most common types include braided stainless steel and reinforced rubber hoses. Braided hoses are typically more durable and resistant to kinks, while rubber hoses are more flexible but can wear out faster. Identifying the type of hose your faucet uses is crucial for ensuring compatibility with your replacement.
Common Issues with Faucet Hoses
Leaking hoses are the most frequent problem homeowners encounter, often caused by wear and tear or loose connections. Additionally, kinks can restrict water flow, affecting performance. Understanding these common issues can help you recognize when it’s time for a replacement, ensuring that your faucet operates efficiently.
💡 Inspect your hose regularly for wear and tear to prevent sudden failures.
💡 Familiarize yourself with your faucet’s installation guide to ease the replacement process.
Preparing for Hose Replacement
Replacing the hose on your kitchen faucet requires some preparation to ensure a smooth process. Start by gathering necessary tools, such as a wrench, bucket, and towel, to catch any residual water. Before beginning the replacement, turn off the water supply to avoid flooding your kitchen. Ensuring you have the right replacement hose on hand will also prevent delays during the process. A little preparation can make a significant difference in the efficiency and effectiveness of your repairs.
Tools Needed for Replacement
Essential tools for replacing a kitchen faucet hose include an adjustable wrench, a bucket to catch any water, and towels for cleanup. Having these tools ready will streamline the process and help you avoid any frustrating interruptions. If you encounter stubborn fittings, a pair of pliers may also come in handy.
Turning Off Water Supply
Before you start the replacement, locate the shut-off valves under the sink and turn them clockwise to stop the water flow. This step is crucial to prevent any unexpected leaks during the hose removal. If your sink doesn’t have individual shut-off valves, you may need to turn off the main water supply for your home.
💡 Prepare your workspace by clearing out under the sink for easy access.
💡 Always check for leaks after installation to ensure proper sealing.
Understanding Your Kitchen Faucet Hose
Before replacing the hose on your kitchen faucet, it’s essential to understand its components and functionality. Most kitchen faucets feature a flexible hose that connects the faucet to the water supply. Familiarizing yourself with the type of hose used in your faucet will simplify the replacement process. Check whether your faucet has a pull-out or pull-down hose design, as this can affect how you approach the replacement. Additionally, ensure that you know the diameter and length of your existing hose to find a suitable replacement. Understanding these elements will save you time and effort when purchasing a new hose and prevent installation issues later.
Identifying Hose Types
Kitchen faucet hoses typically fall into two categories: pull-out and pull-down. Pull-out hoses retract into the faucet body, while pull-down hoses extend downward for more control. Knowing which type you have is crucial, as it influences the replacement process. Take note of any unique features, such as the attachment mechanism, which may require specific tools or techniques for removal and installation.
Measuring for Replacement
Accurate measurement of your existing hose is vital to ensure a proper fit. Use a tape measure to determine both the length and diameter of the hose. Most hoses have standard sizes, but variations exist. It’s beneficial to measure both the connection points on the faucet and the water supply to avoid mismatches. Remember, a hose that is too short can lead to installation challenges, while one that is too long may create unsightly loops.
Key Points:
- Understanding the hose type is crucial for a successful replacement.
- Accurate measurements prevent fitting issues during installation.
💡 Always turn off the water supply before starting any repairs to avoid leaks.
💡 Keep a bucket handy to catch any residual water when detaching the old hose.
💡 Take a picture of the original setup for reference during reassembly.
Step-by-Step Hose Replacement Process
Replacing a hose on your kitchen faucet can be accomplished with a few straightforward steps. Begin by gathering necessary tools such as an adjustable wrench, pliers, and a towel. First, disconnect the water supply lines and remove the old hose by loosening the connections at both ends. Next, install the new hose by attaching it securely to the faucet and the water supply, ensuring there are no kinks. Finally, turn the water supply back on, check for leaks, and test the operation of the faucet. Following these steps carefully will ensure a successful replacement and restore functionality to your kitchen faucet.
Disconnecting the Old Hose
To begin the replacement, locate the water supply valves under the sink and turn them off. Use an adjustable wrench to loosen the nuts connecting the old hose to both the faucet and the water supply. Be prepared for some water spillage, and have a towel or bucket ready. Once disconnected, gently pull the old hose out from the faucet assembly.
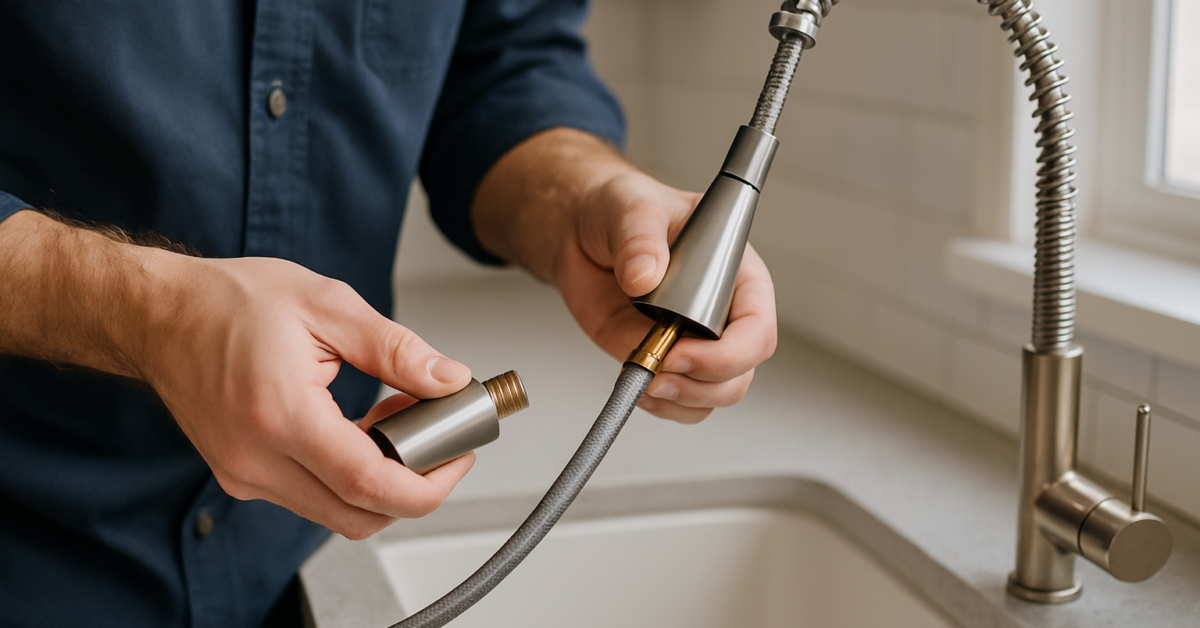
Installing the New Hose
After removing the old hose, insert the new one through the faucet assembly. Ensure that it is properly aligned and free of any twists or kinks. Secure the hose to the faucet and the water supply by tightening the nuts with the wrench. It’s advisable to hand-tighten first and then slightly tighten further with the wrench to avoid damage. Finally, check all connections for a snug fit.
Key Points:
- Turn off the water supply to prevent leaks during replacement.
- Tightening connections securely is key to preventing future leaks.
💡 Use teflon tape on threaded connections to prevent leaking.
💡 Always check for leaks after installation by running the faucet.
💡 If the hose feels stiff, soak it in warm water to make it more pliable during installation.
EXPERT TIPS Pro Advice
Inspect for wear and tear regularly
Regular inspections can help you catch issues like kinks or cracks early, preventing costly repairs down the line.
Consider hose material
Choosing a durable material can enhance the longevity of your faucet hose, reducing the frequency of replacements.
Maintain proper water pressure
Excessive water pressure can damage hoses over time. Ensuring the right pressure can prolong hose life.
Check compatibility before purchase
Ensure that the replacement hose is compatible with your faucet model to avoid installation issues.
Frequently Asked Questions
Conclusion
Replacing the hose on your kitchen faucet is a manageable DIY task. By equipping yourself with the right tools and following the necessary steps, you can effectively tackle this issue. Always turn off the water supply first, and check for leaks after installation to ensure everything is secure.
🎯 Key Takeaways:
- Identify signs of wear to know when to replace your faucet hose.
- Turn off the water supply before starting any repair work.
- Use plumber’s tape to prevent leaks at connections.
- Take your time to ensure a secure installation.
Expert Advice: Approach the replacement process with patience and precision. Familiarize yourself with your faucet’s setup and don’t hesitate to seek help if needed. A well-installed hose will enhance your kitchen’s functionality and prevent further issues.
Ready to take on the challenge? Gather your tools and start replacing that hose today!


