How to Repair a Leaky Kitchen Faucet: Simple Solutions
Is your kitchen faucet dripping and driving you crazy? You’re not alone; leaky faucets are a common household annoyance that can waste gallons of water and increase your utility bills. Understanding how to repair a leaky kitchen faucet can save you time, money, and frustration. With over 15 years of plumbing experience, I’ve tackled countless faucet repairs and compiled effective strategies to help you fix this issue yourself. In this guide, you’ll learn the essential tools you’ll need, step-by-step instructions for diagnosing the problem, and tips to prevent future leaks. Say goodbye to that dripping sound and take control of your plumbing today!
Understanding the Causes of a Leaky Kitchen Faucet
A leaky kitchen faucet can be caused by various factors, including worn-out seals, corroded parts, or improper installation. Identifying the root cause is crucial to effectively address the problem. Commonly, the faucet’s O-rings and washers deteriorate over time due to constant friction and exposure to water, leading to dripping. Other potential issues include loose connections and mineral buildup, which can impair the faucet’s function. Understanding these causes helps you approach the repair process systematically, ensuring a lasting fix rather than a temporary solution.
Worn-Out Washers and O-Rings
Washers and O-rings are integral components in faucets that create a watertight seal. When these parts wear down, they can lead to leaks. Inspecting these components regularly can prevent more extensive damage and costly repairs. Replacing worn washers and O-rings is a straightforward process that often resolves the leak.
Corroded Faucet Parts
Corrosion can weaken the structural integrity of faucet components, leading to leaks. This is particularly common in older faucets or those exposed to hard water. Regular maintenance, including cleaning and replacing corroded parts, can significantly extend the lifespan of your faucet.
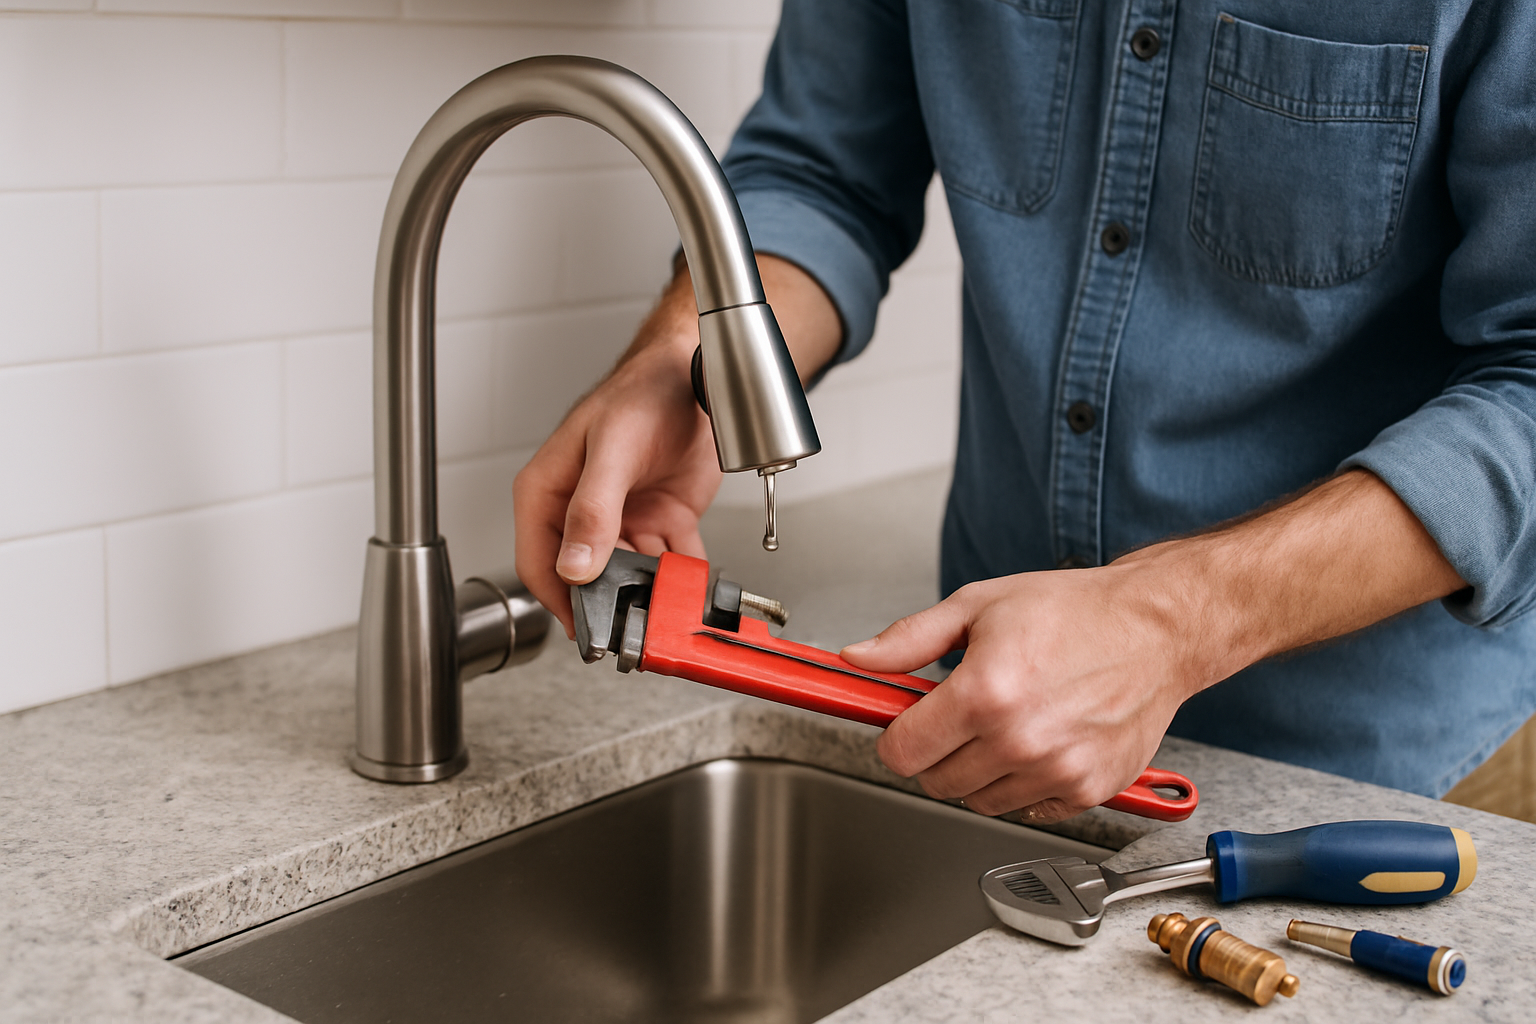
Tools and Materials Needed for Repairing a Leaky Kitchen Faucet
Before starting the repair process, gather the necessary tools and materials to ensure a smooth operation. Common tools include a wrench, screwdriver, and pliers. Additionally, you may need replacement washers, O-rings, or even a new cartridge, depending on the specific issue. Having all these items on hand before you begin can save time and prevent frustration during the repair. Furthermore, wearing safety goggles and gloves can enhance your safety while working on the faucet.
Essential Tools for Faucet Repair
Key tools for repairing a leaky faucet include an adjustable wrench, a flathead screwdriver, and a Phillips screwdriver. An adjustable wrench is ideal for loosening or tightening nuts, while screwdrivers assist in disassembling the faucet. Ensure that your tools are in good condition for effective use.
Replacement Parts to Consider
Depending on the leak’s cause, you may need various replacement parts, such as washers, O-rings, or a new cartridge. When selecting these parts, ensure they are compatible with your faucet model. Having the correct replacement parts is crucial for a successful repair and can save you time in the long run.
Understanding the Causes of a Leaky Kitchen Faucet
Before embarking on repairs, it’s essential to identify the root causes of a leaky kitchen faucet. The common culprits include worn-out washers, damaged O-rings, and corroded valve seats. A thorough understanding of these components can guide your repair efforts effectively, helping to prevent future leaks. Inspecting these parts can often reveal whether a simple replacement will suffice or if more extensive repairs are necessary. Familiarizing yourself with the anatomy of your faucet is also crucial, as different types of faucets—such as compression, cartridge, and ball faucets—have unique mechanisms and potential failure points that can lead to leaks.
Damaged O-Rings
O-rings are small rubber rings that are located on the faucet’s handle or spout. If they become cracked or damaged, they can allow water to escape. Inspecting and replacing O-rings is a straightforward process. Simply remove the handle and replace the damaged O-ring with a new one, ensuring a snug fit to prevent leaks.
Corroded Valve Seats
The valve seat connects the faucet to the spout and can corrode over time due to mineral deposits. This corrosion can prevent a tight seal. To address this issue, you may need to use a seat wrench to remove the valve seat and clean it. If cleaning doesn’t resolve the issue, consider replacing the valve seat altogether.
Key Points:
- Identifying the cause is crucial for effective repairs.
- Different faucet types require different approaches.
💡 Regularly check faucet components to catch wear early.
💡 Keep a record of your faucet’s maintenance history for better tracking.
💡 Use a flashlight to inspect hard-to-see areas for leaks.
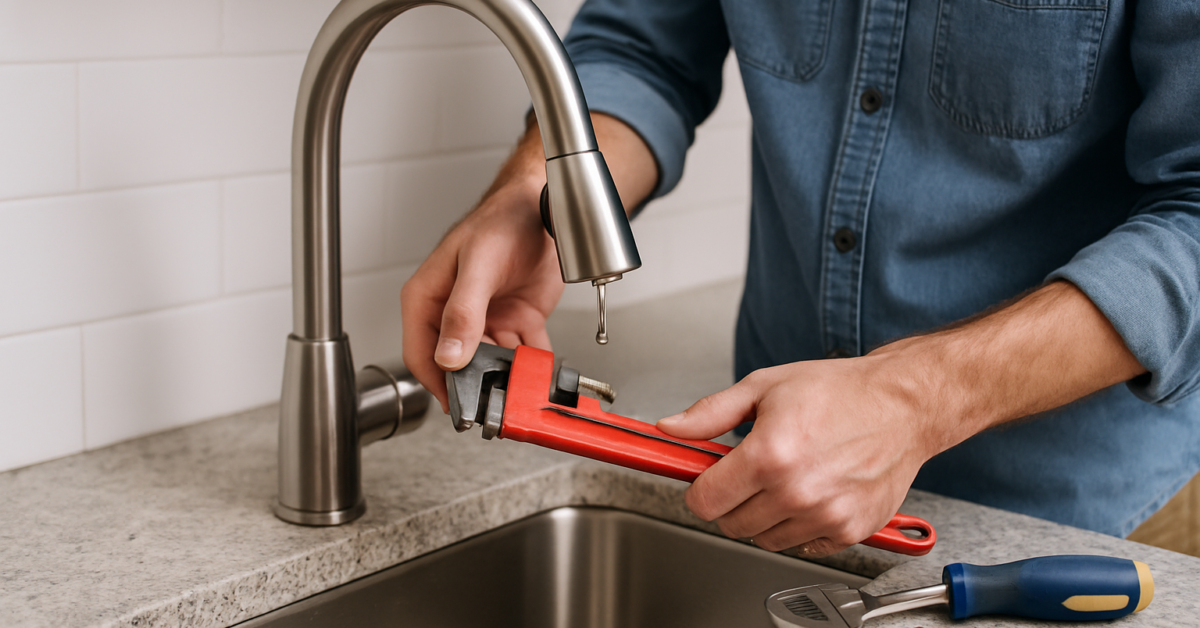
Step-by-Step Guide to Repairing a Leaky Kitchen Faucet
Once you have diagnosed the issue, it’s time to proceed with the repair. Start by turning off the water supply to the faucet to avoid any further leaks during the process. Next, gather the necessary tools such as a wrench, screwdriver, and replacement parts. Carefully disassemble the faucet, paying attention to how each component fits together to ensure correct reassembly. After replacing the faulty parts, reassemble the faucet and turn the water supply back on to test for leaks. This systematic approach will help ensure a successful repair and maintain your faucet’s functionality.
Gathering Necessary Tools
Before starting the repair, make sure you have all required tools on hand. Common tools include an adjustable wrench, Phillips and flathead screwdrivers, and replacement parts like washers or O-rings. Having everything ready helps streamline the process and reduces the likelihood of interruptions.
Disassembling the Faucet
Begin by turning off the water supply valves under the sink. Use a screwdriver to remove the handle and then carefully take apart the faucet components. Keep a close eye on how parts are arranged so you can easily reassemble them later. Take photos if necessary for reference.
Reassembling and Testing
After replacing any damaged parts, reassemble the faucet carefully. Ensure all components are fitted snugly to prevent future leaks. Once reassembled, turn the water supply back on slowly and check for leaks by running the faucet. If leaks persist, double-check your work for any missed steps.
Key Points:
- Preparation is key to a successful repair.
- Methodical disassembly and reassembly prevent errors.
💡 Always turn off the water supply before beginning repairs.
💡 Take photos during disassembly to aid in reassembly.
💡 Be patient and methodical to avoid mistakes during repairs.
EXPERT TIPS Pro Advice
Document your repairs
Keeping a log of repairs can help track recurring issues and inform future maintenance, saving you time and money.
Use plumber’s grease
Applying plumber’s grease on O-rings and washers can prolong their lifespan and ensure a better seal, reducing the chance of future leaks.
Know when to call a professional
If you’re uncomfortable with the repair process or if leaks persist after your efforts, it’s wise to seek professional help to avoid further damage.
Regular maintenance checks
Performing periodic inspections can help catch potential issues before they lead to significant leaks, ensuring the longevity of your faucet.
Consider water quality
Hard water can lead to mineral buildup, which contributes to leaks. Using a water softener can help mitigate this problem.
Frequently Asked Questions
Conclusion
Repairing a leaky kitchen faucet can often be a straightforward DIY task. Identifying the cause, using the right tools, and replacing worn components like washers can resolve most issues. However, if problems persist, consulting a professional is wise for effective solutions.
🎯 Key Takeaways:
- Common causes of leaks include worn washers and O-rings.
- Identifying the leak source is crucial for effective repairs.
- Basic tools can facilitate most faucet repairs.
- Replacing washers can often fix leaks.
- Persistent leaks may require professional assistance.
Expert Advice: Approach faucet repairs with patience and ensure you have the right tools. Take your time to disassemble and inspect each component carefully for a successful fix.
If you encounter difficulties, don’t hesitate to seek professional help to ensure your kitchen faucet is properly repaired.


