How to Put in a Kitchen Faucet: Your Complete Guide
Are you frustrated with your old kitchen faucet and considering a replacement? Learning how to put in a kitchen faucet can seem daunting, but with the right guidance, it can be a straightforward and rewarding DIY project. In this article, we’ll share our extensive experience in plumbing to help you understand the process step-by-step. From necessary tools to installation techniques, you’ll gain the confidence to tackle this project on your own. By the end, you’ll not only know how to successfully install a kitchen faucet but also avoid common pitfalls that many DIYers encounter. Get ready to enhance your kitchen with a brand-new faucet!
Understanding the Basics of Kitchen Faucet Installation
Installing a kitchen faucet may seem daunting, but understanding the basics can simplify the process. First, familiarize yourself with the components of your faucet, including the spout, handles, and mounting hardware. This knowledge helps in identifying the required tools and materials for installation. Additionally, consider whether you’re replacing an existing faucet or installing a new one. Each scenario may require different steps, particularly concerning plumbing connections. Preparing your workspace by clearing the area under the sink is also essential for a smooth installation.
Identifying the Components
A standard kitchen faucet typically consists of several components: the spout, handles, and the base plate. Familiarizing yourself with these parts is crucial, as they determine how to assemble and install the faucet correctly. Pay attention to the type of connections—compression or push-fit—as this will influence the installation process.
Assessing Your Installation Type
Determine if you’re replacing an old faucet or installing a new one. Replacing a faucet usually requires removing the old unit, while new installations might involve drilling holes for the faucet base. Each approach has unique requirements regarding plumbing and mounting, so be sure to identify your specific needs beforehand.
Key Points:
- Understanding faucet components is crucial for installation
- Assess installation type to streamline the process
Gathering Tools and Preparing for Installation
Before starting your faucet installation, gather the necessary tools to ensure a smooth process. Commonly required tools include a basin wrench, adjustable wrench, plumber’s tape, and a bucket to catch any residual water. Preparing these tools in advance minimizes interruptions during installation. Additionally, ensure that the water supply to the sink is turned off; this step is vital to prevent flooding and water damage. Having a clean, organized workspace will also enhance efficiency as you work through the installation steps.
Essential Tools for Installation
Key tools for installing a kitchen faucet include a basin wrench for tightening hard-to-reach nuts, an adjustable wrench for general fittings, and plumber’s tape for ensuring watertight seals. Having these tools at hand will save time and reduce frustration during the installation process.
Preparing the Workspace
Clearing out the area under the sink helps create an organized workspace. Remove any items that may obstruct your access to plumbing connections. Additionally, placing a bucket beneath the sink can help catch any water that may spill during the installation. A tidy workspace promotes efficiency and safety.
Key Points:
- Gather essential tools before starting installation
- A clean workspace enhances efficiency and safety
Preparation and Tools Needed
Before installing a kitchen faucet, proper preparation is crucial. Begin by gathering the necessary tools which typically include an adjustable wrench, basin wrench, plumber’s tape, and a bucket. Ensure you have a clean workspace, and consider shutting off the water supply to prevent any leaks. Additionally, check the sink configuration to understand whether you need any adapters for the faucet installation. Familiarize yourself with the faucet components, including the handle, spout, and any mounting hardware. This foundational step is vital in ensuring a smooth installation process.
Gathering the Right Tools
An adjustable wrench is essential for tightening connections, while a basin wrench helps reach tight spaces under the sink. Plumber’s tape will ensure water-tight seals. These tools will facilitate easier installation and prevent damage to the fixtures.
Shutting Off the Water Supply
Before starting the installation, locate the water shut-off valves under the sink and turn them off. This safety measure prevents accidental flooding. Additionally, place a bucket below the connections to catch any residual water during the installation.
Key Points:
- Preparation is key for a successful faucet installation.
- Gathering the right tools saves time and reduces frustration.
💡 Always check the installation instructions provided with the faucet for specific guidance.
💡 Consider using a towel to cover the sink basin to prevent dropping any tools or parts.
Installation Steps
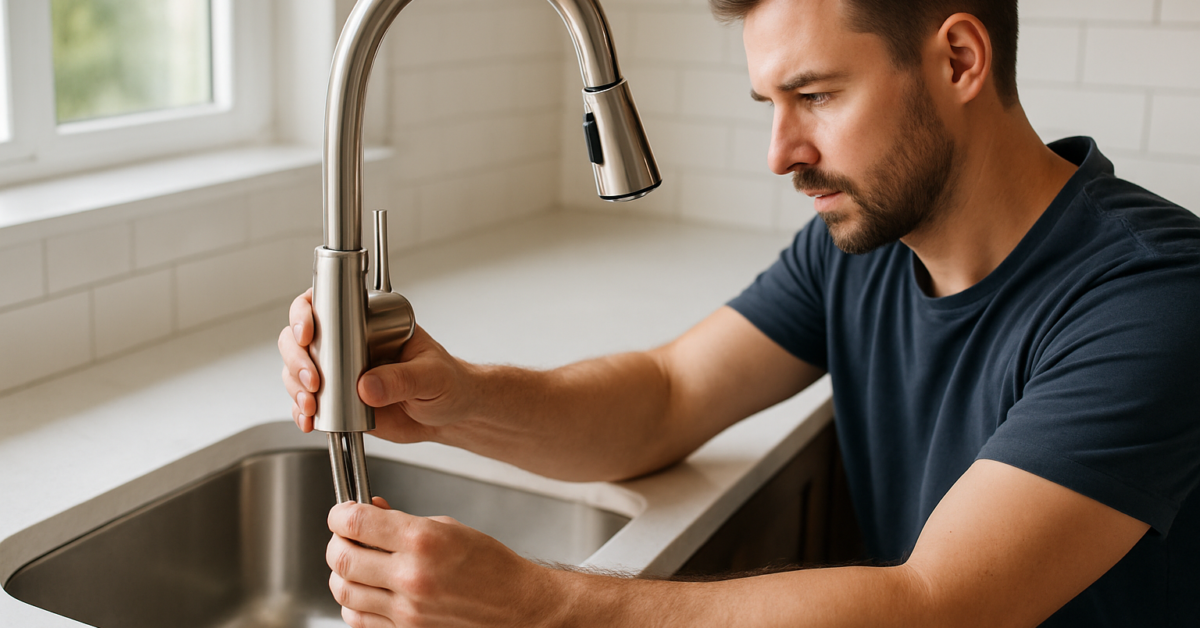
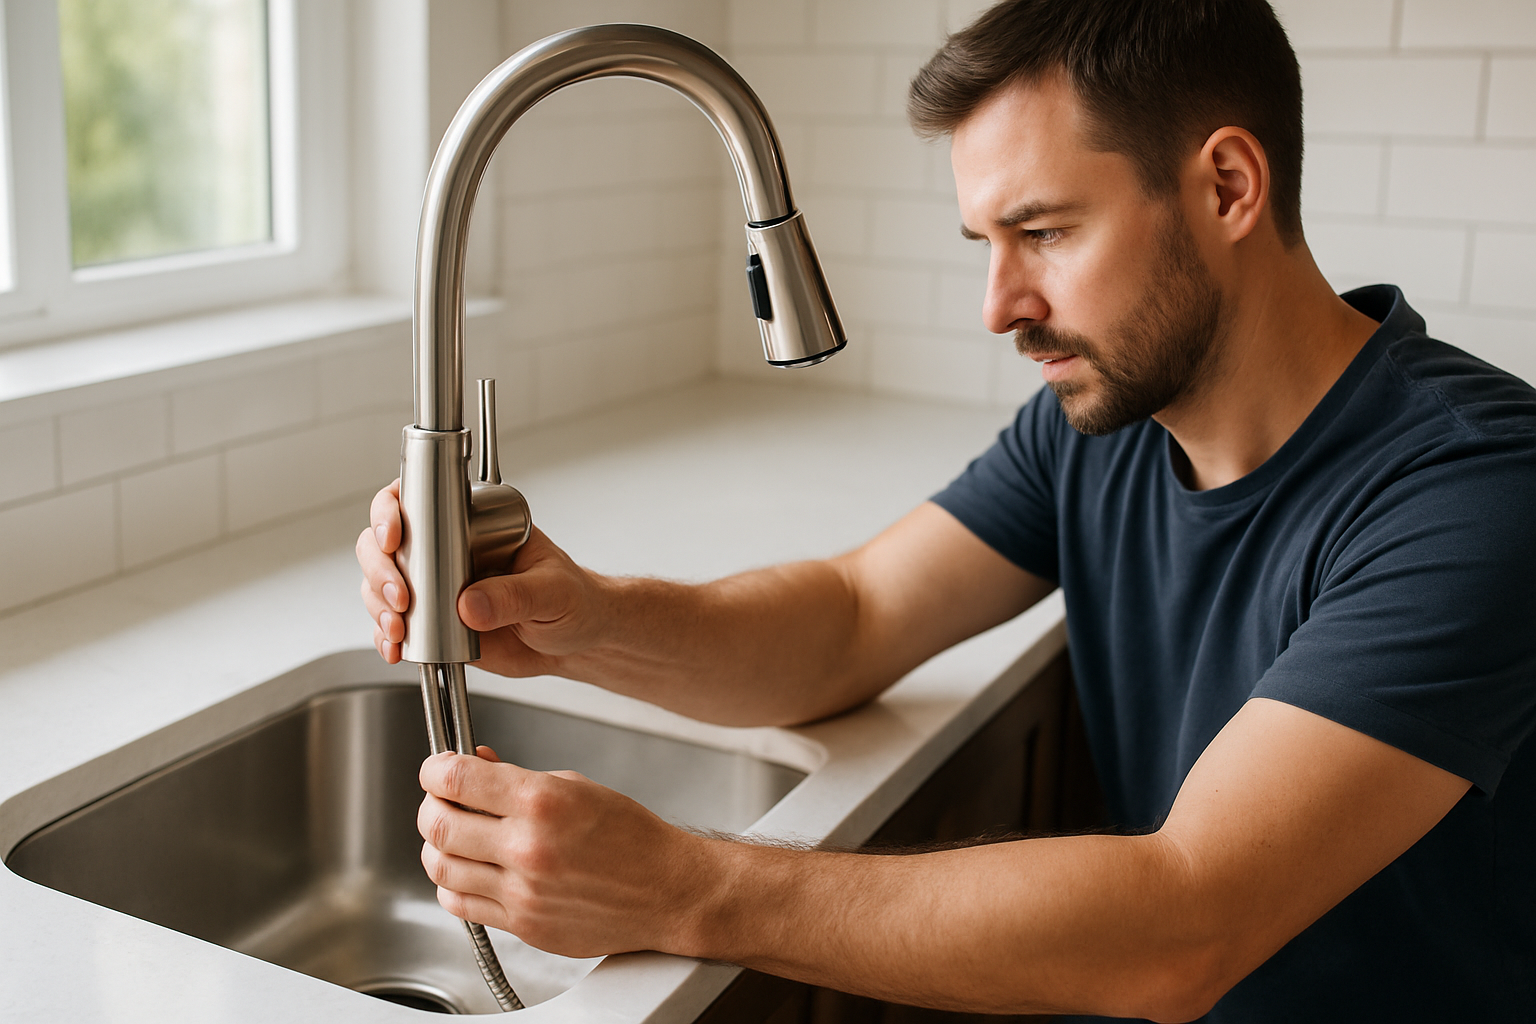
Once you have prepared your workspace, it’s time to install the faucet. Start by positioning the faucet in the designated hole on the sink and securing it with the mounting hardware. Next, connect the water supply lines to the faucet’s inlet ports, ensuring that you don’t overtighten the connections, which can lead to leaks. After making the connections, turn the water supply back on slowly, checking for any leaks as the water flows through. If leaks are detected, you may need to adjust the tightness of your connections or reapply plumber’s tape as necessary. Finally, test the faucet functionality to ensure everything is working correctly.
Securing the Faucet
Insert the faucet into the sink hole, aligning it properly. Use the included mounting hardware to secure the faucet from beneath the sink. Tighten it with a basin wrench, taking care not to overtighten, which could crack the sink.
Connecting Water Supply Lines
Attach the water supply lines to the faucet’s inlet ports, ensuring the hot and cold lines are correctly matched. Use plumber’s tape on the threads to create a seal and prevent leaks. Hand-tighten the connections, then use a wrench for a secure fit.
Key Points:
- Proper alignment and securing of the faucet are critical to prevent leaks.
- Always test your installation thoroughly before concluding the project.
💡 Perform a visual inspection of all connections after installation to ensure there are no loose parts.
💡 Test the faucet by running both hot and cold water to confirm proper function and check for leaks.
EXPERT TIPS Pro Advice
Understand the plumbing layout
Knowing the layout of your plumbing can help you avoid complications during installation and ensure future maintenance is easier.
Use plumber’s tape liberally
Applying enough plumber’s tape on threaded connections helps create a strong seal, reducing the risk of leaks.
Check local codes
Familiarize yourself with local plumbing codes to ensure your installation meets any necessary regulations.
Have a helper if possible
Having someone assist you can make the installation process smoother, especially when positioning the faucet or tightening connections.
Frequently Asked Questions
Conclusion
Installing a kitchen faucet is a manageable DIY task that involves preparation, the right tools, and attention to detail. By following proper steps and using plumber’s tape, you can achieve a leak-free installation. Remember to check for leaks after installation to ensure everything is secure.
🎯 Key Takeaways:
- Gather essential tools like a basin wrench and plumber’s tape.
- Turn off the water supply before removing the old faucet.
- Follow installation instructions carefully for the new faucet.
- Check all connections for leaks after installation.
- Consider hiring a plumber for complex installations.
Expert Advice: Take your time during the installation process and don’t rush. Ensuring each step is completed correctly will save you time and potential issues in the long run. If you’re ever unsure, consulting a professional can provide peace of mind.
Ready to tackle your faucet installation? Gather your tools and follow the steps outlined to get started on your kitchen upgrade!


