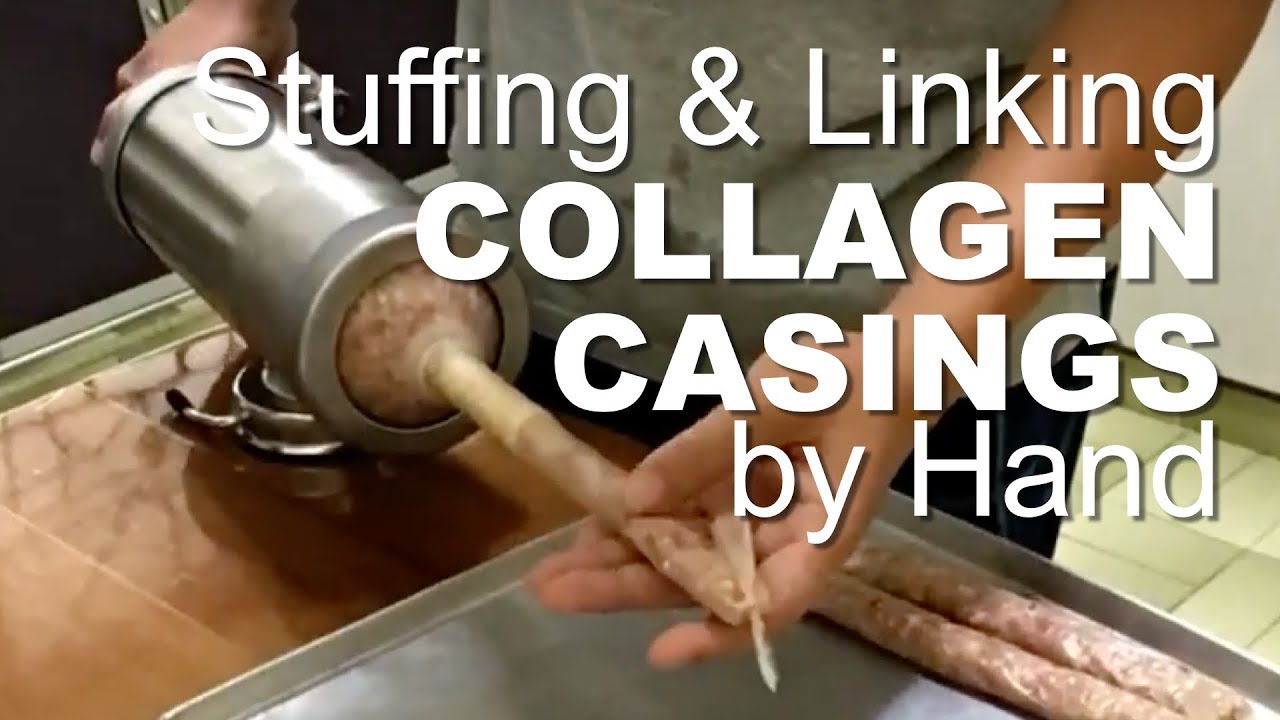
To put collagen casings on a sausage stuffer, slide the open end of the casing onto the stuffer tube until the knot is right at the tip. Slowly feed small amounts of the ground meat into the hopper tube, guiding it with the stomper.
Avoid overstuffing the casing, as it may cause blowouts. It is important to choose the right stuffing tube and pay attention to the direction of the casing. Collagen casings are a popular option for sausage making, as they are easy to handle and do not require soaking.
However, it is important to store them properly to prevent them from drying out. We will explore tips and tricks for stuffing and linking collagen casings for sausages at home. We will also discuss different types of casings and their benefits.
Introduction To Collagen Casings
Collagen casings are a popular choice for sausage stuffing. To put collagen casings on a sausage stuffer, simply slide the open end of the casing onto the stuffer tube until the knot is at the tip. Slowly feed small amounts of seasoned meat into the hopper tube using the stomper, guiding it into the worm gear.
It’s an easy and efficient way to create delicious sausages.
Benefits Of Using Collagen Casings
Collagen casings offer several advantages for sausage making. They are easy to use, as they come in uniform sizes and do not require any preparation such as soaking. Additionally, they provide a consistent and smooth appearance to the sausages, enhancing their visual appeal. Collagen casings also have a longer shelf life compared to natural casings, making them convenient for storage.
Collagen Vs. Natural Casings
When comparing collagen casings to natural casings, collagen casings are known for their uniformity in size and shape, while natural casings can vary in diameter and length. Collagen casings are also easier to work with and do not require special preparation, unlike natural casings which need to be thoroughly cleaned and soaked before use. Additionally, collagen casings are suitable for a wide range of sausage types and are ideal for mass production due to their consistent quality and availability.
Credit: www.ebay.com
Preparation Of Collagen Casings
To put collagen casings on a sausage stuffer, slide the open casing end onto the stuffer tube until the knot is right at the tip. Slowly feed small amounts of seasoned meat into the hopper tube, using the stomper to guide it into the worm gear.
Gently press the meat to avoid overfilling.
Handling And Storage
Collagen casings should be handled with care to prevent tearing or damage. Store them in a cool, dry place away from direct sunlight and moisture to maintain their quality.
To Soak Or Not To Soak
Before use, check the manufacturer’s instructions as some collagen casings may require soaking in water. However, others can be used directly without soaking, saving time and effort.
Selecting The Proper Sausage Stuffer
When it comes to making sausages, selecting the right sausage stuffer is crucial for achieving the perfect texture and consistency. There are different types of sausage stuffers available in the market, each with its own set of features and advantages. In this section, we will discuss the different types of sausage stuffers and provide tips on choosing the right stuffing tube.
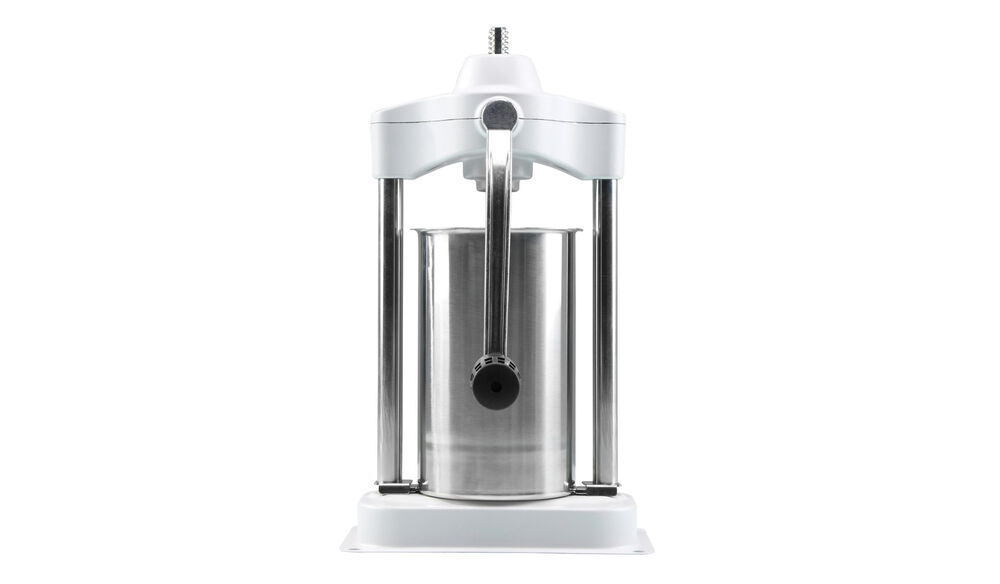
Types Of Sausage Stuffers
There are primarily two types of sausage stuffers: vertical sausage stuffers and horizontal sausage stuffers.
| Vertical Sausage Stuffers | Horizontal Sausage Stuffers |
|---|---|
| Vertical sausage stuffers have a vertical design, with the meat cylinder placed above the base. They are usually operated manually or with the help of a hand crank. These stuffers are ideal for small-scale home use. | Horizontal sausage stuffers have a horizontal design, with the meat cylinder placed in front of the base. They are available in both manual and electric models. These stuffers are suitable for larger quantities and commercial use. |
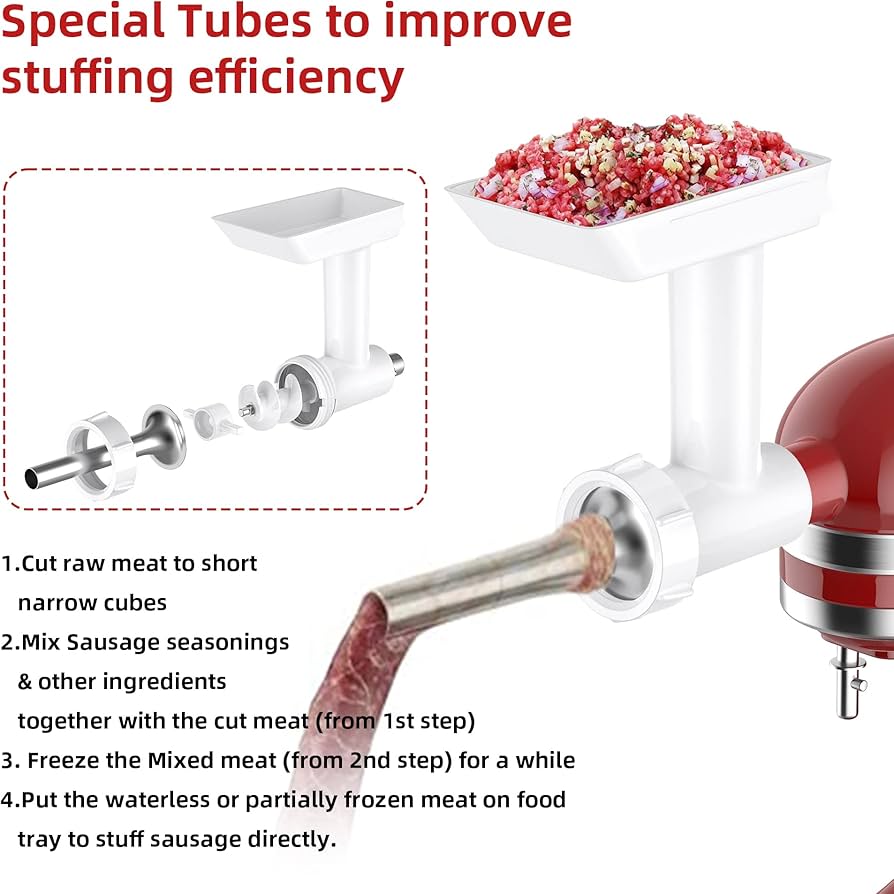
Choosing The Right Stuffing Tube
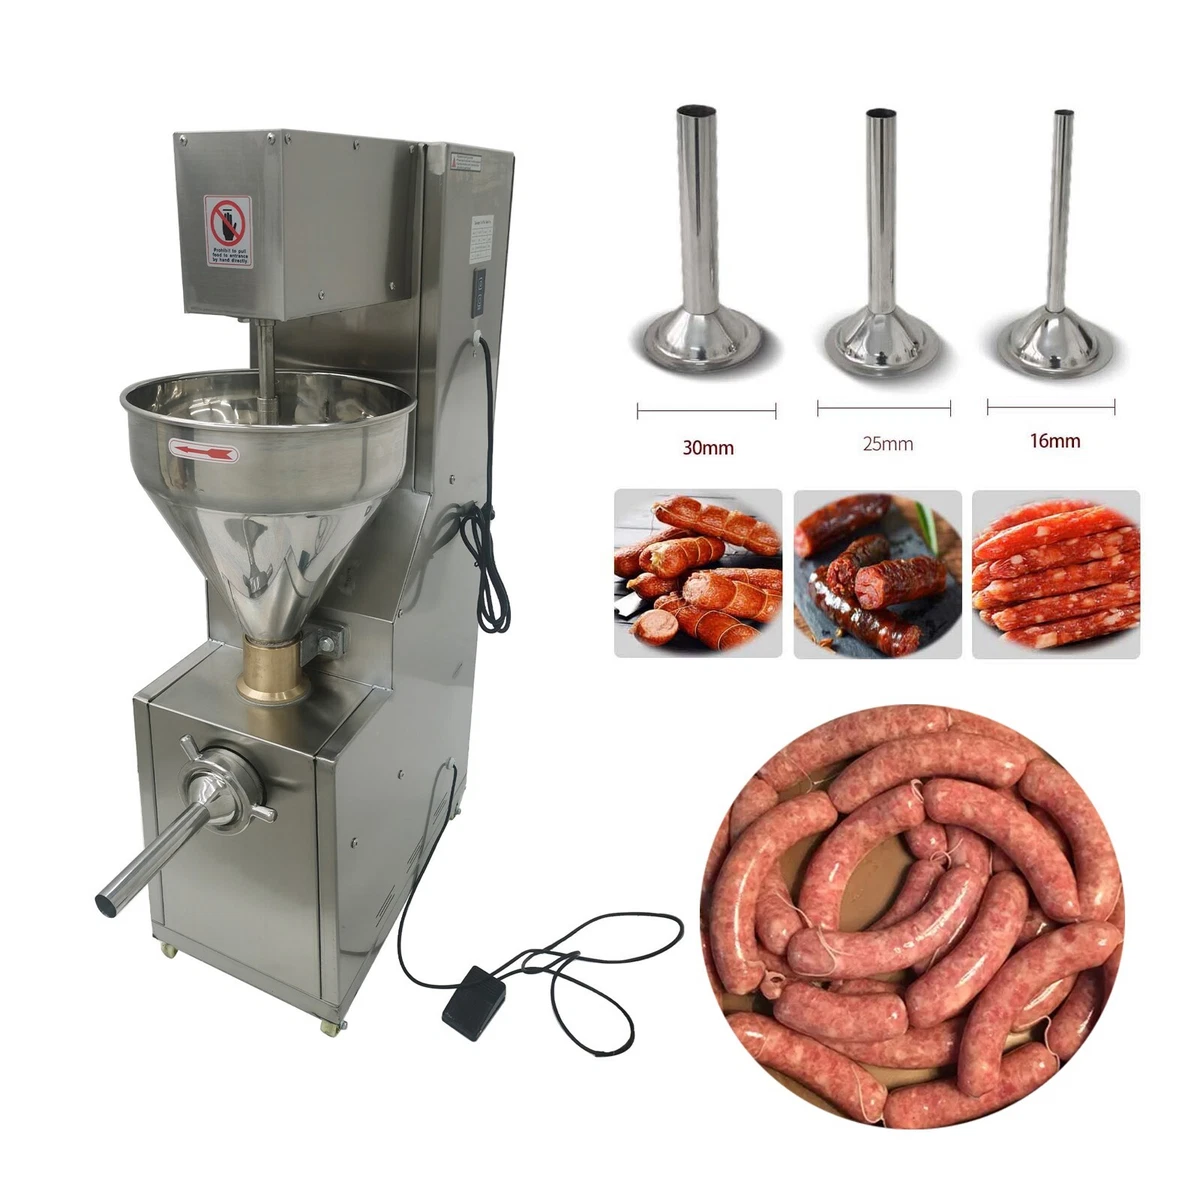
When selecting a stuffing tube for your sausage stuffer, it is important to consider the diameter and length of the tube. The diameter of the tube will determine the size of your sausages, while the length will determine the amount of meat that can be stuffed at once.
- For smaller sausages like breakfast links or snack sticks, choose a narrower diameter stuffing tube.
- For larger sausages like bratwurst or Italian sausages, opt for a wider diameter stuffing tube.
- If you plan to make different sizes of sausages, consider purchasing a sausage stuffer with interchangeable stuffing tubes.
Remember to lubricate the stuffing tube with a food-grade lubricant or cooking oil before attaching the collagen casings. This will ensure smooth and easy stuffing without any tearing or breakage of the casings.
By selecting the proper sausage stuffer and stuffing tube, you can ensure that your sausages turn out perfect every time. So go ahead and experiment with different flavors and ingredients to create your own delicious homemade sausages!
Mounting Casings Onto The Stuffer
To mount collagen casings onto a sausage stuffer, slide the open end of the casing onto the stuffer tube until the knot is at the tip. Slowly feed the seasoned meat into the hopper tube, using the stomper to guide the meat into the worm gear.
Be careful to avoid blowouts and backflow.
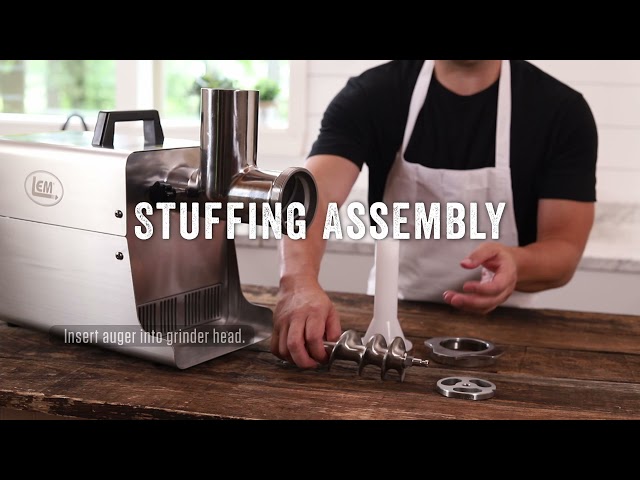
Step-by-step Guide
When it comes to mounting casings onto the sausage stuffer, following a step-by-step guide can help ensure a smooth and efficient process. Here’s how you can do it:
- Start by selecting the appropriate stuffing tube for the size of casings you will be using.
- Slide the open end of the casing onto the stuffer tube, making sure the knot is right at the tip of the tube.
- Slowly and carefully feed small pinches of the ground, seasoned meat into the hopper tube. This can be done using the stomper.
- Guide the meat into the hopper tube by gently pressing small amounts into the worm gear. This will help in evenly filling the casings.
- Continue the process until all the casings are filled with the desired amount of meat.
Common Mistakes To Avoid
While mounting casings onto the stuffer, it’s important to avoid some common mistakes that can affect the outcome of your sausages. Here are a few to keep in mind:
- Avoid overstuffing the casings, as this can lead to blowouts or bursting during the cooking process.
- Ensure that the casings are properly secured onto the stuffer tube to prevent any leakage or backflow.
- Do not rush the process. Take your time to carefully feed the meat into the hopper tube to ensure even filling.
- Avoid using casings that are too dry or have lost moisture, as they can become brittle and affect the texture of the sausages.
By following these steps and avoiding common mistakes, you’ll be able to successfully mount casings onto the sausage stuffer and create delicious sausages with ease.
Stuffing The Sausage
To put collagen casings on a sausage stuffer, slide the open casing end onto the stuffer tube until the knot is right at the tip. Slowly and carefully feed pinches of the ground, seasoned meat into the hopper tube. Guide the meat into the hopper tube using the stomper and gently pressing small amounts into the worm gear.
Filling Techniques
When it comes to filling the sausage casings with ground meat, there are a few techniques you can use to ensure that the process goes smoothly. First, it’s important to choose the correct stuffing tube for the size of your casings. Then, slide the open end of the casing onto the stuffer tube until the knot is right at the tip. Slowly feed “pinches” of the ground, seasoned meat into the hopper tube, guiding the meat using the stomper and gently pressing small amounts into the worm gear.Maintaining Airflow And Preventing Blowouts
It’s essential to maintain proper airflow when stuffing your sausage casings to prevent blowouts. Blowouts occur when too much air gets trapped inside the casing, causing it to burst. To prevent this, make sure to release any trapped air by pricking the casing with a needle or knife before linking or twisting the sausages. Additionally, using a steady, slow pace when stuffing the meat into the casings can help prevent air pockets from forming.Linking The Sausage
Once the casings are filled with the desired amount of meat, it’s time to link the sausages. This can be done by twisting the casings at regular intervals to create individual sausages. To ensure that the sausages are evenly sized, measure the desired length of each sausage before twisting and then tie off the casings using butcher’s twine. Overall, putting collagen casings on a sausage stuffer and stuffing the sausages can be a simple and enjoyable process. By following these tips for filling techniques, maintaining airflow, and linking the sausages, you can create delicious homemade sausages that are sure to impress.Linking And Twisting Sausages
To put collagen casings on a sausage stuffer, slide the open end onto the stuffer tube and slowly feed pinches of seasoned meat into the hopper tube. Gently guide the meat using the stomper and twist the casings as needed.
Refrigerate the casings to retain moisture and ensure they don’t dry out.
Linking and Twisting Sausages: Creating Uniform Links, Tips for Tight Seals Linking and twisting sausages is the last step in the sausage-making process. It’s important to link and twist sausages properly to ensure that they are uniform in size and shape. In this section, we’ll go over two important aspects of linking and twisting sausages: creating uniform links and tips for tight seals. Creating Uniform Links To create uniform links, start by twisting the sausage casing at the desired length. Twist the casing several times until it is tightly twisted. Then, twist the sausage in the opposite direction to create the first link. Continue twisting and linking the sausage until you reach the end. This will ensure that all of the links are uniform in size. Tips for Tight Seals Tight seals are important to prevent air pockets and ensure that the sausage stays fresh. To achieve a tight seal, pinch the casing between your thumb and forefinger at the end of each link. Twist the casing several times to create a seal. This will prevent the sausage from unraveling during cooking. Another tip for tight seals is to use a sausage pricker to puncture the casing before cooking. This will prevent the casing from bursting and will allow any excess moisture to escape during cooking. In conclusion, creating uniform links and tight seals are important steps to ensure that your sausages are of high quality. With these tips, you can confidently link and twist your sausages like a pro!Post-stuffing Procedures
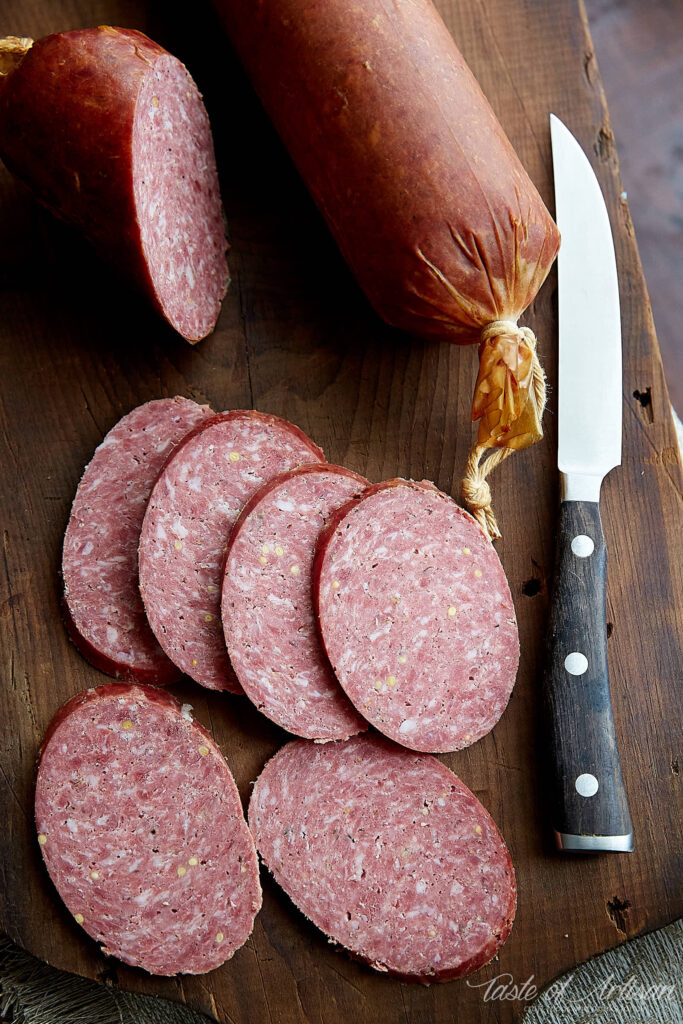
Once you have successfully stuffed your sausages using collagen casings, there are a few post-stuffing procedures that you need to follow to ensure the best results. These procedures include drying and curing the sausages and cooking recommendations. Let’s take a closer look at each of these steps:
Drying And Curing
After stuffing the sausages, it is important to allow them to dry and cure properly. This helps in developing the desired texture and flavor of the sausages. To dry and cure the sausages, follow these steps:
- Hang the sausages in a cool, dry place with good air circulation. You can use a drying rack or hooks to hang them.
- Make sure to space the sausages apart, allowing enough room for air to circulate around each sausage.
- Leave the sausages to dry for a few hours or overnight, depending on the thickness of the casings and the desired dryness.
- During the drying process, check the sausages regularly for any signs of mold or spoilage. If you notice any, discard the affected sausages.
Cooking Recommendations
Once your sausages are dried and cured, it’s time to cook them to perfection. Here are some cooking recommendations:
- Before cooking, it is recommended to prick the sausages with a fork to release any trapped air and prevent them from bursting during cooking.
- You can cook the sausages using various methods such as grilling, pan-frying, or baking in the oven.
- Cook the sausages until they reach an internal temperature of 160°F (71°C) to ensure they are fully cooked and safe to eat.
- For added flavor, you can marinate the sausages before cooking or brush them with your favorite sauce while grilling.
By following these post-stuffing procedures, you can ensure that your sausages turn out delicious and perfectly cooked. Enjoy your homemade sausages with your favorite sides or use them in various recipes!

Credit: m.youtube.com
Troubleshooting Common Issues
When putting collagen casings on a sausage stuffer, slide the open end of the casing onto the stuffer tube, ensuring the knot is at the tip. Slowly feed small amounts of ground meat into the hopper tube using the stomper.
Guide the meat into the tube by pressing gently into the worm gear.
Dealing With Tears And Breakages
If you’re experiencing tears or breakages when putting collagen casings on a sausage stuffer, there are a few things you can do to troubleshoot the issue:
- Ensure that the collagen casings are properly hydrated. Soaking them in water or a saline solution before use can help make them more pliable and less prone to tearing.
- Check the temperature of the meat mixture. If it’s too warm, it can cause the collagen casings to become brittle and more likely to break. Allow the mixture to cool before attempting to stuff the casings.
- Make sure the sausage stuffer is properly lubricated. Applying a thin layer of oil or cooking spray to the stuffer tube can help the casings slide on more smoothly and reduce the risk of tears.
- Take care when loading the casings onto the stuffer tube. Avoid pulling or stretching them too tightly, as this can weaken the structure and lead to tears.
Adjusting For Backflow And Uneven Filling
If you’re experiencing issues with backflow or uneven filling when using collagen casings on a sausage stuffer, try these troubleshooting tips:
- Check the consistency of the meat mixture. It should be well-mixed and have a uniform texture to ensure even filling. Adjust the seasoning and moisture levels if necessary.
- Make sure the sausage stuffer is set up correctly. Ensure that the pressure is evenly distributed throughout the stuffer and that the casing is tightly secured to prevent backflow.
- Consider adjusting the speed and pressure at which you’re filling the casings. Slow and steady pressure can help prevent backflow and ensure a more consistent filling.
- If you’re still experiencing issues, try using a different size or type of stuffing tube. Sometimes, a change in equipment can help achieve better results.
By following these troubleshooting tips, you’ll be able to overcome common issues when putting collagen casings on a sausage stuffer. Remember to handle the casings with care, maintain the proper temperature, and adjust the equipment settings as needed to achieve the best results.
Cleaning And Maintenance
Proper cleaning and maintenance of your sausage stuffer and collagen casings are essential to ensure they remain in good working condition and produce high-quality sausages. By following these care and maintenance guidelines, you can prolong the lifespan of your equipment and ensure the safety and quality of your sausage products.
Sausage Stuffer Care
After each use, disassemble the sausage stuffer and thoroughly clean all components with warm, soapy water. Rinse the parts and allow them to air dry completely before reassembling the stuffer. Regularly inspect the stuffer for any signs of wear or damage, and promptly replace any worn or damaged parts to maintain optimal performance.
Collagen Casing Disposal
When disposing of collagen casings, ensure that they are properly sealed in a plastic bag to prevent them from drying out. It’s important to refrigerate the bag or store it in a cooler to maintain the casings’ moisture levels. This proper disposal method helps to preserve the quality of the casings for future use and minimizes waste.

Credit: www.dreamstime.com
Creative Sausage Making
Making sausage is an art form that allows for endless creativity. From experimenting with flavors to crafting innovative recipes, the possibilities for creating unique and delicious sausages are endless. Whether you’re a seasoned pro or a beginner, there are always new techniques to explore and flavors to experiment with when it comes to sausage making. In this section, we’ll delve into the world of creative sausage making, exploring flavor experimentation and innovative recipes.
Flavor Experimentation
When it comes to sausage making, the flavor possibilities are truly limitless. Experimenting with different combinations of herbs, spices, and other ingredients can lead to the creation of unique and exciting flavor profiles. Whether you prefer something spicy, smoky, or savory, there are countless ways to customize the taste of your sausages to suit your palate. Mix and match various ingredients to create your own signature flavor blend, and don’t be afraid to get creative with your experimentation.
Innovative Sausage Recipes
Creating innovative sausage recipes is a fun way to add a twist to traditional flavors. Exploring unique ingredient combinations and cooking methods can lead to the development of one-of-a-kind sausage recipes that are sure to impress. Whether you’re incorporating unexpected ingredients, experimenting with different cooking techniques, or drawing inspiration from international cuisines, the world of sausage making is ripe for innovation. Get inspired by different culinary traditions and put your own spin on classic recipes to create something truly extraordinary.
Frequently Asked Questions
How Do You Put Sausage Casing On A Sausage Stuffer?
Slide the open casing onto the stuffer tube and feed seasoned meat into the hopper tube. Use the stomper to guide the meat into the tube, pressing small amounts into the gear.
Do You Soak Collagen Casings Before Stuffing?
Soaking collagen casings before stuffing is not necessary. Simply use them straight from the packaging.
Do You Need To Refrigerate Collagen Casings?
Collagen casings do not need to be refrigerated. They should be stored in a cool, dry place away from direct sunlight. It is important to keep the casings sealed or taped in a bag to prevent them from drying out.
Proper storage will help the casings retain moisture and remain in good condition for future use.
Conclusion
Mastering the art of putting collagen casings on a sausage stuffer is crucial for producing high-quality sausages. With the right technique, you can create perfectly stuffed sausages that are sure to impress. By following the tips and tricks outlined in this guide, you’ll be well on your way to becoming a sausage-making pro.