How to Install a Kitchen Faucet: A Complete Guide
Are you tired of your old kitchen faucet and ready for a change? Learning how to install a kitchen faucet can be a rewarding DIY project that enhances your kitchen’s functionality and aesthetics. With over 15 years of expertise in home improvement and plumbing, I can guide you through the process of installing a kitchen faucet with ease. In this article, you’ll discover the necessary tools, step-by-step instructions, and common pitfalls to avoid during your installation. Whether you’re a seasoned DIYer or a first-time homeowner, this comprehensive guide will empower you to tackle the project confidently and successfully.
Understanding Your Kitchen Faucet
Before diving into the installation process, it’s crucial to understand the different types of kitchen faucets available. The most common types include pull-down, pull-out, and traditional faucets. Each type has its unique features and installation requirements. Knowing your faucet type will help you gather the right tools and materials needed for installation. Additionally, familiarize yourself with the components of a faucet, such as the spout, handle, and base plate. Each component plays a vital role in the faucet’s functionality, and understanding them will make the installation process smoother.
Types of Kitchen Faucets
Kitchen faucets come in several styles, including single-handle, dual-handle, and touchless options. Single-handle faucets are easier to operate with one hand, while dual-handle faucets offer more precise temperature control. Touchless faucets provide convenience by allowing users to turn on the water with a wave of the hand. Knowing these differences can help you choose the best faucet for your needs.
Faucet Components Overview
A typical kitchen faucet consists of several key components: the spout, handle, base plate, and mounting hardware. The spout directs water flow, while the handle controls temperature and flow rate. The base plate covers the holes in your sink. Understanding these components will assist you in ensuring that you have everything you need before starting the installation.
Key Points:
- Know the type of faucet you are installing
- Familiarize yourself with the key components of the faucet
Preparation for Installation
Preparation is essential for a successful kitchen faucet installation. Start by gathering the necessary tools, such as an adjustable wrench, basin wrench, plumber’s tape, and a bucket to catch any residual water. It’s also important to turn off the water supply to avoid any leaks or flooding during the installation process. Additionally, clear the area under the sink to provide ample working space. This preparation will help ensure that the installation can be completed smoothly without interruptions.
Gathering Necessary Tools
Before starting the installation, gather essential tools like an adjustable wrench, basin wrench, and plumber’s tape. An adjustable wrench allows for easy tightening of nuts, while a basin wrench is particularly useful for accessing tight spaces. Having all the tools at hand will save time and prevent frustration during the installation.
Shutting Off the Water Supply
Make sure to locate the shutoff valves under the sink and turn them off before beginning the installation. This step is crucial to prevent any accidental water flow while you are working. If your sink doesn’t have shutoff valves, consider turning off the main water supply to your home.
Key Points:
- Prepare your workspace thoroughly
- Ensure you have all necessary tools before starting
Preparation for Installing a Kitchen Faucet
Before diving into the installation process, proper preparation is crucial. Start by turning off the water supply to avoid flooding. Gather all necessary tools such as an adjustable wrench, basin wrench, and a screwdriver. Next, clear out the area under the sink to provide ample space for working. Additionally, read the specific installation instructions that may come with your new faucet, as different models can have unique requirements. By ensuring you have everything ready, you can streamline the installation process and avoid unexpected challenges.
Gather Necessary Tools
Having the right tools on hand is essential for a smooth installation. Common tools needed include an adjustable wrench for tightening nuts, a basin wrench for hard-to-reach areas, and screwdrivers. A towel or bucket can also help catch any water during the removal of the old faucet. This preparation ensures you won’t have to pause the installation to find missing tools.
Turn Off Water Supply
Locate the shut-off valves under the sink and turn them clockwise to stop the water flow. If no valves are present, you may need to shut off the main water supply for the entire house. This step is critical to prevent water damage and ensure a safe working environment during the installation.
Key Points:
- Preparation prevents installation delays.
- Safety is paramount – always turn off water supply.
💡 Double-check that you have all tools ready before starting.
💡 Label the water lines if they look similar to avoid confusion later.
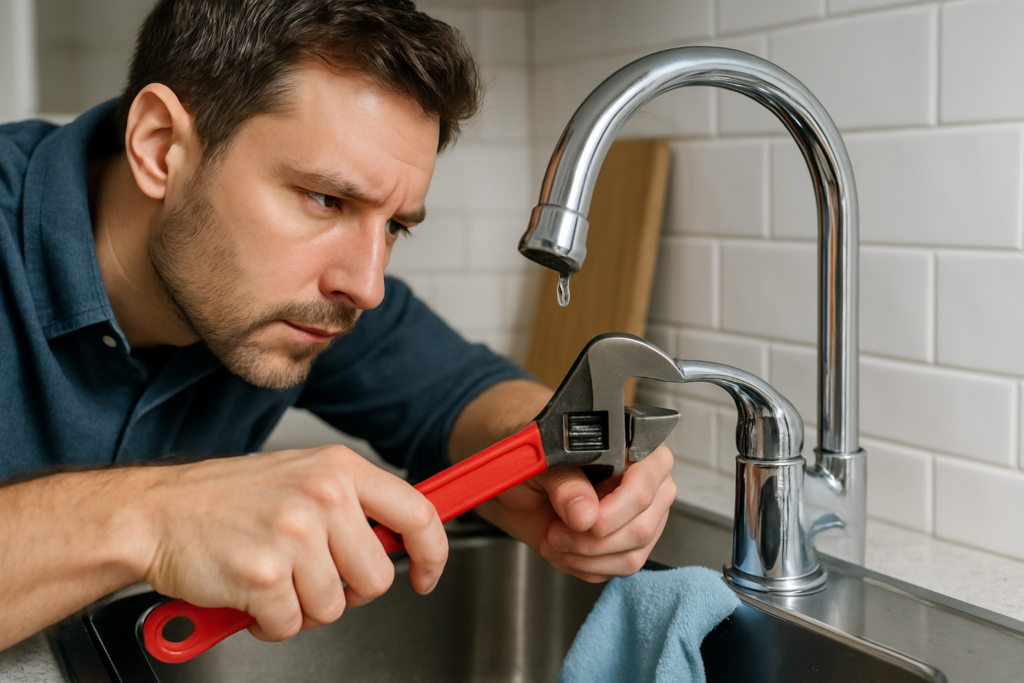
Step-by-Step Installation Process
Once you’ve prepared the workspace, the next step is to install the new kitchen faucet. Begin by removing the old faucet; this usually involves disconnecting the water lines and unscrewing mounting nuts. After that, follow the manufacturer’s instructions to position the new faucet in place. Secure it using the provided mounting hardware. Finally, reconnect the water supply lines and check for leaks. This systematic approach ensures that each step is completed correctly, yielding a functional and aesthetically pleasing result.
Remove the Old Faucet
To remove the old faucet, first disconnect the water lines by loosening the nuts with a wrench. Once detached, locate the mounting nuts securing the faucet to the sink. Use a basin wrench to reach these nuts if they are in a tight spot. Carefully lift out the old faucet, cleaning the area as needed to prepare for the new installation.
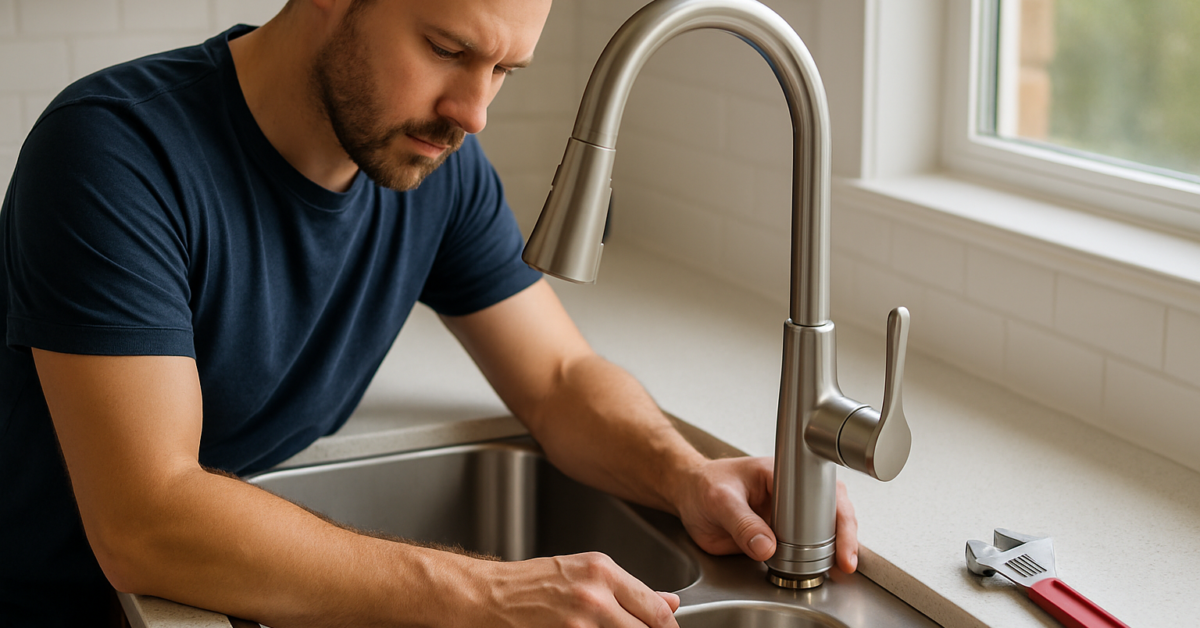
Install the New Faucet
Position the new faucet according to the instructions. Ensure it aligns with the sink holes. Secure the faucet using the provided mounting hardware, tightening it securely but being cautious not to overtighten, which can damage the sink. After installation, reconnect the water supply lines, ensuring they are securely fastened to prevent leaks.
Key Points:
- Systematic removal and installation prevent errors.
- Follow manufacturer instructions for best results.
💡 Use plumber’s tape on water connections to ensure a watertight seal.
💡 Check alignment before fully tightening the faucet to avoid misplacement.
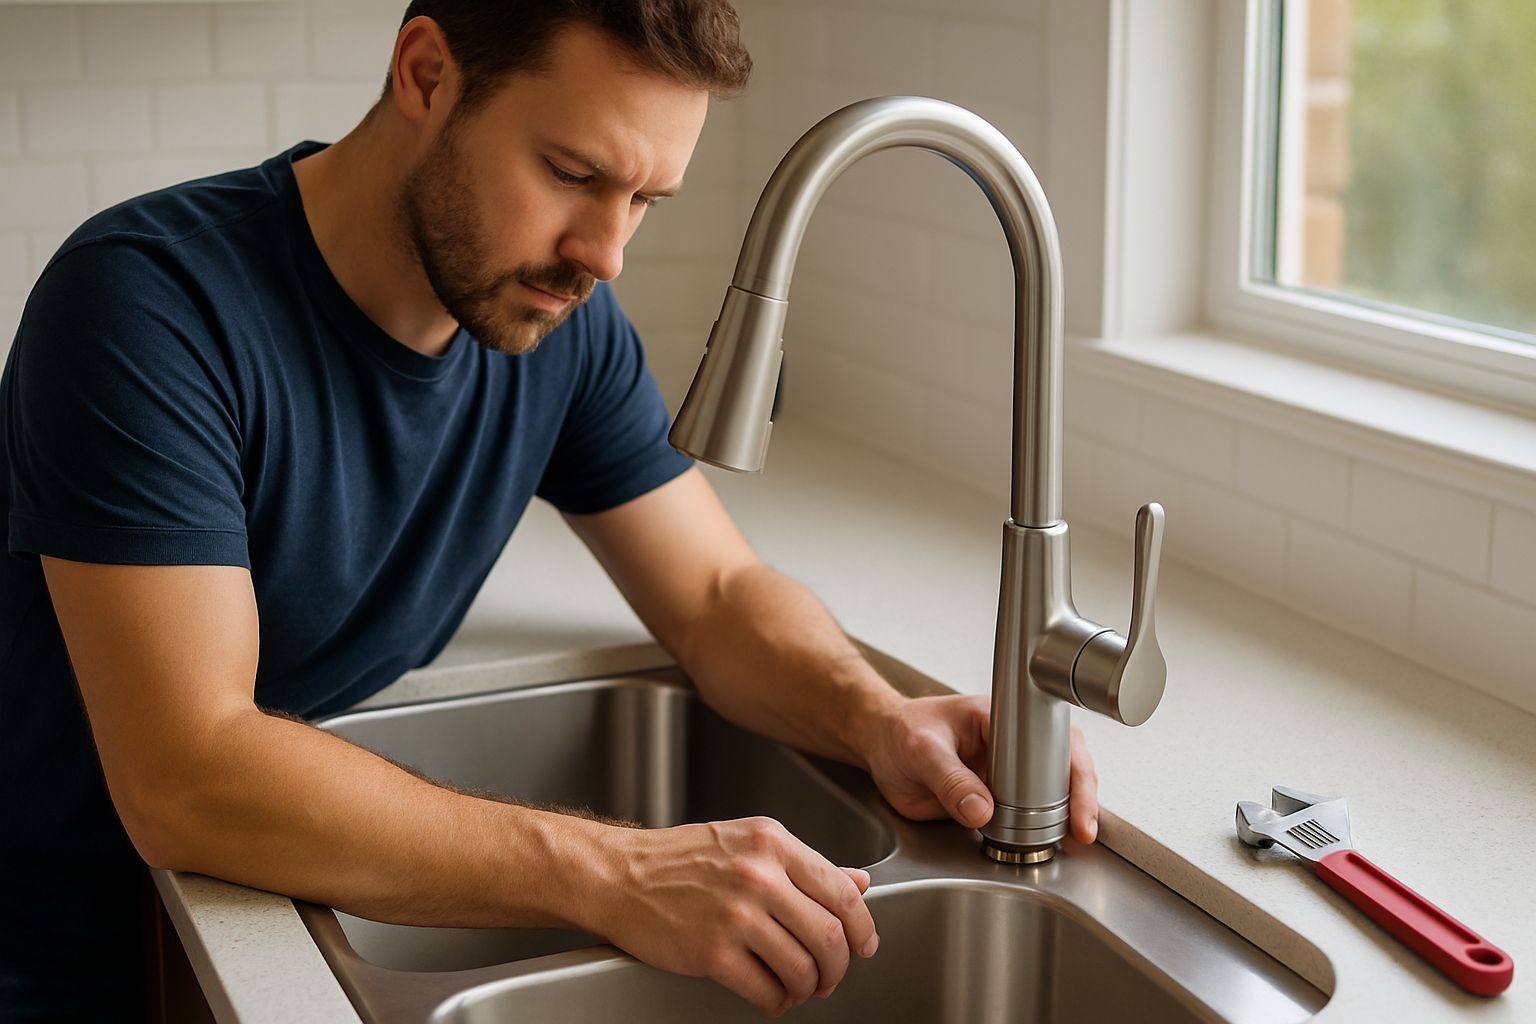
EXPERT TIPS Pro Advice
Inspect the sink and counter for damage.
Before installing, check for any cracks or damage that might affect the new faucet’s stability or function. Addressing these issues beforehand ensures a better long-term installation.
Have a helper if possible.
Having someone assist you can make lifting and aligning the faucet easier, especially in tight spaces, reducing the risk of accidents or mistakes.
Test for leaks after installation.
After connecting the water supply, turn it on gradually and check for any leaks. Early detection of leaks can prevent major water damage and costly repairs.
Consider the faucet height and reach.
When choosing a new faucet, consider its height and reach to ensure it fits well with your sink and meets your usage needs for pots and large dishes.
Keep a towel handy during installation.
Having a towel nearby can help you quickly wipe up any spills or drips, keeping your workspace clean and safe while you work.
Frequently Asked Questions
Conclusion
Installing a kitchen faucet can be a manageable DIY project with the right tools and preparation. Key steps include turning off the water supply, using plumber’s tape, and ensuring all connections are secure. If uncertain, don’t hesitate to consult a professional plumber.
🎯 Key Takeaways:
- Gather necessary tools like wrenches and plumber’s tape.
- Turn off the water supply before starting.
- Follow instructions carefully for a successful installation.
- Check for leaks and test the faucet afterward.
- Consider hiring a plumber if you’re unsure.
Expert Advice: Take your time during the installation process to ensure everything is done correctly. Proper preparation and attention to detail can help you achieve a successful outcome without the need for professional assistance.
Now that you have the knowledge to install a kitchen faucet, gather your tools and get started on your project!