
How to Fix Leaky Kitchen Faucet: A Step-by-Step Guide
Are you tired of that constant drip-drip-drip from your kitchen faucet? A leaky kitchen faucet not only wastes water but can also increase your water bill significantly. Understanding how to fix a leaky kitchen faucet is essential for any homeowner looking to save money and reduce their environmental impact. With over 15 years of experience in home maintenance and DIY solutions, I will guide you through the straightforward steps to identify the cause of the leak and provide practical, easy-to-follow solutions. By the end of this article, you will have the confidence to tackle this common household problem and restore your faucet to its optimal condition.
Understanding the Causes of a Leaky Kitchen Faucet
Before fixing a leaky kitchen faucet, it’s essential to understand the underlying causes. Common reasons include worn-out washers, corroded valve seats, and loose parts. Each of these factors can lead to water dripping or leaking, which not only wastes water but can also cause damage to your cabinetry and countertops. Identifying the specific cause helps in applying the correct solution, ensuring a more permanent fix. Regular maintenance can also prevent leaks from becoming a frequent issue.
Worn-Out Washers
Washers are small rubber or plastic discs that create a seal. Over time, they can wear down due to friction and temperature changes, leading to leaks. Inspecting and replacing these washers is often a straightforward solution for leaks that occur when the faucet is turned on.
Corroded Valve Seats
The valve seat is the part where the faucet’s spout connects to the body. If this area becomes corroded due to mineral buildup or age, it can create gaps, causing leaks. Cleaning or replacing the valve seat can resolve this issue effectively.
Loose Parts
Sometimes, the problem is as simple as loose screws or fittings. Regular use can cause components to loosen, leading to leaks. Tightening these parts can often stop the leak without needing more extensive repairs.
Key Points:
- Identifying the cause of the leak is crucial for effective repair.
- Regular maintenance can prevent future leaks.
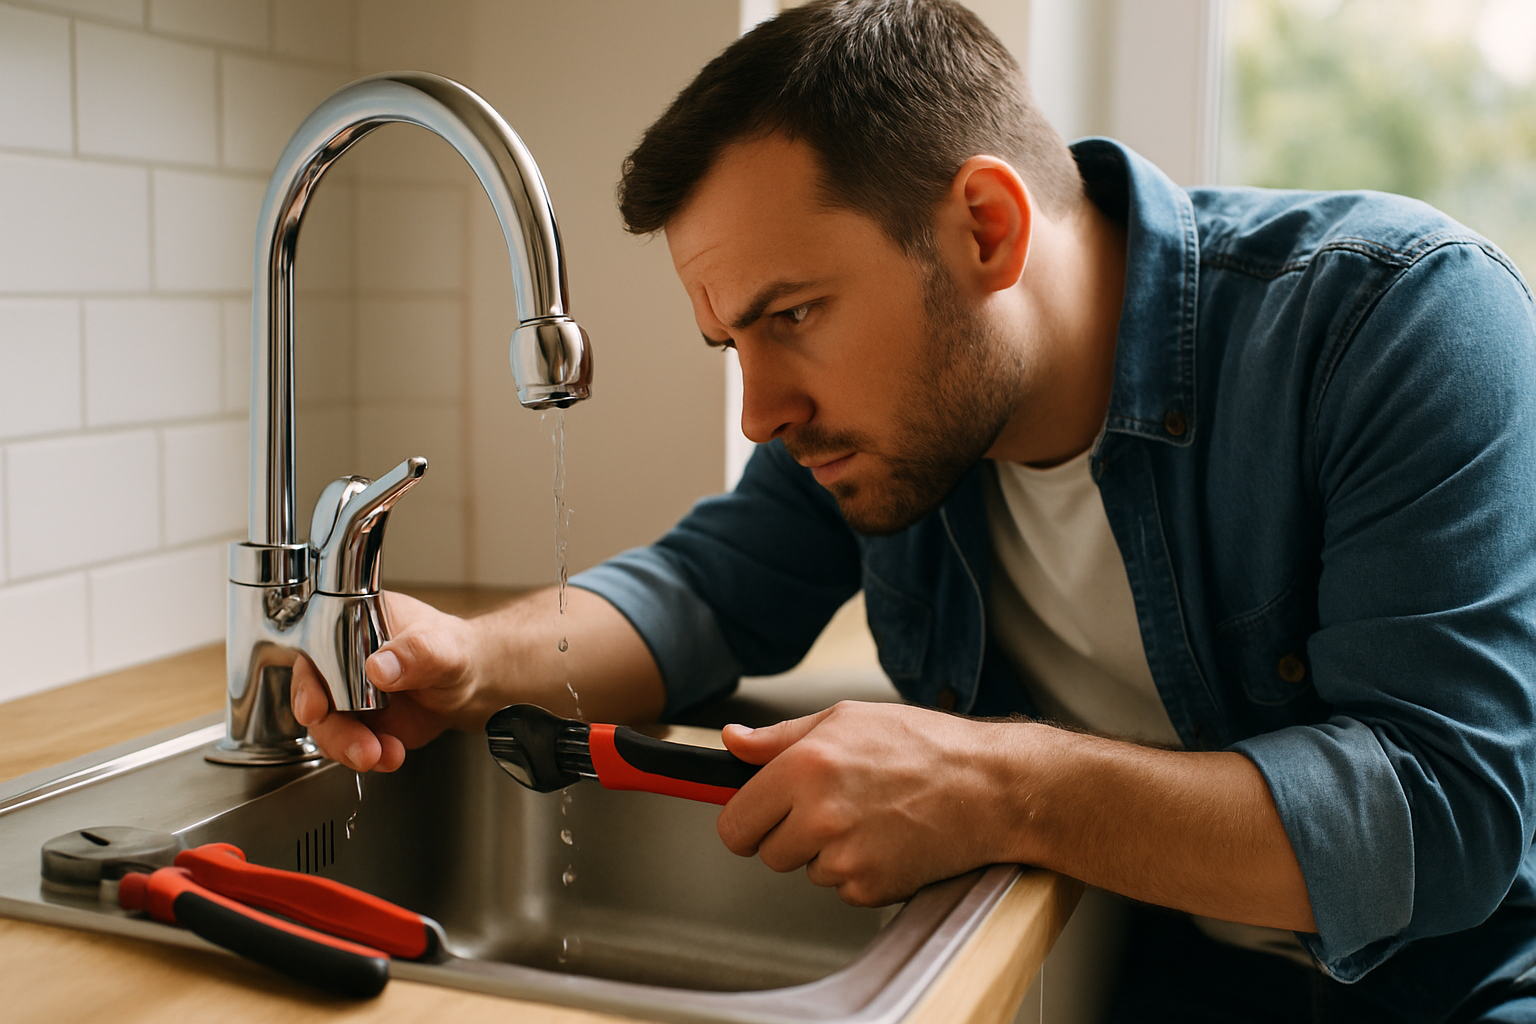
Tools and Preparation for Faucet Repair
Before attempting to fix a leaky kitchen faucet, gather the necessary tools and prepare your workspace. Essential tools typically include a wrench, screwdriver, and pliers, which will help in disassembling the faucet. Additionally, having a towel or bucket handy can help catch any water that may spill during the process. Proper preparation not only makes the repair process smoother but also minimizes mess and improves efficiency. Ensure that you turn off the water supply to the faucet before starting your repair.
Essential Tools
A basic toolkit for faucet repair should include an adjustable wrench, flathead and Phillips screwdrivers, and pliers. These tools allow you to access and replace various components of the faucet easily. Having the right tools on hand can significantly reduce the time needed for repairs.
Preparing Your Workspace
Clear the area under the sink and ensure you have adequate lighting. This will make it easier to see the components you are working on. Lay down a towel or place a bucket to catch any drips, preventing water damage to your cabinetry.
Shutting Off Water Supply
Locate the shut-off valves under the sink and turn them off before beginning repairs. This step is critical as it prevents water from flowing while you work, ensuring a safer and cleaner repair process.
Key Points:
- Gathering the right tools beforehand can streamline repairs.
- Preparing your workspace helps in managing water spills effectively.
Identifying the Source of the Leak
Before attempting to fix a leaky kitchen faucet, it’s crucial to accurately identify the source of the leak. Common causes include worn-out washers, damaged O-rings, or issues with the valve seat. Begin by inspecting the faucet body, handle, and spout for signs of water accumulation or dripping. This will help determine if the leak is external or internal, which influences the repair method. Use a towel to dry the faucet and observe where new moisture appears, as this will pinpoint the leak’s origin.
External vs. Internal Leaks
External leaks typically manifest around the faucet base or handle. These can often be fixed by tightening screws or replacing worn seals. Internal leaks, however, involve components inside the faucet and usually require disassembly. Knowing the type of leak will dictate your tools and approach for the repair.
Common Components to Inspect
Pay close attention to washers, O-rings, and the valve seat. Washers can wear out over time, leading to leaks. O-rings, which provide sealing, can become brittle and cracked. The valve seat, where the faucet spout meets the body, can also corrode, causing leaks. Inspecting these components will guide your repair process.
Key Points:
- Identifying the source of the leak is crucial for effective repairs.
- Understanding the difference between external and internal leaks can save time and effort.
💡 Always turn off the water supply before starting repairs to avoid messy situations.
💡 Keep a towel handy to catch any drips during inspection and disassembly.
Repairing the Leak
Once you’ve identified the source of the leak, you can proceed with the repair. This typically involves disassembling the faucet, replacing damaged components, and reassembling it. Begin by removing the handle using a screwdriver or Allen wrench, then carefully take apart the faucet to access the internal components. Replace any worn washers or O-rings, ensuring a snug fit in their designated grooves. After reassembly, restore the water supply and test for leaks.
Disassembly and Replacement Steps
Start by removing any decorative caps on the handle to access screws. Use the appropriate tool to unscrew and lift off the handle. Take note of how components fit together, as you will need to replicate this during reassembly. Replace washers and O-rings by removing old ones and installing new ones in the correct position.
Reassembly and Testing
After replacing the necessary parts, reassemble the faucet in reverse order. Ensure all screws are tightened properly but avoid overtightening, which can cause damage. Once reassembled, turn the water supply back on slowly and check for leaks by running the faucet for a few minutes. Observe carefully to ensure a proper seal has been achieved.
Key Points:
- Proper disassembly and replacement of components are key to a successful repair.
- Testing the faucet after reassembly ensures that the leak has been fully resolved.
💡 Take pictures during disassembly to aid in reassembly.
💡 Test for leaks after each step of the repair to catch any issues early.
EXPERT TIPS Pro Advice
Use a plumber’s grease on O-rings and washers.
This reduces friction and wear, extending the lifespan of these components and ensuring a better seal.
Keep a basic toolkit ready for plumbing repairs.
Having essential tools like screwdrivers, pliers, and wrenches on hand can expedite repairs and make the process smoother.
Familiarize yourself with faucet types.
Understanding whether you have a compression, cartridge, or ball faucet helps in applying the right repair techniques.
Frequently Asked Questions
Conclusion
Fixing a leaky kitchen faucet is often a manageable task for homeowners. Understanding the cause of the leak, knowing your faucet type, and having the right tools are vital steps. With some basic DIY skills, you can address most common issues effectively.
🎯 Key Takeaways:
- Identify common causes of leaks, including worn washers and O-rings.
- Determine your faucet type for appropriate repairs.
- Turn off the water supply before starting any repairs.
- Basic tools like wrenches and screwdrivers can help with most fixes.
- Consider professional help for persistent leaks.
Expert Advice: Approach faucet repairs with patience and care. By taking your time to assess the problem and follow repair steps, you can save time and money while successfully fixing the leak.
If you’re facing challenges, don’t hesitate to seek help from a professional or consult additional resources for guidance.


