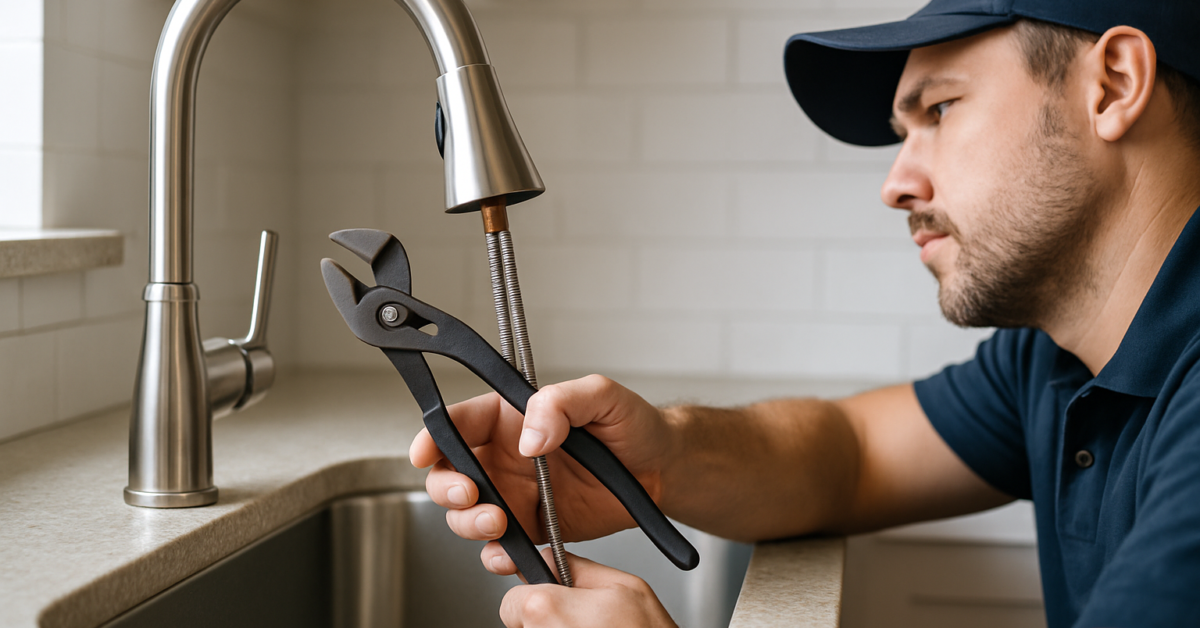
How to Disconnect Kitchen Faucet: A Complete Guide
Are you facing a kitchen renovation or a simple faucet replacement? Knowing how to disconnect kitchen faucet is essential for any DIY enthusiast. With the right approach, you can save time and avoid costly plumbing services. In this article, we will provide you with a comprehensive, step-by-step guide that covers everything from the necessary tools to safety precautions. Drawing on years of plumbing experience, we will ensure you feel confident in tackling this task. Whether you’re a seasoned DIYer or a first-time home improver, our expert tips will help you disconnect your kitchen faucet with ease.
Understanding Your Kitchen Faucet Setup
Before attempting to disconnect a kitchen faucet, it’s essential to understand its components and how they work together. Most kitchen faucets consist of the spout, handle, and a base. Each of these parts may have specific connections to the water supply lines and drainage. Familiarizing yourself with these components can help you identify which connections need to be loosened or removed. Additionally, knowing the type of faucet you have—whether it’s a single-handle, pull-down, or dual-handle—will guide your disconnection process. This understanding lays the groundwork for a smooth disconnection and reinstallation.
Common Types of Kitchen Faucets
Kitchen faucets come in several types, with the most common being single-handle, dual-handle, and pull-down faucets. Single-handle faucets use one lever to control both temperature and flow, making them easy to operate. Dual-handle faucets have separate controls for hot and cold water, allowing for precise temperature adjustments. Pull-down faucets feature a flexible spray head that can be pulled away from the spout, adding versatility to kitchen tasks. Knowing your faucet type is crucial as each requires different disconnection methods.
Identifying Connection Points
The main connection points when disconnecting a kitchen faucet are the water supply lines and the mounting hardware. Water supply lines typically connect to the faucet through threaded fittings. To remove these, you’ll need to locate the shutoff valves beneath the sink and turn them off. The mounting hardware usually involves nuts or screws that secure the faucet to the sink. Understanding these connection points will help you strategize the disconnection process effectively.
Key Points:
- Know your faucet type to tailor your disconnection method.
- Identify connection points to ensure a smooth disconnection process.
Preparation for Disconnection
Proper preparation is crucial before disconnecting a kitchen faucet. Begin by gathering the necessary tools such as an adjustable wrench, basin wrench, and a bucket to catch any water. Ensure you have a clean workspace and wear protective gloves. Next, make sure to turn off the water supply at the shutoff valves. This step prevents water from gushing out unexpectedly, which can create a mess and complicate the disconnection process. Additionally, placing towels or rags around the area can help absorb any spills.
Gathering Tools and Materials
To disconnect a kitchen faucet, you’ll need a few essential tools: an adjustable wrench for loosening nuts, a basin wrench for hard-to-reach areas, and a bucket to catch excess water. Having these tools on hand will streamline the disconnection process and minimize frustration. If your faucet uses a specific type of screw, a screwdriver may also be necessary. Preparing your tools ahead of time is critical to avoid interruptions during the task.
Shutting Off Water Supply
Before starting the disconnection process, locate the shutoff valves beneath your sink and turn them off. This action stops the flow of water to the faucet, preventing leaks and sprays during your work. If your sink does not have individual valves, you may need to turn off the main water supply to your home. Always check your faucet and supply lines for any residual water before proceeding to disconnect, ensuring a clean work area.
Key Points:
- Gather necessary tools to avoid interruptions.
- Always turn off the water supply before starting work.
Understanding Your Kitchen Faucet Setup
Before attempting to disconnect your kitchen faucet, familiarize yourself with its components. Most faucets consist of the spout, handles, and a base which connects to the water supply. Identifying whether your faucet is single or double handle is crucial, as it affects the disconnection process. Additionally, check if your faucet has a pull-down or pull-out sprayer, as this will require special attention during removal. Make sure to turn off the water supply and relieve any pressure by turning on the faucet before starting the disconnection process to prevent leaks and water sprays.
Types of Kitchen Faucets
Kitchen faucets can be broadly classified into single-handle and double-handle types. Single-handle faucets have one lever to control both temperature and flow, making them easier to disconnect. Conversely, double-handle faucets have separate controls, which may require you to disconnect both handles before removing the spout. Understanding these distinctions will guide you in selecting the right tools and techniques for disconnection.
Safety Precautions
Safety should be your priority when disconnecting a kitchen faucet. Ensure you have a towel or bucket ready to catch any water that may spill. Wearing gloves can protect your hands from sharp edges or debris. Also, consider wearing safety goggles to protect your eyes from any potential splashes or tools that may slip during the disconnection process.
Key Points:
- Identify your faucet type for an efficient disconnection process.
- Prioritize safety to prevent accidents during disconnection.
💡 Always turn off the water supply before starting to disconnect your faucet.
💡 Keep a towel handy to catch any residual water from the pipes.
Step-by-Step Guide to Disconnecting Your Faucet
Once you have familiarized yourself with your kitchen faucet setup and taken safety precautions, you can proceed to disconnect the faucet. Begin by removing any decorative elements that may be concealing the mounting hardware. Most faucets will have nuts securing them to the sink, which can be loosened using an adjustable wrench or basin wrench. After removing the mounting nuts, carefully lift the faucet away from the sink. Make sure to disconnect the supply lines, which may require additional tools, depending on the fittings used. If your faucet has a sprayer, be sure to disconnect that as well before final removal.
Removing the Mounting Nuts
Use your wrench to grasp the mounting nuts beneath the sink. Turn them counterclockwise until they are loose enough to remove by hand. Be cautious not to strip the nuts; if they are corroded, a penetrating oil may help. Taking this step ensures that your faucet is fully detached from the sink, allowing for a smooth disconnection.
Disconnecting Supply Lines
After removing the mounting nuts, focus on the supply lines. Use an adjustable wrench to loosen and disconnect the hot and cold water supply lines. Have a bucket ready to catch any water that may leak from the lines. It’s essential to label your supply lines if you plan to reconnect them later to avoid confusion.
Key Points:
- Remove all mounting nuts before attempting to lift the faucet.
- Disconnect supply lines carefully to prevent leaks and water damage.
💡 Label your supply lines to ensure correct reinstallation later.
💡 Use a basin wrench for tight spaces under the sink.
EXPERT TIPS Pro Advice
Inspect the faucet condition before disconnection.
Checking for leaks or damage can save you from additional repairs later. If the faucet is worn, consider replacing it rather than reconnecting.
Utilize a mirror to see hard-to-reach areas.
A small mirror can help you visualize the mounting nuts and connections, especially in tight spaces, making the disconnection process easier.
Keep a multi-tool handy.
Having a multi-tool can assist in handling various screws and nuts, saving time and effort during disconnection.
Take pictures during disassembly.
Documenting your disconnection process can serve as a helpful reference when reassembling or installing a new faucet.
Frequently Asked Questions
Conclusion
Disconnecting a kitchen faucet can be straightforward with the right tools and precautions. Always start by turning off the water supply and relieving pressure. Use appropriate techniques and take your time, especially when dealing with stuck components. Following these steps will help ensure a successful disconnect.
🎯 Key Takeaways:
- Turn off the water supply before starting.
- Use the correct tools for better access.
- Relieve water pressure to avoid leaks.
- Be cautious with stuck nuts; use penetrating oil.
- Clean the area after disconnecting the faucet.
Expert Advice: Approach the task methodically and don’t rush. Familiarize yourself with the components and stay organized to ensure a smoother process. If you’re unsure, consider consulting a professional for guidance.
Now that you’re informed, gather your tools and get started on disconnecting your kitchen faucet safely!


