How Do You Install a Kitchen Faucet: A Complete Guide
Are you tired of your old kitchen faucet and ready to make a change? Installing a kitchen faucet can seem daunting, but with the right guidance, it can be a straightforward DIY project. In this comprehensive guide on how do you install a kitchen faucet, we will walk you through each step of the process, ensuring you have the confidence and knowledge to tackle this task. With over 15 years of experience in plumbing and home improvement, we provide expert insights and practical tips to help you avoid common pitfalls. From gathering the necessary tools to completing the installation, you will learn everything you need to know to successfully update your kitchen with a new faucet.
Understanding the Basics of Kitchen Faucet Installation
Installing a kitchen faucet is a straightforward process that requires some basic tools and an understanding of plumbing. Before diving into the installation, it’s important to gather the necessary tools and familiarize yourself with the components of your faucet. Typically, you will need an adjustable wrench, pliers, a basin wrench, and plumber’s tape. Additionally, knowing whether your faucet is single-hole or multi-hole will help you plan the installation. Familiarize yourself with the supply lines and the shut-off valves under the sink, as these will be crucial during installation.
Tools You Will Need
Before starting the installation, ensure you have the right tools on hand. Common tools include an adjustable wrench for tightening nuts, pliers for grip, and a basin wrench for hard-to-reach areas. Having a towel or sponge can help clean up any spills during the process. Additionally, plumber’s tape is useful for sealing threaded connections to prevent leaks. Being well-prepared simplifies the installation process and reduces the risk of interruptions.
Understanding Faucet Types
There are different types of kitchen faucets, including single-handle, double-handle, pull-down, and pull-out models. Each type has its unique installation requirements. For instance, single-handle faucets typically require one hole, while double-handle faucets may need two or three. Understanding your faucet type helps in determining the installation method and any specific adjustments needed, ensuring a smoother installation process.
Key Points:
- Gather all necessary tools before starting
- Know the type of faucet for proper installation
Preparation Steps Before Installation
Before proceeding with the installation of your kitchen faucet, it’s vital to prepare the work area and review your plumbing setup. Start by turning off the water supply at the shut-off valves located under the sink. It’s also wise to drain any remaining water from the lines to prevent spills. Clear the area beneath the sink of any items to create a clean workspace. Lastly, inspect the old faucet and plumbing for any signs of wear or damage that may need addressing before installing the new faucet.
Shutting Off the Water Supply
Turning off the water supply is a crucial step to prevent flooding during installation. Locate the shut-off valves under the sink and turn them clockwise to close. After shutting off the water, test the faucet to ensure no water is flowing. This precaution helps avoid unnecessary mess and allows you to work confidently without the concern of water leaks.
Clearing the Work Area
A clutter-free workspace is essential for a successful installation. Remove any items stored under the sink, including cleaning supplies and personal items. This not only provides you with ample space to work but also minimizes the risk of damaging any belongings. Having a clear area allows for easier access to plumbing fixtures and helps you focus on the installation task at hand.
Key Points:
- Always turn off the water supply before starting
- Keep your workspace organized to avoid accidents
Preparation for Kitchen Faucet Installation
Installing a kitchen faucet requires careful preparation to ensure a smooth process. Begin by gathering necessary tools such as a basin wrench, adjustable wrench, and plumber’s tape. Before starting, turn off the water supply under the sink to avoid leaks. It’s also beneficial to clear the area under the sink for easy access. Additionally, consider laying out all parts of the new faucet to familiarize yourself with the installation components, including the handle, spout, and mounting hardware. Following these preparatory steps will save time and prevent frustration during installation.
Gathering Necessary Tools
Collecting the right tools is crucial for efficient installation. Basic tools typically include a basin wrench for tight spaces, an adjustable wrench for securing fittings, and plumber’s tape to ensure a watertight seal. Having these tools ready will help streamline the installation process and reduce the risk of damage to your sink or faucet.
Shutting Off Water Supply
Before beginning the faucet installation, ensure that the water supply is turned off. Locate the shut-off valves under the sink and turn them clockwise to close. If there are no individual shut-off valves, you may need to turn off the main water supply. This step is essential to prevent water from leaking and causing a mess during the installation.
Clearing the Work Area
Removing items from under the sink creates a safe and unobstructed workspace. This includes cleaning out any cleaning supplies and other items that might hinder your access. A clear area not only makes the job easier but also allows for better maneuverability when installing the faucet.
Key Points:
- Preparation is key to a successful installation.
- Gather the right tools and ensure the work area is clear.
💡 Always check the sink’s compatibility with the new faucet before purchasing to avoid installation issues.
💡 Use a flashlight if the under-sink area is poorly lit to ensure you can see all connections clearly.
💡 Take a photo of the existing setup before disassembly to reference during installation.
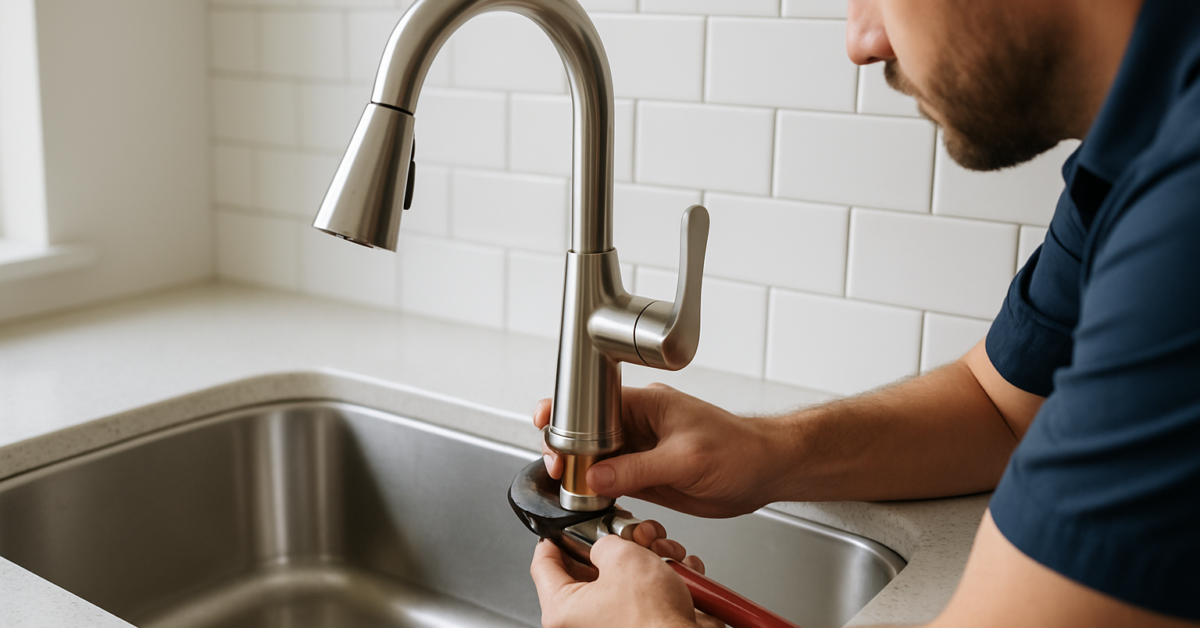
Step-by-Step Installation Process
Once you have prepared for the installation, follow these steps to install your kitchen faucet. Begin by removing the old faucet, which typically involves unscrewing the mounting nuts and disconnecting the water supply lines. Next, install the new faucet by securing it to the sink using the provided mounting hardware. Ensure that all connections are tight to prevent leaks. After installation, reconnect the water supply lines and turn the water back on, checking for any leaks. This step-by-step guide helps streamline the process and ensures a professional finish.
Removing the Old Faucet
Start by disconnecting the water supply lines using an adjustable wrench. Once the lines are free, locate the mounting nuts securing the old faucet to the sink. Use a basin wrench to unscrew these nuts. After removing all connections, lift the old faucet out of the sink, cleaning any debris left behind.
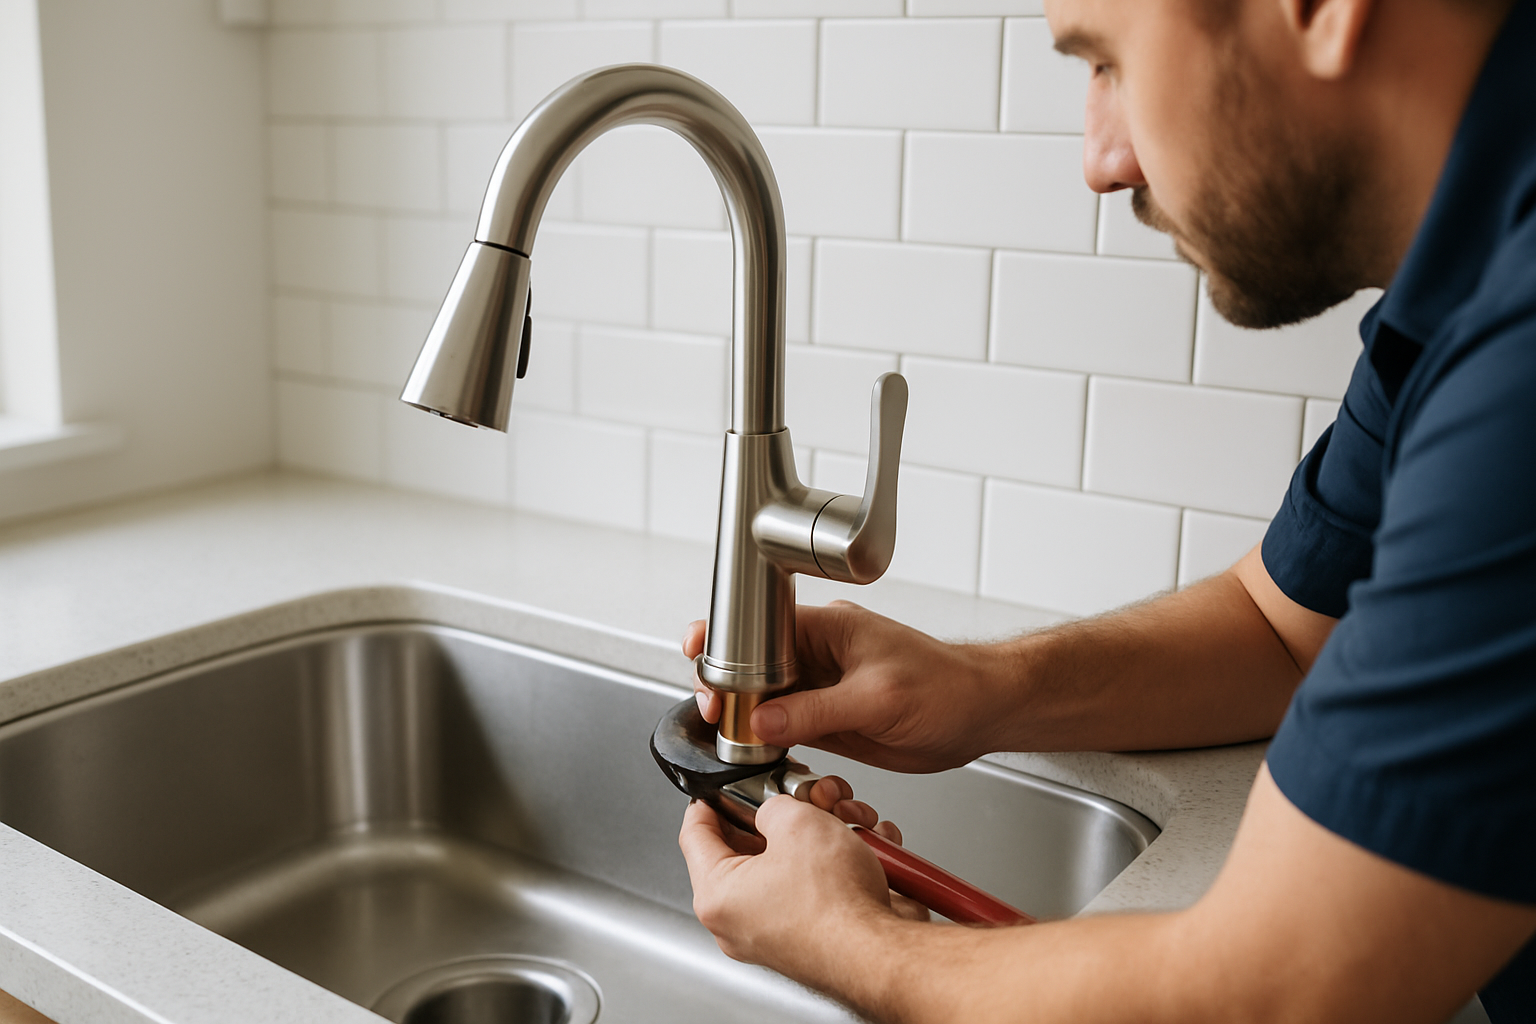
Installing the New Faucet
Position the new faucet in the sink hole and secure it with the mounting hardware provided. Ensure that the faucet is aligned correctly before tightening the mounting nuts. This step is crucial as improper alignment can lead to leaks and difficulty in using the faucet.
Finalizing Connections and Testing
Reconnect the water supply lines to the new faucet, ensuring each connection is tight. Slowly turn the water supply back on and check for leaks around the faucet and supply lines. If leaks are present, tighten the connections further. Testing the faucet after installation ensures it operates correctly.
Key Points:
- Follow a systematic approach for effective installation.
- Testing for leaks is an essential final step.
💡 Use plumber’s tape on the threads of the water supply lines to enhance the seal and prevent leaks.
💡 Always test the faucet with both hot and cold water to ensure proper functioning before finishing up.
💡 Keep a bucket or towel handy to catch any residual water when disconnecting the old faucet.
EXPERT TIPS Pro Advice
Measure before you buy
Ensure your new faucet is the right size for your sink and matches the number of holes available to avoid additional modifications.
Consider water flow rate
Check the flow rate of your new faucet to ensure it meets your household needs and is compliant with local regulations.
Take your time
Rushing through the installation can lead to mistakes. Take your time to ensure each step is completed correctly for long-lasting results.
Frequently Asked Questions
Conclusion
Installing a kitchen faucet can be a straightforward DIY project if you prepare properly and follow the right steps. Key tasks include gathering the right tools, ensuring watertight connections, and testing the installation. With some patience and care, you can achieve a successful installation.
🎯 Key Takeaways:
- Gather essential tools like wrenches and plumber’s tape.
- Turn off the water supply before starting the installation.
- Ensure all connections are tight and leak-free.
- Test the faucet thoroughly after installation.
Expert Advice: Take your time during the installation process and follow each step carefully. If you encounter difficulties, don’t hesitate to seek assistance from online resources or professional plumbers to ensure a successful outcome.
Ready to get started? Gather your tools and follow the steps outlined to successfully install your kitchen faucet today!