Are you tired of the outdated look of your kitchen tiles and wondering, can I paint over kitchen tiles? You’re not alone—many homeowners seek cost-effective solutions to refresh their kitchen without a complete renovation. With the right approach, painting tiles can transform your space and breathe new life into your kitchen. With over 15 years of experience in home improvement advice, we’ll explore everything you need to know about painting kitchen tiles. From preparation techniques to choosing the right paint, this guide will equip you with the knowledge and confidence to tackle your tile painting project successfully.
Understanding the Basics of Painting Over Kitchen Tiles
Many homeowners consider painting over kitchen tiles as a cost-effective way to refresh their space. Before diving into this project, it’s essential to understand the type of tiles you have, the preparation required, and the potential results. Different tile materials, such as ceramic, porcelain, or vinyl, can affect the paint’s adhesion and durability. Proper preparation is crucial; cleaning and priming the tiles ensures that the paint adheres well and lasts longer. Additionally, knowing what to expect in terms of finish and texture can help you achieve a professional look.
Types of Tiles Suitable for Painting
Ceramic and porcelain tiles are the most common types that can be painted effectively. Their non-porous surfaces allow paint to adhere better when properly prepared. Vinyl tiles can also be painted, but the results may vary depending on the surface condition and the type of paint used. It’s important to avoid painting over natural stone tiles, as the paint may not adhere well and can damage the stone.
Preparation Steps Before Painting
Preparation is critical for a successful paint job on tiles. Start by thoroughly cleaning the tiles to remove grease, grime, and dirt. Use a suitable cleaner and a scrub brush for best results. After cleaning, allow the tiles to dry completely. Next, sand the surface lightly to create a texture for better paint adhesion. Following sanding, apply a primer specifically designed for tile surfaces, which acts as a bonding agent and enhances the longevity of the paint.
Choosing the Right Paint and Technique
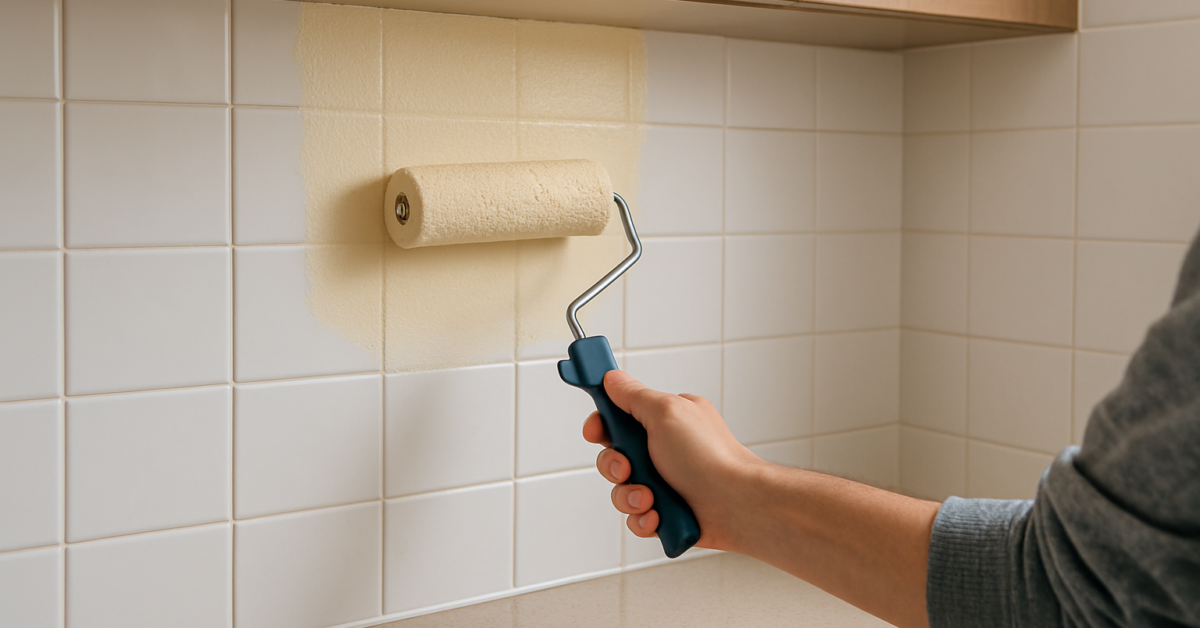
Selecting the right paint and application technique is crucial for achieving a durable and aesthetically pleasing finish. Use a paint formulated for tiles or a high-quality acrylic or epoxy paint that can withstand kitchen conditions, such as moisture and heat. The application technique also matters; using a roller can ensure even coverage, while a brush can be used for edges and detailed areas. Additionally, consider using multiple thin coats rather than one thick coat to avoid drips and achieve a smoother finish.
Types of Paint for Tiles
For painting kitchen tiles, choose paint specifically labeled for tile or high-adhesion acrylic paints. Epoxy paints are also a good option for their durability and resistance to moisture. Always check the paint’s specifications to ensure it can withstand the kitchen environment’s demands. Avoid using standard wall paints, as they may not adhere well and can peel over time.
Application Techniques for Best Results
When applying paint, start with a primer coat to enhance adhesion. Use a roller for large areas to achieve uniform coverage, and a brush for corners and edges. Apply multiple thin coats, allowing each to dry completely before applying the next. This technique helps prevent drips and creates a more professional finish. Additionally, consider sealing the painted surface with a clear topcoat for added protection against wear and tear.
Understanding the Basics of Painting Over Kitchen Tiles
Painting over kitchen tiles can be an effective way to refresh your kitchen’s look without the cost of a full renovation. However, it’s essential to understand the types of tiles you have and the appropriate painting techniques to ensure lasting results. Ceramic and porcelain tiles, for example, are generally more suitable for painting than natural stone tiles. The surface preparation is crucial; tiles must be cleaned and possibly sanded to create a rough texture for better paint adhesion. Additionally, using the right primer designed for tiles can significantly enhance the durability of your paint job.
Types of Tiles Suitable for Painting
Ceramic and porcelain tiles often respond well to paint, while natural stone tiles may not adhere as effectively. Before you begin painting, identify the type of tile in your kitchen, as this will dictate the products and methods you should use. Additionally, consider the tile’s gloss level; glossy tiles may require extra preparation to ensure the paint adheres properly.
Surface Preparation Techniques
Proper surface preparation involves cleaning the tiles thoroughly to remove grease and grime. After cleaning, lightly sand the tile surface to create a texture that helps the paint stick. Using a primer specifically designed for tiles is crucial; it ensures that the paint will adhere properly and provides a solid base for your chosen color.
Key Points:
- Identify the type of tiles before painting to select the right materials.
- Surface preparation is critical for adhesion and long-lasting results.
💡 Always test a small area before committing to painting all tiles; this allows you to see how the paint interacts with your tiles.
💡 Ensure the tiles are completely dry after cleaning and sanding to prevent moisture issues.
💡 Choose a paint that is specifically formulated for high-moisture areas, as kitchens are prone to humidity.
Techniques and Considerations for a Successful Tile Painting Project
Once you’ve chosen to paint your kitchen tiles, understanding the techniques and considerations involved is vital for achieving a professional finish. Use a high-quality paintbrush or roller suitable for smooth surfaces to apply your paint evenly. Consider using multiple thin coats instead of one thick coat; this method enhances durability and reduces the risk of drips. After painting, allow adequate curing time as per the paint manufacturer’s instructions, as this can significantly affect the longevity of your finish.
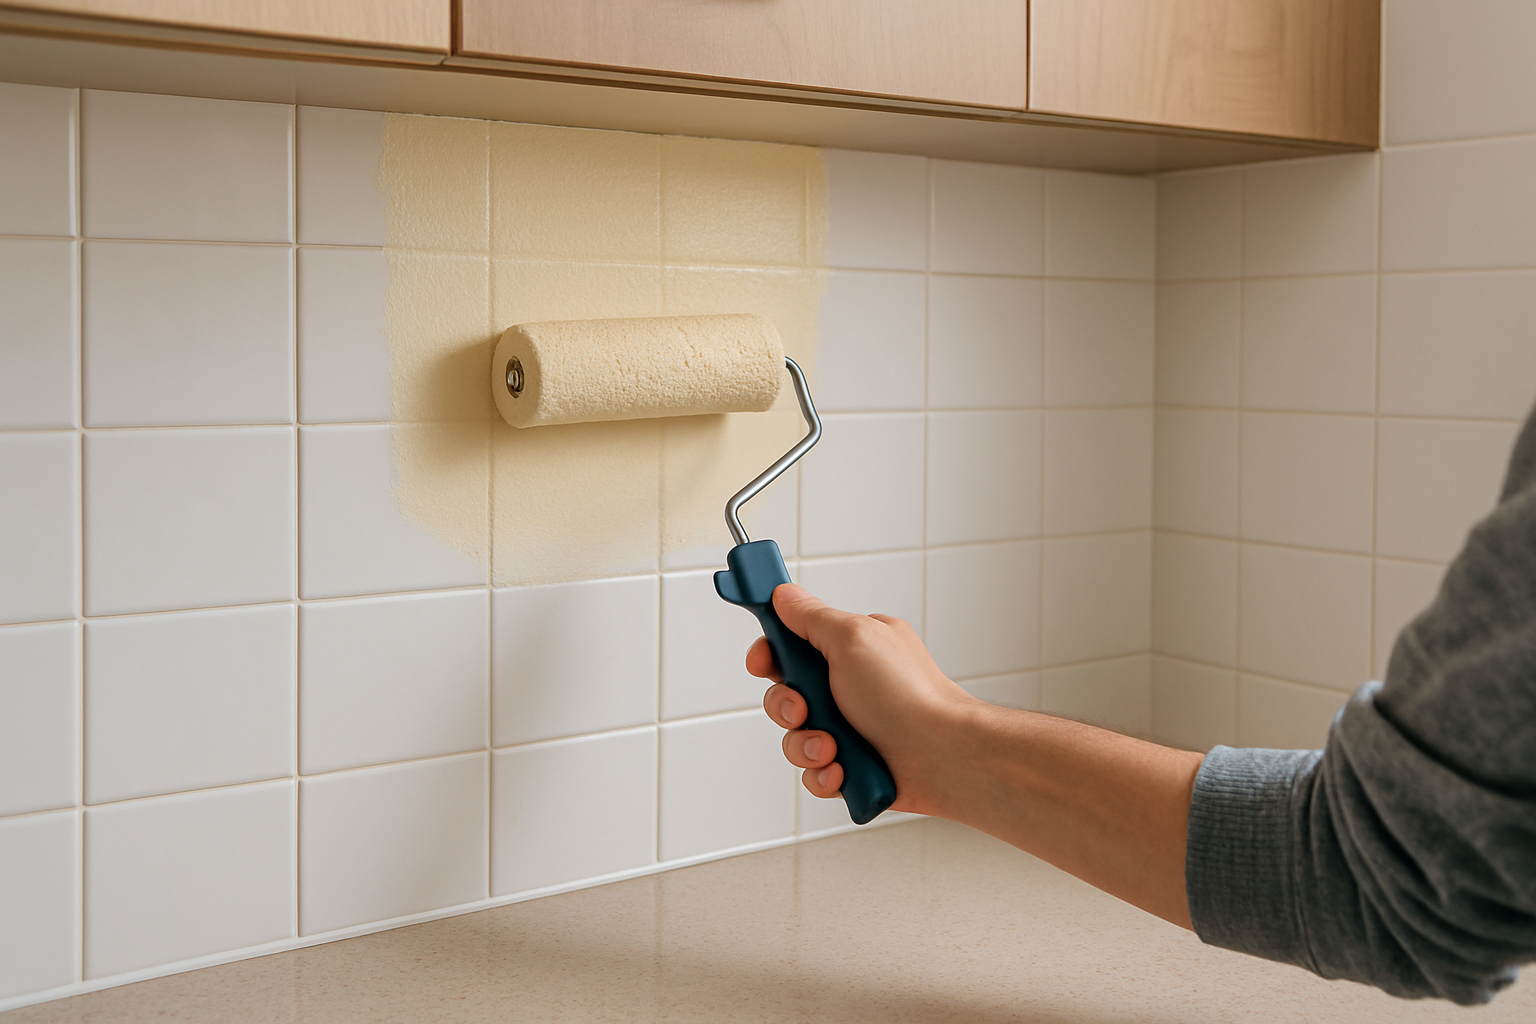
Application Methods for Even Coverage
For best results, apply paint using a high-density foam roller or a brush designed for smooth surfaces. Start with the edges and corners using a brush, then use the roller for larger areas. Multiple thin coats will yield a smoother finish and better durability compared to a single thick coat. Allow each coat to dry thoroughly before applying the next.
Post-Painting Care and Maintenance
After the paint has dried, maintain the tiles by avoiding abrasive cleaners, which can damage the finish. Instead, use mild soap and a soft cloth for cleaning. Regular maintenance can prolong the life of your painted tiles and keep your kitchen looking fresh. If you notice any chips or wear, consider touching up the paint promptly to maintain the overall appearance.
Key Points:
- Apply multiple thin coats for a better finish and durability.
- Proper maintenance is essential to keep painted tiles looking great.
💡 Use painter’s tape to protect areas you do not want to paint, ensuring clean lines and a professional look.
💡 Consider the color and finish of the paint carefully; lighter colors can make the kitchen feel more spacious.
💡 Allow each coat to cure properly; this is crucial for long-lasting adhesion and durability.
EXPERT TIPS Pro Advice
Test your paint on a sample tile.
Testing paint on a sample tile helps you assess adhesion and color accuracy before committing to the entire surface.
Consider the kitchen’s lighting when choosing colors.
Lighting can significantly affect how colors appear; ensure your chosen color complements the overall kitchen design.
Be patient during the curing process.
Allowing paint to cure fully prevents premature wear and ensures a long-lasting finish.
Seal the paint with a protective topcoat for extra durability.
Applying a clear topcoat can enhance durability, especially in high-traffic areas like kitchens.
Keep ventilation in mind while painting.
Ensure good ventilation during the painting process to avoid inhaling fumes and to help the paint dry evenly.
Frequently Asked Questions
Conclusion
Painting over kitchen tiles can be a practical and cost-effective solution to update your kitchen aesthetics. Proper preparation, including cleaning and priming, is crucial. Use high-quality paint and consider sealing for added protection.
🎯 Key Takeaways:
- Clean and sand tiles before painting.
- Choose high-quality, tile-specific paint.
- Painting offers a budget-friendly renovation option.
- Textured tiles require careful application.
- Sealing painted tiles enhances durability.
Expert Advice: Take your time with preparation and application to ensure the best possible results. Don’t rush the process, as attention to detail will lead to a more satisfying outcome.
Consider trying out this DIY project to transform your kitchen tiles and create a fresh look.