Are you tired of your outdated kitchen floor tiles but hesitant to replace them? The question ‘can I paint my kitchen floor tiles’ is a common dilemma for many homeowners looking for a budget-friendly makeover. Painting tiles can transform your kitchen quickly and affordably, but it’s essential to understand the right techniques and materials to ensure a durable finish. With over 15 years of experience in home improvement and design, I will guide you through the process, highlighting the benefits, potential pitfalls, and best practices for painting your kitchen floor tiles. By the end of this article, you’ll be equipped with the knowledge you need to make an informed decision about your tile painting project.
Understanding the Basics of Painting Floor Tiles
Painting kitchen floor tiles is a practical and cost-effective way to refresh your space without the expense of full tile replacement. However, it’s essential to understand the type of tiles you have and the painting process involved. Not all tiles are suitable for painting, so identifying whether your tiles are ceramic, porcelain, or another material is crucial. Additionally, consider the current condition of the tiles; they should be clean, intact, and free from significant damage to ensure the paint adheres properly. Preparation is key to achieving a durable finish, so take the time to follow the necessary steps before applying any paint.
Types of Tiles Suitable for Painting
Ceramic and porcelain tiles are typically the best candidates for painting due to their smooth surfaces. In contrast, textured or natural stone tiles might not hold paint well and can lead to uneven finishes. Assess your tiles’ material and texture to determine if painting is a viable option. If you’re unsure, consult with a professional for guidance.
Assessing the Condition of Your Tiles
Before painting, inspect your tiles for cracks, chips, or other damage. Minor imperfections can be repaired, but significant damage may require more extensive work. A thorough clean is essential; dirt and grime can prevent paint adhesion. Use a tile cleaner and ensure the surface is completely dry before proceeding.
Key Points:
- Identify the tile material before painting
- Ensure tiles are clean and undamaged
Preparation Steps for Painting Kitchen Floor Tiles
Proper preparation is crucial to the success of painting your kitchen floor tiles. Start by cleaning the surface thoroughly to remove grease, dirt, and any old wax or sealants. After cleaning, it’s essential to sand the tiles lightly to create a rough surface for better paint adhesion. Use a fine-grit sandpaper and ensure you remove any dust afterward. Next, consider applying a primer specifically designed for tile surfaces; this step can significantly enhance the longevity of your paint job. Following these preparation steps will set a solid foundation for a successful tile painting project.
Cleaning and Sanding the Tiles
Begin with a deep clean using a tile-specific cleaner. Scrub the tiles with a brush to remove any residues. Once cleaned, lightly sand the surface to create texture. This process increases paint adhesion and improves the overall finish. Remember to vacuum or wipe away dust to ensure a clean surface before applying primer.
Applying Primer for Better Adhesion
Using a primer designed for tiles can significantly improve paint adhesion and durability. Apply the primer with a roller or brush, ensuring even coverage. Allow the primer to dry entirely before moving on to painting. This step is often overlooked, but it can make a notable difference in the longevity of your paint job.
Key Points:
- Clean and sand tiles for effective adhesion
- Use a primer to enhance durability
Understanding the Feasibility of Painting Kitchen Floor Tiles
Painting kitchen floor tiles is a feasible option for homeowners looking to refresh their space without the expense of a complete renovation. However, it’s crucial to assess the condition of the existing tiles before proceeding. If the tiles are cracked or loose, painting may not be a viable solution, as paint won’t adhere properly and could lead to further deterioration. Additionally, consider the type of tile you have; ceramic and porcelain tiles are generally more suitable for painting than natural stone, which may absorb the paint unevenly. Conducting a thorough inspection and considering these factors will help determine if painting is a suitable choice for your kitchen floor.
Evaluating Tile Condition
Before painting, ensure your tiles are in good condition. Check for cracks, chips, or loose tiles, as these issues must be resolved first. If tiles are damaged, repair them using a suitable filler or adhesive. Ensuring a smooth surface is vital for paint adhesion and longevity, as any imperfections can compromise the final appearance.
Choosing the Right Tile Material
Not all tile materials are ideal for painting. Ceramic and porcelain tiles are best suited due to their non-porous nature, which allows paint to adhere better. Avoid painting natural stone tiles, as they can absorb paint unevenly. Conduct a water test; if the tile absorbs water quickly, painting may not yield the desired results.
Key Points:
- Assess tile condition before painting.
- Ceramic and porcelain tiles are ideal candidates.
💡 Inspect tiles for damage before painting to avoid poor results.
💡 Choose ceramic or porcelain tiles for better paint adhesion.
Preparing and Painting Kitchen Floor Tiles
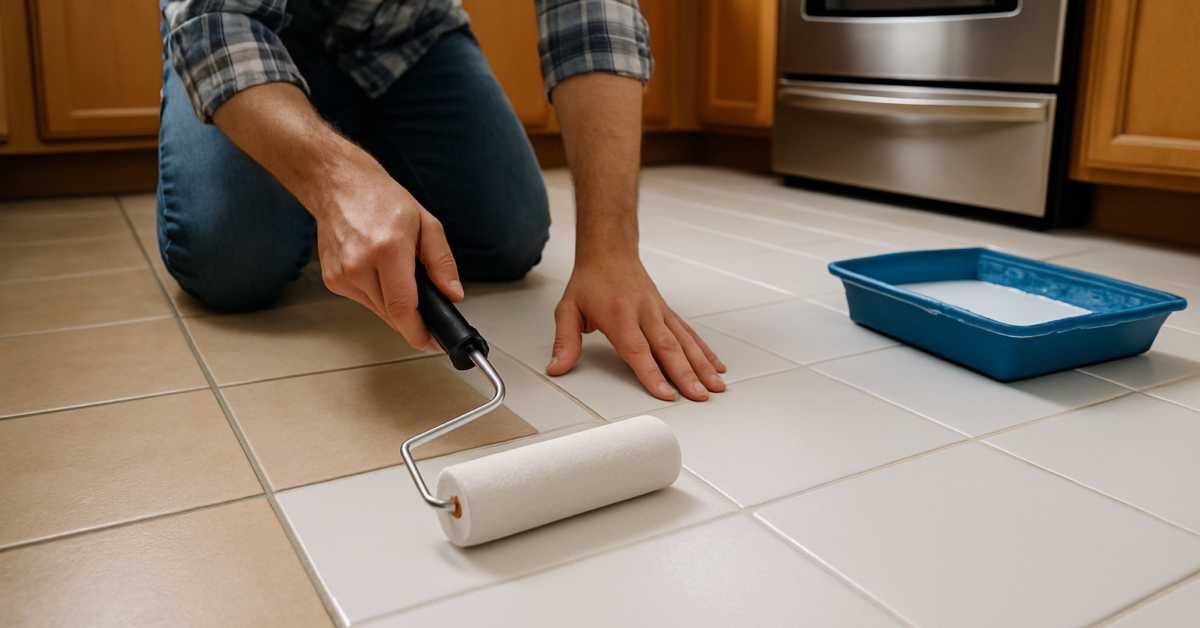
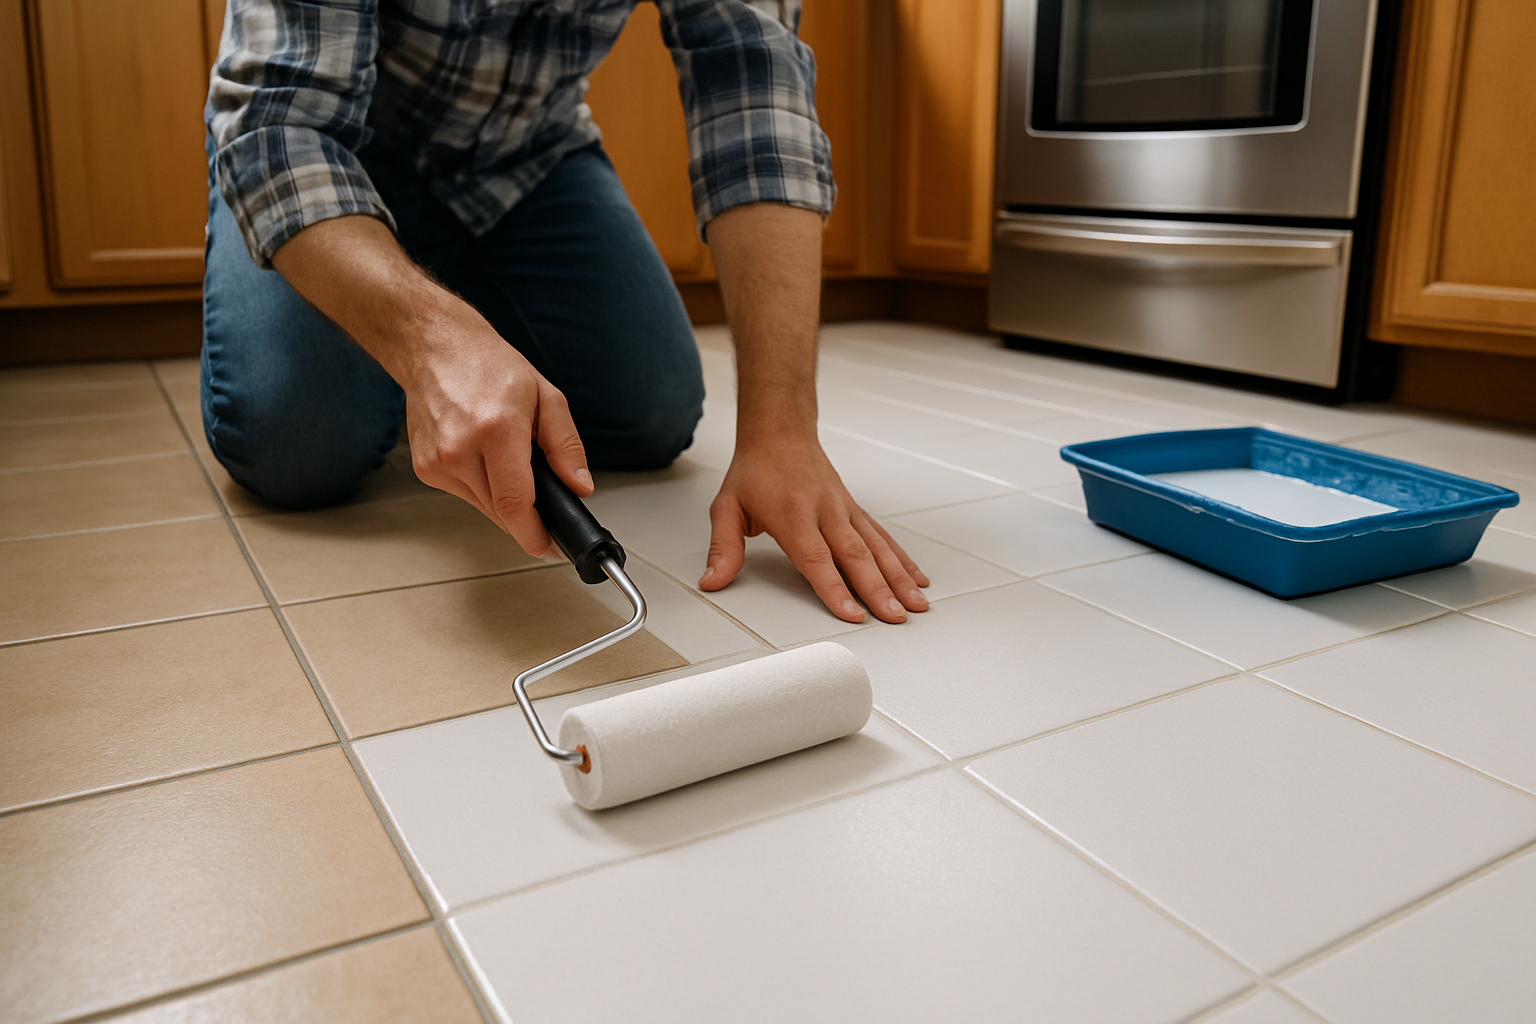
Once you’ve established that painting your kitchen floor tiles is feasible, preparation is key to achieving a successful outcome. Start by cleaning the tiles thoroughly to remove dirt, grease, and grime, which can prevent paint from adhering properly. Use a degreaser or a mixture of vinegar and water for effective cleaning. After cleaning, allow the tiles to dry completely. Following this, consider applying a primer specifically designed for tile surfaces; this step enhances paint adherence and durability. Lastly, choose a high-quality floor paint that can withstand foot traffic and cleaning, ensuring your newly painted tiles last longer.
Cleaning and Preparing the Surface
Thorough cleaning is essential to remove any contaminants that could hinder paint adhesion. Use a mixture of water and vinegar or a degreaser. Scrub the tiles with a stiff brush to ensure all grime is removed. After cleaning, rinse the tiles with water and allow them to dry completely before proceeding to the next step.
Priming and Painting Techniques
Applying a primer enhances the paint’s adhesion to the tile surface. Choose a primer specifically made for tile applications and apply it evenly with a roller or brush. Once the primer is dry, apply the paint using a similar technique. For best results, use multiple thin coats rather than one thick layer, allowing each coat to dry completely before adding the next.
Key Points:
- Proper preparation leads to better paint results.
- Multiple thin coats of paint are more effective than one thick coat.
💡 Clean tiles thoroughly to ensure paint sticks well.
💡 Use a primer specifically for tiles to enhance adhesion.
EXPERT TIPS Pro Advice
Test a small area first
Always test paint on a small, inconspicuous area to see how it adheres and dries. This will help you gauge the final appearance before committing to the entire floor.
Consider a sealant after painting
Applying a sealant over the painted tiles can enhance durability and protect against scratches and stains, extending the life of your new floor finish.
Allow adequate drying time
Ensure you allow each coat of paint and primer to dry completely according to the manufacturer’s recommendations. Rushing this step can lead to peeling and chipping.
Be mindful of foot traffic
Limit foot traffic on painted tiles for at least 48 hours after painting to allow the paint to cure properly, which helps prevent damage.
Plan for maintenance
Regularly clean your painted tiles with non-abrasive cleaners to maintain their appearance and longevity. This simple step can significantly prolong the life of your paint job.
Frequently Asked Questions
Conclusion
Painting your kitchen floor tiles is an effective way to revitalize your space. By selecting the right paint, preparing the surface properly, and sealing after painting, you can achieve a durable and attractive finish. This approach offers a cost-effective alternative to tile replacement.
🎯 Key Takeaways:
- You can paint tiles with proper preparation.
- Use tile-specific paints for best results.
- Priming helps paint adhere to dark tiles.
- Regular maintenance extends the lifespan of painted tiles.
- Sealing is essential for durability and easy cleaning.
Expert Advice: Take your time during preparation and choose quality materials for the best outcome. A well-executed paint job can significantly enhance your kitchen’s aesthetic while being cost-effective.
Consider starting your painting project this weekend to give your kitchen a fresh new look!