Are you tired of your outdated kitchen floor and wondering, can I paint my kitchen floor? You’re not alone; many homeowners seek cost-effective solutions to refresh their spaces. Painting your kitchen floor can be a rewarding DIY project, but it requires careful planning and execution. With over 15 years of experience in home improvement, I’ll guide you through the essential steps and considerations to achieve a beautiful finish. In this article, you’ll learn about the best practices for preparing your floor, selecting the right paint, and common pitfalls to avoid. Let’s dive into the world of kitchen floor painting and transform your space into a stunning culinary haven.
Understanding the Basics of Painting Kitchen Floors
Painting your kitchen floor can be a cost-effective way to refresh your space, but it’s essential to understand the underlying factors before diving in. The type of flooring you have significantly influences the feasibility and durability of paint. Common kitchen floor materials include wood, tile, and laminate, each requiring different preparation and painting techniques. Additionally, assessing the condition of your floor is crucial; any damage should be repaired before applying paint. It’s also important to consider the longevity of paint on floors, as kitchen environments are subject to spills and heavy foot traffic, which can affect the finish. Properly executed, painting can yield an attractive and functional result, but it’s important to follow best practices to ensure a successful outcome.
Types of Flooring Suitable for Painting
Not all flooring types are suitable for painting. Wood floors can be painted, but they require thorough sanding and sealing to ensure adhesion. Tile floors, especially ceramic, can also be painted, but it’s essential to use a primer designed for tile surfaces. Laminate flooring presents challenges; while it’s possible to paint, the results may not be as durable. Understanding the characteristics of your floor type will determine the best approach to painting.
Evaluating Your Floor’s Condition
Before painting, evaluate the condition of your kitchen floor. Look for cracks, chips, or water damage that could compromise the paint’s adhesion. If the floor is uneven or has loose tiles, these issues should be addressed prior to painting. A good foundation is key to a successful paint job; otherwise, you may end up with peeling or chipping paint in a short period. Performing necessary repairs will ensure a smoother and longer-lasting finish.
Preparation Steps for Painting Your Kitchen Floor
Preparation is a critical step in achieving a successful paint job on your kitchen floor. Start by thoroughly cleaning the surface to remove dirt, grease, and old finishes. This will promote better adhesion of the paint. Next, sanding the floor may be necessary, especially for wood surfaces, as it allows the paint to grip more effectively. For tiled surfaces, a specialized primer may be required to ensure that the paint adheres properly. Additionally, consider the drying time and ventilation during the painting process; proper airflow helps in curing and reduces the risk of fumes accumulating in the kitchen. Taking the time to prepare will significantly enhance the durability and appearance of your painted floor.
Cleaning Your Floor
Start with a deep clean of your kitchen floor. Use a degreaser to remove any built-up grease and dirt, as these contaminants can hinder paint adhesion. For tile floors, ensure that the grout lines are clean as well. A clean surface is crucial for ensuring the paint sticks effectively, leading to a more durable finish that can withstand the rigors of a kitchen environment.
Sanding and Priming Techniques
Sanding is especially important for wood floors, as it creates a rough surface that helps the paint adhere better. Use fine-grit sandpaper and ensure you remove all dust after sanding. For tile floors, applying a primer designed for tile surfaces will create a suitable base for your paint, enhancing longevity. Proper priming sets the stage for a successful paint application and can prevent peeling and chipping later on.
Understanding the Basics of Painting Kitchen Floors
Painting your kitchen floor can be an appealing option for those looking to refresh their space without the expense of a complete remodel. Before diving into this project, it’s vital to understand the types of flooring materials suitable for painting, such as wood, concrete, or tile. Each material has specific preparation and application requirements that influence the result. Additionally, consider the durability of paint types; some are designed for high-traffic areas, making them ideal for kitchens. Ultimately, understanding your floor’s material and the right paint will set the foundation for a successful project.
Suitable Flooring Materials
Not all kitchen floors can be painted successfully. The best candidates are wood, concrete, and certain types of tiles. Wood floors require thorough sanding to ensure paint adhesion, while concrete must be cleaned and possibly etched. Ensure that your flooring type is compatible with paint before proceeding with this project.
Choosing the Right Paint
Opt for paint specifically designed for floors, as it typically contains additives that enhance durability and resistance to wear. Look for options labeled as ‘floor paint’ or ‘porch paint,’ which can withstand the moisture and traffic common in kitchens. The choice of finish—matte, satin, or gloss—will also influence the final appearance and maintenance of your painted floor.
Key Points:
- Floor material influences the painting process.
- Selecting the right paint is crucial for durability.
💡 Always test a small area first to ensure compatibility and adhesion.
💡 Use primer to enhance paint adhesion and longevity, especially on porous surfaces.
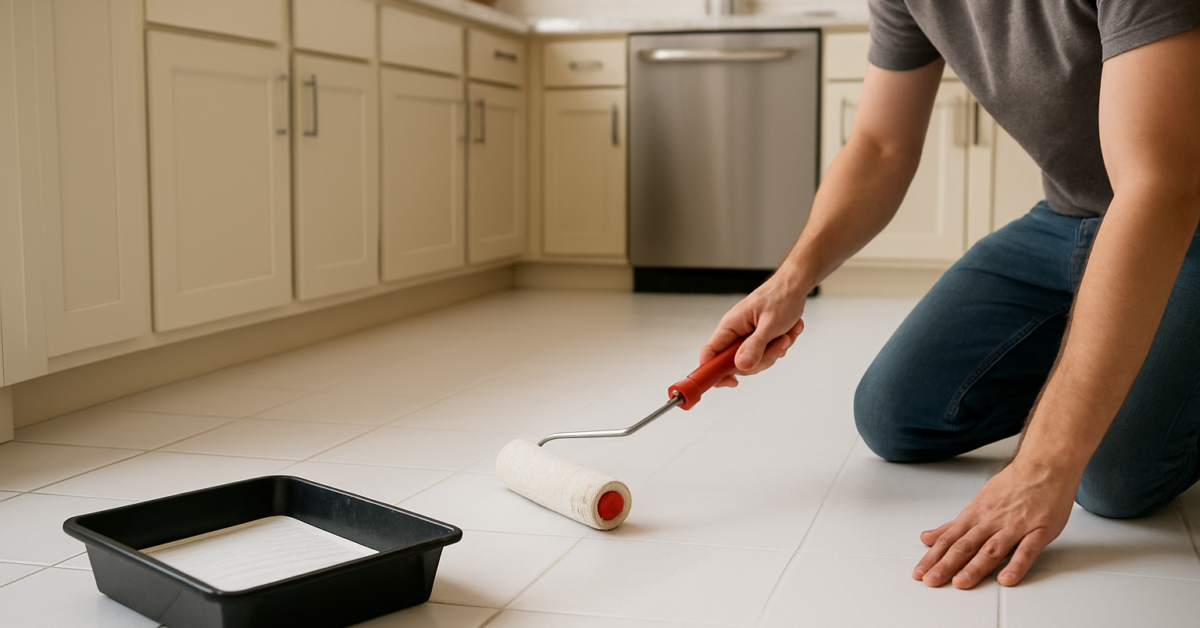
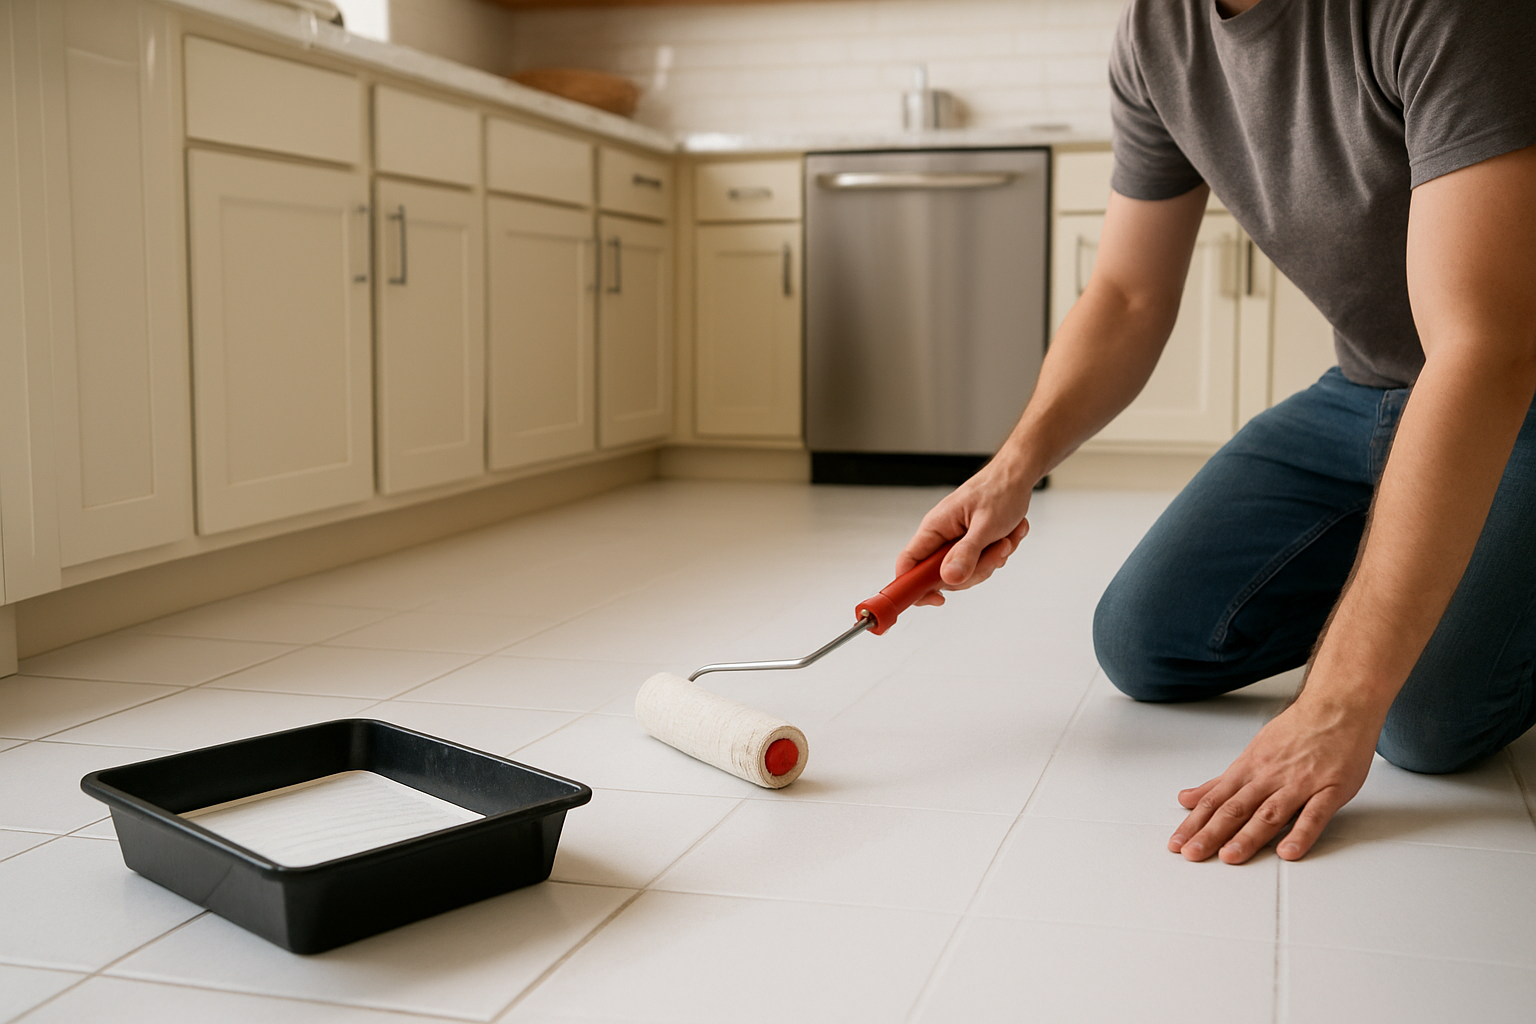
Preparation and Application Process for Painting
Proper preparation is essential for achieving a long-lasting and visually appealing kitchen floor. Start by thoroughly cleaning the surface to remove grease, dirt, and old finishes. This may include scrubbing with a suitable cleaner and rinsing well. After cleaning, repairs may be necessary; fill any cracks or holes to provide a smooth surface for painting. When applying the paint, consider using a roller for large areas and a brush for edges and corners. Allow sufficient drying time between coats to ensure a robust finish.
Cleaning and Repairing the Surface
Begin by sweeping and mopping the floor to eliminate dust and grime. For wood, sand down rough spots and fill gaps with wood filler. Concrete may require patching for cracks. Ensuring a clean, smooth surface is critical for paint adhesion and a professional appearance.
Application Techniques
Use a high-quality roller for even coverage on large floor sections, and a brush for corners and edges. Apply multiple thin coats rather than one thick coat to prevent drips and uneven drying. Follow the manufacturer’s guidelines for drying and curing times to achieve the best results.
Key Points:
- Thorough preparation ensures better paint adhesion.
- Multiple thin coats yield a smoother finish than a single thick coat.
💡 Always wear a mask and ventilate the area to avoid inhaling fumes during the painting process.
💡 Consider a non-slip additive in your paint to enhance safety, especially in kitchens.
EXPERT TIPS Pro Advice
Plan your project for low-traffic times.
Choosing a time when the kitchen is less used allows the paint to cure without interference, leading to a better finish and longevity.
Keep a consistent temperature.
Maintaining a stable temperature during application helps the paint dry evenly and prevents issues like bubbling or peeling.
Use painter’s tape for clean edges.
Applying tape around baseboards and transitions prevents paint from bleeding onto adjacent surfaces, creating a cleaner look.
Frequently Asked Questions
Conclusion
Painting your kitchen floor can be a cost-effective way to refresh your space. Proper preparation, the right paint choice, and sealing are essential for a durable finish. Maintenance plays a crucial role in extending the life of your painted floor.
🎯 Key Takeaways:
- Choose a durable, water-resistant paint designed for floors.
- Prepare the surface by cleaning and sanding before painting.
- Sealing the paint is crucial for longevity and protection.
- Regular maintenance is key to keeping the floor in good condition.
Expert Advice: Take your time with preparation and selection of materials to ensure the best results. A well-painted floor can transform your kitchen and enhance its usability.
Consider your kitchen’s style and your paint options, and start planning your project today!