
Are you tired of the outdated look of your kitchen appliances and wondering, can I paint my kitchen appliances to give them a fresh new look? Many homeowners face this dilemma, especially when considering a kitchen makeover on a budget. Painting appliances can not only enhance your kitchen’s aesthetic but also prolong the life of your appliances. With over 15 years of experience in home improvement and DIY projects, I can guide you through the process of painting your kitchen appliances effectively and safely. In this article, you’ll learn about the best techniques, essential preparation steps, and common pitfalls to avoid to ensure your DIY project is a success.
Understanding the Basics of Painting Kitchen Appliances
Yes, you can paint your kitchen appliances, but certain factors must be considered to achieve a durable and aesthetically pleasing finish. Most kitchen appliances are made of stainless steel, plastic, or enamel, each requiring specific preparation and paint types. Additionally, understanding the surface’s texture and existing finish is crucial for proper adhesion. Proper preparation will not only enhance the appearance but also extend the lifespan of the paint job. Painting can be a cost-effective way to refresh your kitchen, but it’s essential to know the best practices for the material at hand.
Types of Appliances You Can Paint
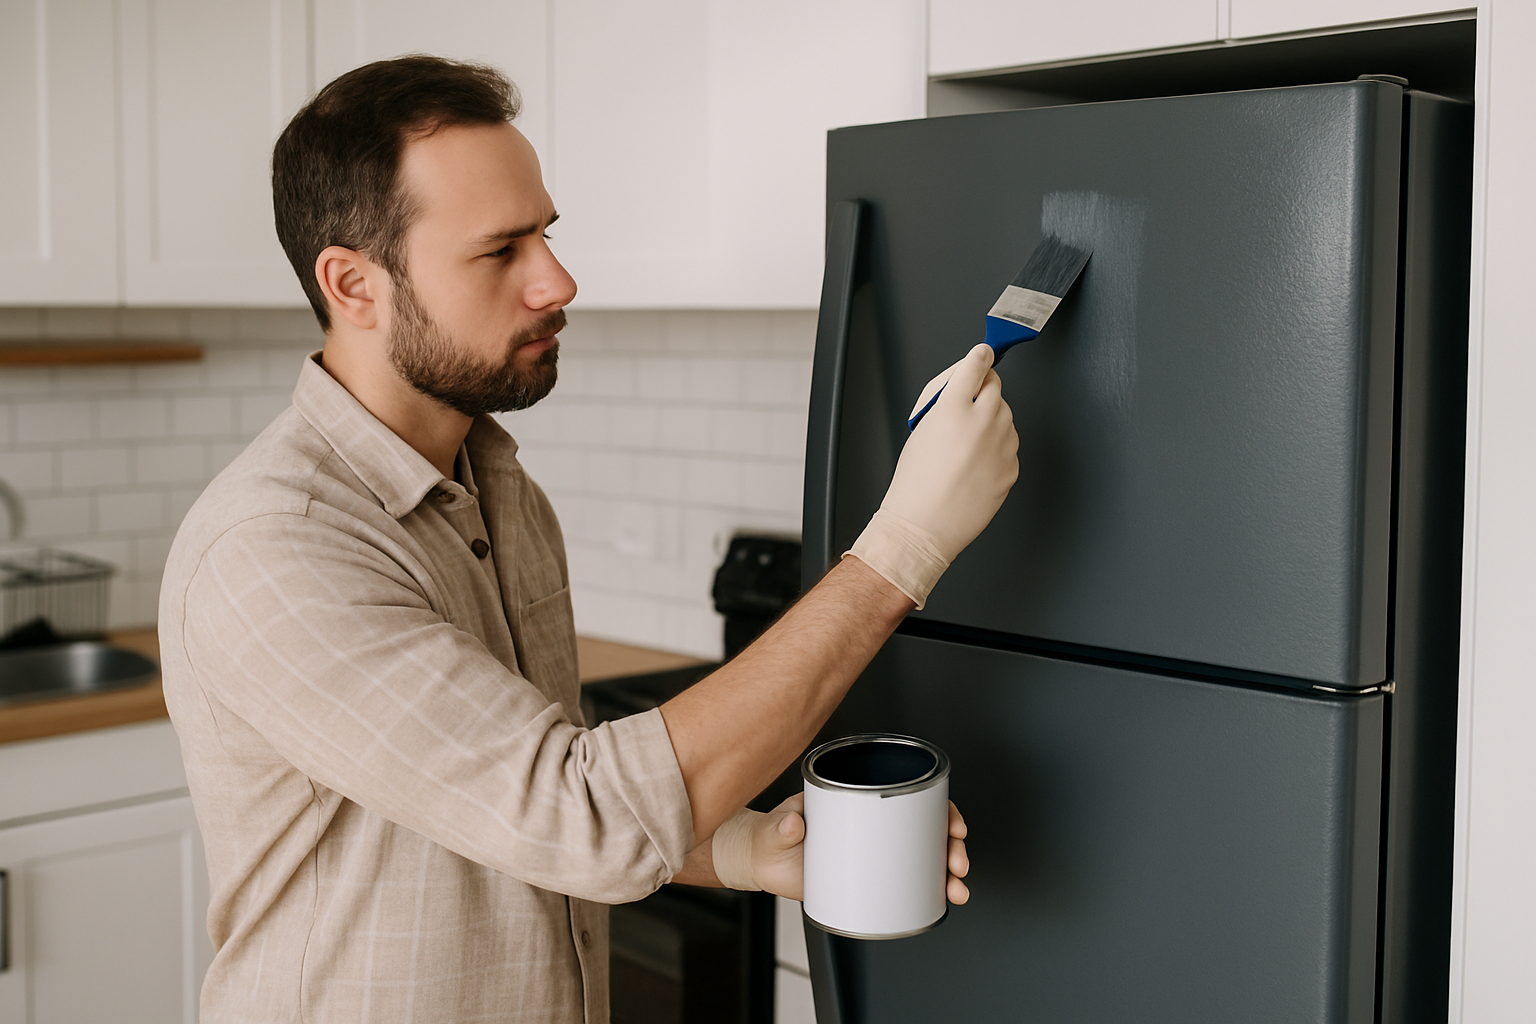
You can paint various types of kitchen appliances, including refrigerators, microwaves, and dishwashers. However, the materials they are made from will determine the painting process. Stainless steel and enamel surfaces often require different approaches than plastic, which can sometimes be more challenging due to its lower heat resistance and potential for chipping. Knowing what materials you are working with will guide your choice of paint and preparation methods.
Preparing Your Appliances for Painting
Preparation is key to a successful paint job. Start by thoroughly cleaning the appliance to remove grease and dirt. Sanding the surface lightly is often necessary to create a rough texture for the paint to adhere effectively. After sanding, wipe the surface with a damp cloth to eliminate dust. Use a primer specifically designed for the material of your appliance to ensure better adhesion and durability of the paint.
Key Points:
- Painting appliances is possible with proper preparation.
- Different materials require tailored approaches for best results.
Choosing the Right Paint for Kitchen Appliances
Selecting the appropriate paint is crucial for achieving a long-lasting finish on your kitchen appliances. The paint must be durable enough to withstand heat, moisture, and regular use. Look for paints specifically designed for metal or plastic surfaces, as they offer better adhesion and resistance to chipping and peeling. Additionally, consider the finish; a semi-gloss or satin finish is often recommended for easy cleaning and maintenance, making it practical for kitchen environments.
Types of Paint Suitable for Appliances
Acrylic latex paint is commonly used for appliances due to its ease of use and clean-up. Alternatively, specialized appliance paint provides excellent durability and adhesion, particularly for metal surfaces. For plastic appliances, use paints formulated for plastics to ensure proper bonding. Understanding the specific requirements of the paint type you choose will significantly impact the outcome of your project.
Considering Color and Finish
When choosing a color, consider the overall aesthetic of your kitchen. Neutral colors may offer versatility, while bold hues can add personality. The finish is just as important; a glossy finish can make cleaning easier, but it may also show fingerprints more readily. Assess your cooking habits and maintenance preferences to select the color and finish that best suits your lifestyle.
Key Points:
- Choose durable paint designed for the appliance material.
- Consider the kitchen’s aesthetic when selecting color and finish.
Understanding the Basics of Painting Kitchen Appliances
Painting kitchen appliances can be a cost-effective way to refresh your kitchen’s appearance. However, it’s essential to understand the materials and finishes involved, as not all appliances are suitable for painting. Stainless steel, for example, may require special preparation to ensure paint adherence. Begin by assessing the surface type and condition of your appliances. Additionally, consider the long-term implications, such as durability and maintenance, as painted surfaces may be less resilient than the original finishes.
Identifying Suitable Appliance Materials
Most kitchen appliances are made from stainless steel, plastic, or enamel. Stainless steel is the easiest to paint, but it requires thorough cleaning and sanding. Plastic and enamel surfaces may need specific primers for better paint adhesion. Always check the material before proceeding to ensure a successful outcome.
Preparing for the Painting Process
Proper preparation is crucial. Start by cleaning the appliance with a degreaser to remove any grime or grease. Sand the surface lightly to create a texture that allows the paint to adhere better. Finally, ensure that the area is well-ventilated during painting to avoid inhaling fumes.
Key Points:
- Assess the type of material before painting.
- Proper preparation enhances durability and appearance.
💡 Use a primer designed for metal or plastic surfaces to enhance paint adhesion.
💡 Always test paint on a small, inconspicuous area before fully committing.
The Painting Process: Techniques and Finishing Touches
Once you’ve prepared your appliance, the painting process can begin. Choose a high-quality, heat-resistant paint that is suitable for appliances. Apply multiple thin coats instead of one thick coat to avoid drips and ensure an even finish. After painting, allow adequate drying time before using the appliance again. Finishing touches might include adding a clear coat for extra protection against scratches and chipping, especially for high-traffic areas. Understanding these techniques will help achieve a professional-looking result.
Choosing the Right Paint
Select a paint specifically designed for appliances. Look for features like heat resistance and durability. Water-based paints are generally easier to work with and clean up, while oil-based paints provide a more robust finish. Ensure compatibility with your appliance material for optimal results.
Applying Paint: Techniques for Success
Use a spray gun or a high-quality brush for a smooth application. Thin, even layers are key; wait for each coat to dry before applying the next. This approach minimizes runs and drips while allowing you to build up the color gradually for a more professional appearance.
Key Points:
- Multiple thin coats yield better results than a single thick coat.
- Finishing with a clear coat enhances durability.
💡 Invest in a spray gun for a smooth, even finish that brushes alone may not achieve.
💡 Allow each coat to fully dry to avoid smudging and ensure better adhesion.
EXPERT TIPS Pro Advice
Plan your color scheme wisely.
Choosing a color that complements your kitchen decor can significantly enhance the overall aesthetic of your space.
Keep the area well-ventilated.
Good ventilation will not only minimize exposure to fumes but also help paint dry more evenly.
Use painter’s tape for clean edges.
Applying painter’s tape around edges prevents overspray and helps achieve a sharp, professional-looking finish.
Consider the appliance’s heat exposure.
Ensure the paint you choose can withstand the heat from the appliance, especially for ovens and stoves.
Be prepared for maintenance post-painting.
Painted surfaces may require more care than original finishes, so plan for regular touch-ups as needed.
Frequently Asked Questions
Conclusion
Painting kitchen appliances can refresh your kitchen’s look, but it requires careful preparation and the right materials. Use high-heat epoxy paints, properly clean and prime surfaces, and be mindful of warranty implications. A successful paint job can enhance your kitchen’s aesthetics significantly.
🎯 Key Takeaways:
- Use appliance-specific paints for durability.
- Always clean and sand surfaces before painting.
- Priming improves paint adhesion and longevity.
- Regular paints are not suitable for appliances.
- Drying and curing times are essential for a good finish.
Expert Advice: Take your time during the preparation and painting process to achieve the best results. A well-done paint job can breathe new life into your kitchen appliances.
Consider your options and start planning your appliance painting project today!