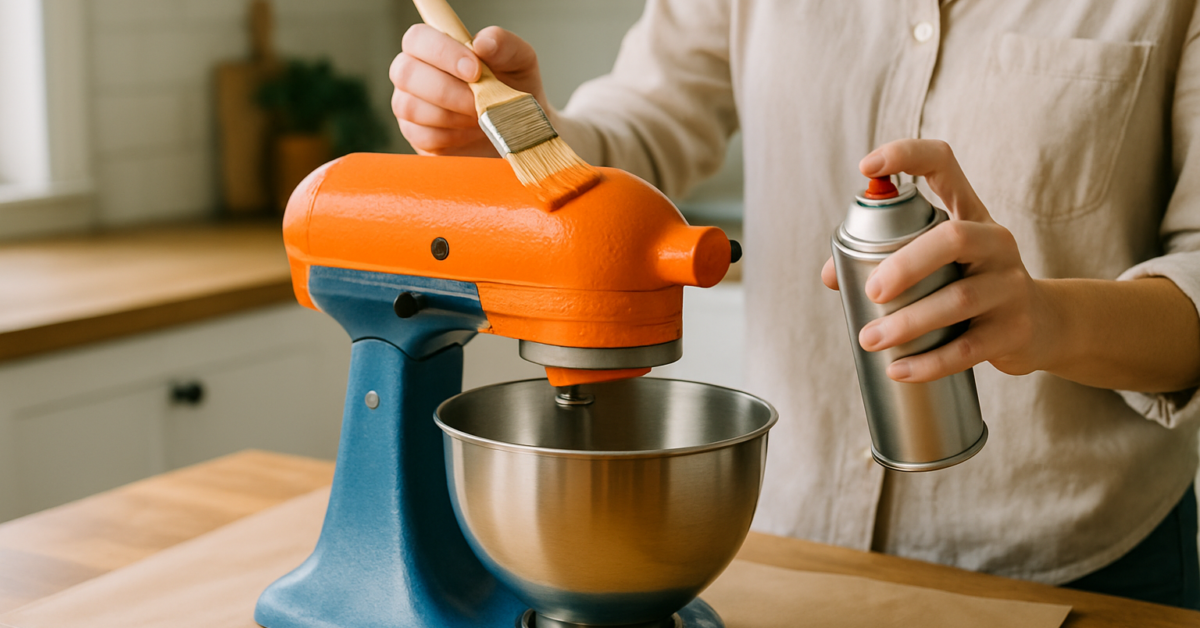
Have you ever wondered, can I paint my kitchen aid stand mixer? If your mixer has lost its shine or you want to express your creativity, painting it can be an exciting option. However, before you pick up a paintbrush, it’s essential to understand the implications of customizing this beloved kitchen appliance. As an expert in home appliance care and DIY projects, I will guide you through the process, addressing safety concerns, recommended techniques, and the best types of paint to use. By the end of this article, you’ll be equipped with the knowledge to make an informed decision about whether painting your kitchen aid stand mixer is right for you and how to do it effectively.
Understanding the Basics of Painting a Kitchen Aid Stand Mixer
Many home cooks wonder if they can paint their Kitchen Aid stand mixer to match their kitchen decor or add a personal touch. While it is indeed possible to paint a stand mixer, there are several factors to consider before diving into this DIY project. First, the material of the mixer body, typically metal or plastic, will influence the type of paint and preparation needed. Additionally, painting a mixer can alter its warranty, so understanding the implications is crucial. Finally, safety and food safety standards should also be taken into account, especially if the paint could potentially chip or wear off during use.
Material Considerations
The body of a Kitchen Aid stand mixer is often made from either metal or plastic. Metal surfaces may require a primer for the paint to adhere properly, while plastic may need special paint formulated for use on such materials. Understanding these differences is essential to ensure a smooth and long-lasting finish.
Warranty Implications
Painting your stand mixer can void its warranty, as modifications can lead to damage or performance issues. It’s important to check the manufacturer’s warranty policy before proceeding with any alterations to avoid losing coverage for repairs or replacements.
Safety Considerations
When selecting paint, it’s crucial to choose options that are safe for kitchen use. Avoid paints with harmful chemicals that could chip or flake off into food. Additionally, ensure that the paint is heat-resistant, as mixers can generate warmth during use, which may affect the paint’s integrity.
Key Points:
- Consider the material of the mixer before painting
- Check warranty implications before making modifications
- Prioritize safety with food-safe paint options
Step-by-Step Guide to Painting Your Stand Mixer
If you decide to proceed with painting your Kitchen Aid stand mixer, following a step-by-step approach can help achieve the best results. Start by disassembling the mixer carefully, removing any detachable parts such as the bowl and beaters. Then, clean the surface thoroughly to remove grease and grime. Next, sand the surface lightly to ensure better paint adhesion. After preparation, apply a primer if necessary, followed by your chosen paint. Finally, allow the paint to cure completely before reassembling the mixer and using it again.
Preparation Steps
Proper preparation is key to a successful paint job. Start by cleaning the mixer with soap and water, then dry it completely. Lightly sand the surface to help the paint adhere better. This step is critical, as good adhesion will prevent peeling and chipping down the line.
Painting Process
Once prepared, apply a primer if needed, followed by thin, even coats of paint. Allow each coat to dry completely before applying the next. This method will help avoid drips and ensure a smooth finish. Be patient and take your time during this process for the best results.
Curing and Reassembly
After painting, let the mixer cure for the recommended time specified by the paint manufacturer. This is crucial for ensuring that the paint sets properly. Once cured, reassemble the mixer carefully, ensuring that all parts are securely attached before using it again.
Key Points:
- Follow a step-by-step approach for best results
- Ensure thorough cleaning and sanding for better adhesion
- Allow sufficient curing time before reassembly
Understanding the Feasibility of Painting Your Kitchen Aid Stand Mixer
Painting your Kitchen Aid stand mixer is possible but requires careful consideration. The mixer’s surface is typically made of metal or plastic, which can impact paint adhesion. Before starting, evaluate the type of finish on your mixer. If it’s glossy or has a protective coating, this may need to be removed for optimal results. Additionally, consider the long-term effects of painting on the mixer’s durability and functionality. Proper preparation is key to achieving a lasting finish that doesn’t chip or peel.
Assessing the Mixer Material
Determine whether your mixer is made of metal or plastic, as each material requires different painting techniques. Metal can generally hold paint better but may need priming. In contrast, plastic surfaces often require specific paint types for proper adhesion.
Preparing the Surface
Before painting, clean the mixer thoroughly to remove grease and dirt. Consider sanding the surface lightly to create a better grip for the paint. If the mixer has a glossy finish, using a chemical deglosser can help enhance adhesion, ensuring that the paint adheres well and lasts longer.
💡 Always test paint on a small area first to check for adhesion and finish.
💡 Use painter’s tape to cover areas you don’t want to paint, ensuring a clean line.
💡 Consider using a sealant after painting to protect the finish.
Techniques and Best Practices for Painting
Once you’ve decided to paint your Kitchen Aid stand mixer, employing the right techniques will ensure a smooth and durable finish. Choose the right paint based on the mixer material and the desired finish. Spray painting often provides an even coat, while brush painting allows for more control. Regardless of the method, applying multiple thin coats rather than one thick coat will prevent drips and create a professional look.
Choosing the Right Paint
Select a paint that is designed for either metal or plastic, depending on your mixer’s composition. Look for options that are durable and can withstand frequent handling. Additionally, consider the finish—matte, gloss, or satin—based on your personal preference and kitchen decor.
Application Techniques
When painting, use even strokes and maintain a consistent distance from the surface to avoid uneven coverage. For spray paint, a sweeping motion helps prevent overspray. Allow adequate drying time between coats, as recommended by the paint manufacturer, to ensure a strong and lasting finish.
💡 Spray paint in a well-ventilated area to avoid inhaling fumes.
💡 Use a primer for metal surfaces to enhance paint adhesion.
💡 Allow the paint to cure completely before using the mixer to prevent damage.
EXPERT TIPS Pro Advice
Test Paint Compatibility
Always test paint on a small, inconspicuous area to ensure compatibility and adhesion before committing to the entire surface.
Use a Clear Coat
Applying a clear protective coat after painting can enhance durability and prevent chipping or fading, keeping your mixer looking fresh.
Plan Your Workspace
Create a clean, dust-free workspace to minimize imperfections in the paint finish. Use drop cloths to protect surfaces.
Consider Temperature
Paint in a moderate temperature environment to ensure proper curing and adhesion, as extreme temperatures can affect paint application.
Frequently Asked Questions
Conclusion
Painting your Kitchen Aid stand mixer can be a fun way to personalize your kitchen. By using food-safe paint and following proper preparation techniques, you can enhance its appearance without compromising functionality. Remember to take your time and ensure a clean finish for best results.
🎯 Key Takeaways:
- Use food-safe paint suitable for metal surfaces.
- Prepare the mixer with thorough cleaning and sanding.
- Avoid painting motor or electrical components.
- Allow adequate drying time for the paint.
- Consider removing paint if you’re unhappy with the result.
Expert Advice: Take your time during the painting process, ensure proper preparation, and always prioritize safety and functionality over aesthetics. A well-painted mixer can beautifully complement your kitchen.
Ready to customize your stand mixer? Gather your materials, and start the transformation today!