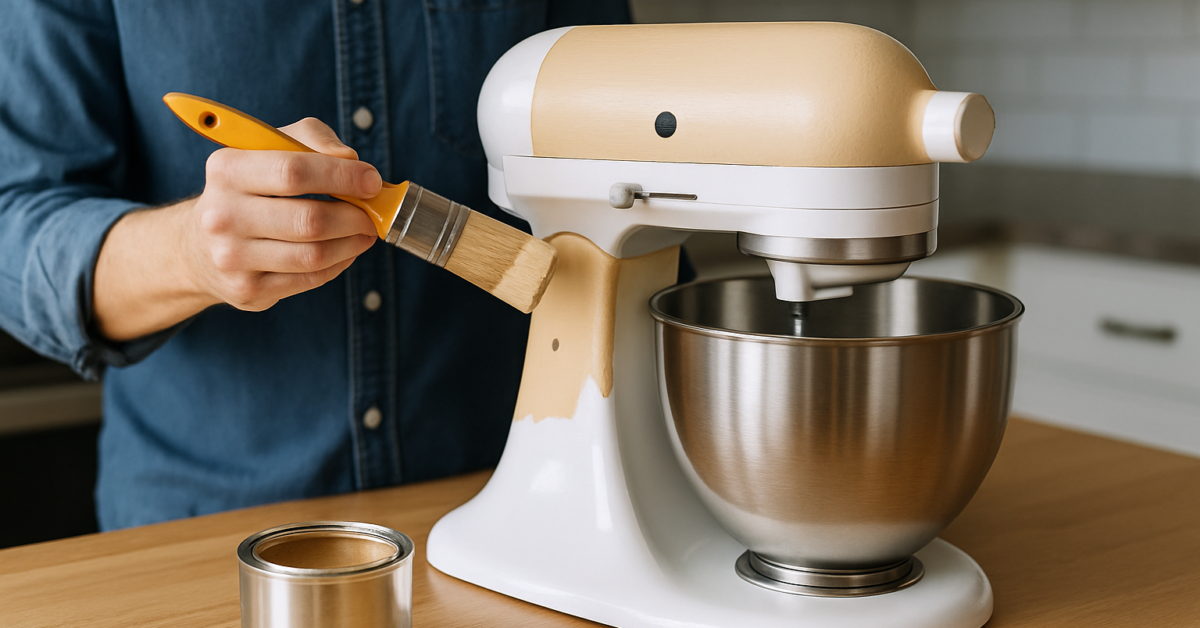
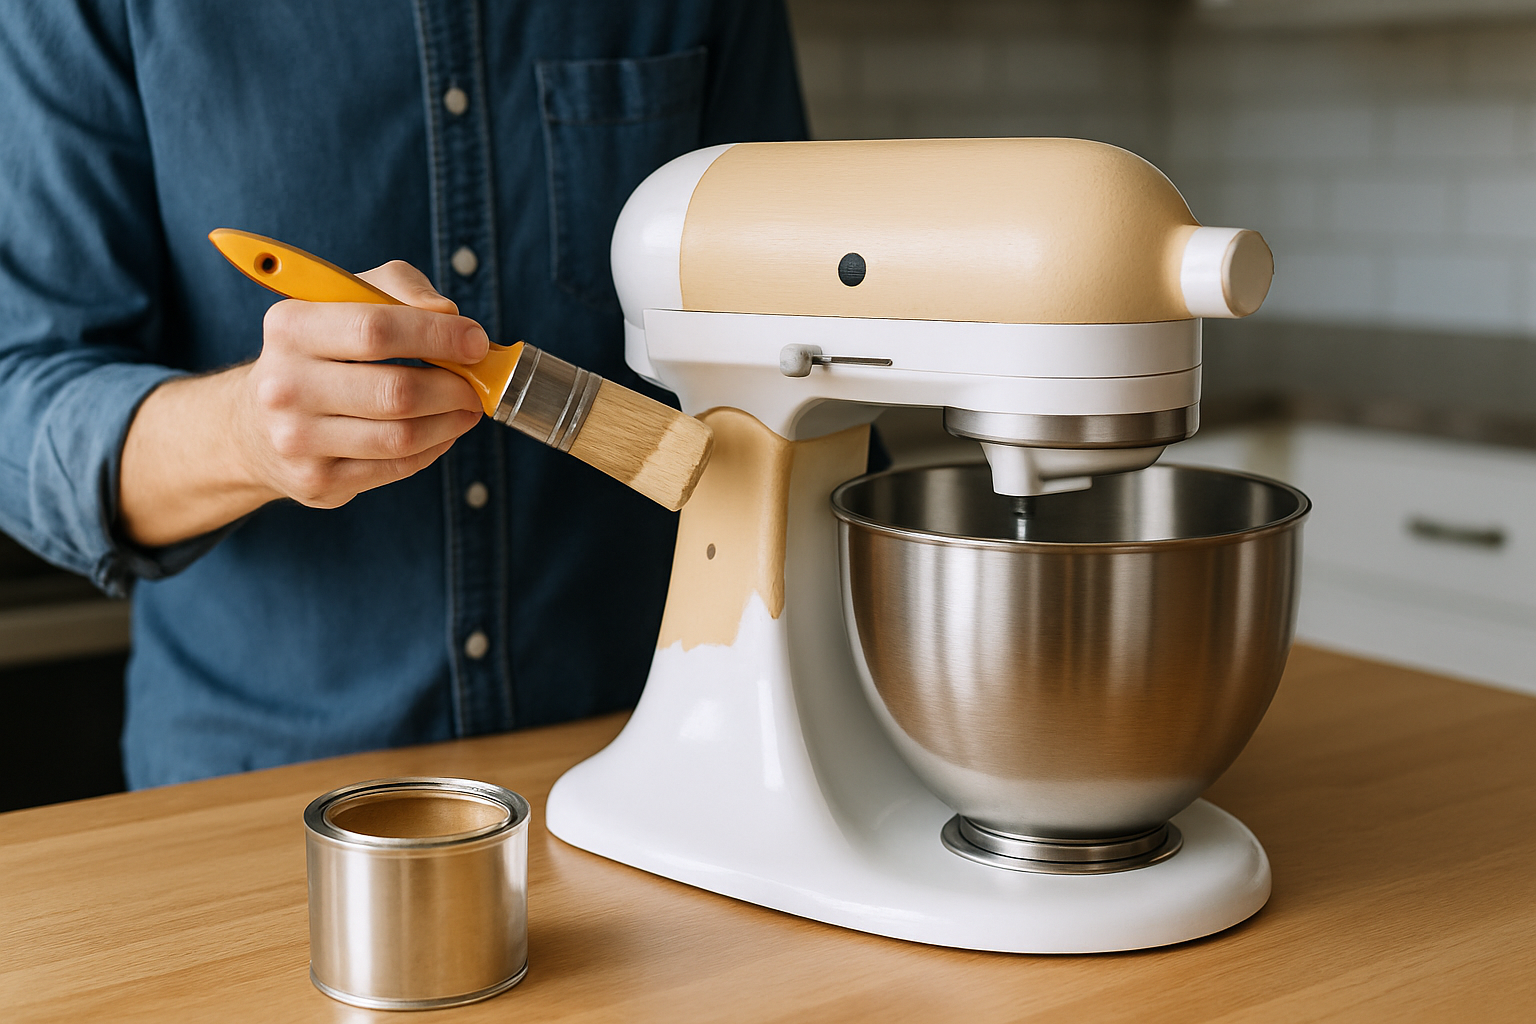
Have you ever considered giving your Kitchen Aid mixer a fresh look? Many home cooks wonder, ‘Can I paint my Kitchen Aid mixer?’ The answer is yes, but it’s crucial to do it correctly to avoid damaging your appliance. With over 15 years of experience in home improvement projects, I’ve gathered essential insights on how to customize your mixer safely and effectively. In this article, we will explore various painting techniques, the best types of paint to use, and tips to ensure a professional-looking finish. Whether you’re looking to match your kitchen decor or simply want to express your creativity, you’ll find everything you need to know right here.
Understanding the Basics of Painting Kitchen Appliances
Painting your KitchenAid mixer can be an appealing way to customize its appearance and match your kitchen decor. However, it’s essential to understand the materials and techniques involved in this process. KitchenAid mixers are typically made of metal or plastic, which may require different approaches for painting. Additionally, considering the type of paint and the potential impact on the mixer’s functionality is crucial. Before starting, ensure that the mixer is clean and free of grease, as this will help the paint adhere better and result in a smoother finish. Researching various painting methods can provide you with insights into the best practices to achieve a professional look.
Materials and Tools Needed
To successfully paint your KitchenAid mixer, gather essential materials such as high-quality primer, paint suitable for metal or plastic, and sealant for durability. You will also need sandpaper for surface preparation, painter’s tape to protect areas you don’t want to paint, and brushes or spray equipment for application. Having a well-ventilated workspace is important for both safety and optimal paint application. Each material serves a specific purpose, and using the right tools will enhance the final outcome of your project.
Understanding Paint Types
Choosing the right type of paint is crucial for achieving a durable finish on your mixer. Acrylic paints are popular due to their versatility and ease of use, while enamel paints offer a harder finish that can withstand wear and tear. It’s important to avoid paints that contain harmful chemicals, as they may not be food-safe and can affect the mixer’s performance. Researching the pros and cons of each paint type can help you make an informed decision tailored to your mixing needs.
Key Points:
- Ensure proper surface preparation for better paint adherence
- Choose appropriate paint types for durability and safety
Preparing Your KitchenAid Mixer for Painting
Before diving into the painting process, it’s crucial to properly prepare your KitchenAid mixer. This preparation phase will ensure that the paint adheres effectively and results in a smooth, professional finish. Begin by disassembling any removable parts, such as the mixing bowl and attachments. Cleaning the surface with soap and water will remove any grease or residue that could interfere with the paint. After cleaning, lightly sand the exterior to create a rough texture, which enhances paint adhesion. Finally, apply a primer to the surface to further improve the bond between the paint and the mixer.
Disassembly and Cleaning
Start by removing any detachable components from your KitchenAid mixer, like the bowl and beater attachments. This step not only protects those parts from overspray but also allows for a thorough cleaning of the main body. Use a mild detergent and water to clean the surface and ensure it is free of grease. Dry it completely before moving to the next step, as moisture can lead to poor paint adhesion.
Sanding and Priming the Surface
Once your mixer is clean and dry, use fine-grit sandpaper to gently sand the exterior. This process creates a textured surface that helps the paint stick better. After sanding, wipe away any dust with a clean cloth and apply a primer specifically designed for the type of surface you are painting. Priming is essential as it prepares the surface and reduces the chances of chipping or peeling later on.
Key Points:
- Proper cleaning is critical for paint adhesion
- Sanding creates a textured surface for better grip on the paint
Understanding the Painting Process for Kitchen Mixers
Painting your Kitchen Aid mixer can be a creative way to customize it, but it’s essential to understand the process thoroughly. First, ensure that the mixer is unplugged and completely clean. A well-prepared surface is crucial for paint adhesion. Use a mild detergent to wash it and let it dry completely. Selecting the right type of paint is vital; look for paints that adhere well to metal surfaces and can withstand the heat generated during mixing. Additionally, consider using a primer specifically designed for metal to ensure a smoother finish and better durability.
Preparation Steps
Begin by disassembling any removable parts, such as the bowl and attachments. Clean the mixer thoroughly with a degreaser to remove any grease, food particles, or dust. Once cleaned, lightly sand the surface to create a texture that helps the paint stick better. After sanding, wipe down the mixer to remove any dust from the sanding process. This preparation is essential for achieving a professional-looking finish.
Choosing the Right Paint
When selecting paint, opt for spray paints designed for metal or appliances. These paints are formulated to provide a strong bond and a durable finish. Look for epoxy-based paints, which are particularly resistant to chipping and scratching. Also, consider heat-resistant paint if your mixer operates at high temperatures. Always check if the paint is non-toxic and safe for kitchen use.
Key Points:
- Proper preparation is key to a successful paint job.
- Choosing the right paint affects both appearance and durability.
💡 Always wear a mask and gloves when painting to protect yourself from fumes and skin irritation.
💡 Test paint on a small area first to check adhesion and finish before full application.
Finishing Touches and Maintenance After Painting
After painting your Kitchen Aid mixer, allow ample time for the paint to cure. Follow the manufacturer’s instructions on drying times, and avoid using the mixer until it’s completely dry. Once cured, apply a clear coat for added protection against scratches and wear. Regular maintenance is also crucial; wipe down the mixer with a damp cloth after each use to keep it clean and prevent paint damage. Avoid abrasive cleaners that can scratch the surface.
Curing and Drying
Curing time varies depending on the type of paint used. Some paints may dry to the touch quickly but require longer to cure completely. Ensure the mixer is in a dust-free environment while curing to prevent debris from sticking to the freshly painted surface. A well-cured paint job will significantly enhance the longevity and appearance of your mixer.
Cleaning and Maintenance Tips
To maintain the finish of your painted mixer, use a soft, damp cloth for cleaning. Avoid using any harsh chemicals or abrasive sponges, as these can damage the paint. If you notice any chips or scratches over time, touch them up promptly to prevent further damage. Regular maintenance will keep your mixer looking fresh and new for years.
Key Points:
- Proper curing enhances paint durability.
- Regular maintenance helps preserve the mixer’s appearance.
💡 Allow sufficient curing time to ensure the paint adheres properly and lasts longer.
💡 Use a clear coat for added protection against wear and tear.
EXPERT TIPS Pro Advice
Use painter’s tape for clean lines
Using painter’s tape around areas you don’t want to paint ensures clean edges and a professional finish. This small step can dramatically improve the overall look of your project.
Consider a stencil for designs
If you want to add patterns or designs, using a stencil can create unique and personalized looks. This technique allows for creativity without compromising the quality of the paint job.
Test paint durability
Before fully committing to painting your mixer, test the paint on a similar surface to gauge its durability and appearance under everyday use conditions.
Ventilate your workspace
Ensure good ventilation while painting to reduce exposure to fumes, which can be harmful. This creates a safer environment and helps paint dry evenly.
Store the mixer properly
When not in use, store your mixer in a clean, dry place to avoid dust accumulation that can scratch the paint. Proper storage extends the life of your paint job.
Frequently Asked Questions
Conclusion
In conclusion, painting your KitchenAid mixer is an achievable project that allows for personal expression. Prepare the surface properly, choose the right type of paint, and consider design options. Remember that painting may void the warranty, so weigh your options carefully.
🎯 Key Takeaways:
- Yes, you can paint your KitchenAid mixer safely.
- Proper preparation and using heat-resistant paint are crucial.
- Applying a primer enhances adhesion and finish.
- Custom designs are possible with careful masking.
- Drying time is typically around 24 hours.
Expert Advice: Take your time to research and plan your painting project. Proper preparation and quality materials will ensure a successful transformation that you can enjoy for years.
Consider trying your hand at painting to personalize your kitchen appliance and make it uniquely yours!