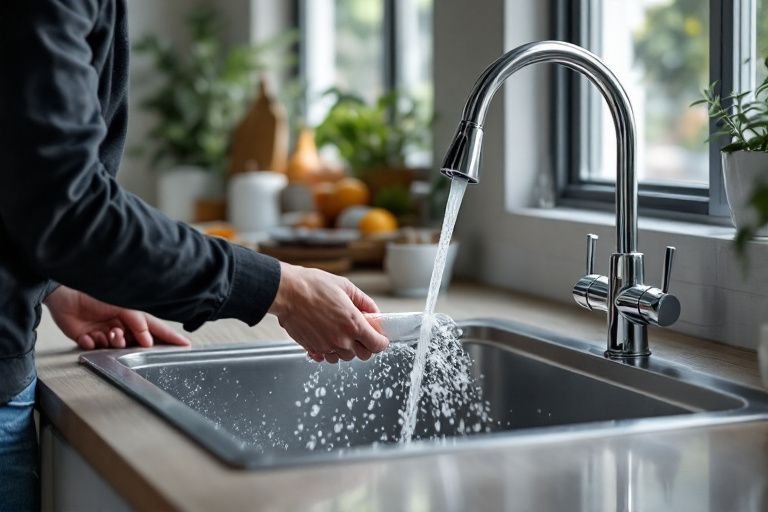
Are you tired of your old kitchen sink and ready for a change? Changing a kitchen sink can transform your cooking space and improve functionality. With over 15 years of experience in home improvement projects, I will guide you through the process step-by-step. In this article, you will learn not only how to change a kitchen sink but also the essential tools you’ll need, common pitfalls to avoid, and tips for ensuring a successful installation. Whether you’re a DIY novice or an experienced home renovator, this guide will empower you to tackle this project confidently and efficiently.
Understanding Kitchen Sinks
Before changing a kitchen sink, it’s essential to understand the different types available and how they function. Kitchen sinks come in various styles, including top-mount, under-mount, and farmhouse sinks. Each type has distinct installation requirements and aesthetic considerations. Familiarizing yourself with these options will help you choose a sink that fits both your kitchen design and your plumbing setup.
Types of Kitchen Sinks
Kitchen sinks are primarily categorized into three types: top-mount, under-mount, and farmhouse. Top-mount sinks are installed above the counter and are easier to replace. Under-mount sinks provide a seamless look and are easier to clean but require more labor during installation. Farmhouse sinks offer a vintage charm but may require cabinet modifications for proper fitting.
Key Components of a Kitchen Sink
A kitchen sink consists of several key components, including the basin, faucet, and drain assembly. Understanding these parts will aid in the replacement process. The basin holds water, while the faucet dispenses it, and the drain assembly ensures proper water flow. Knowledge of these components is crucial for effective installation.
Key Points:
- Choose a sink type that suits your kitchen design
- Know the components involved in a kitchen sink
Preparing for the Sink Replacement
Replacing a kitchen sink requires careful preparation to ensure a smooth installation process. This includes gathering necessary tools, shutting off water supply, and clearing the workspace. Proper preparation will save time and prevent potential mishaps during the replacement. Knowing the steps beforehand can make the task more manageable and efficient.
Gathering Necessary Tools
Before starting, gather essential tools such as a basin wrench, pliers, screwdriver, and putty knife. Having these tools on hand will simplify the removal and installation process. Additionally, consider having a bucket ready to catch any residual water when disconnecting the plumbing. This will minimize mess and make the job easier.
Shutting Off the Water Supply
It’s crucial to shut off the water supply before you begin changing your sink. Locate the shut-off valves under the sink and turn them clockwise to close them. This prevents water from flowing and causing leaks during the replacement process. Remember to open the faucet to relieve any remaining pressure in the lines.
Key Points:
- Prepare tools before starting the replacement
- Always shut off the water supply to prevent leaks
Understanding the Components of a Kitchen Sink
Before changing a kitchen sink, it’s essential to understand its components. A standard kitchen sink typically consists of the basin, faucet, drain assembly, and water supply lines. Familiarizing yourself with these elements will help in disassembly and installation. The basin can be made of various materials such as stainless steel, porcelain, or composite, which may influence your choice for a replacement. Additionally, knowing the dimensions and configuration of your current sink will ensure that the new sink fits properly in your countertop cutout.
Identifying Sink Types
There are several types of kitchen sinks including drop-in, undermount, and farmhouse styles. Drop-in sinks rest on the countertop while undermount sinks are installed beneath it. Farmhouse sinks are deep and typically require specific cabinetry. Understanding the type of sink you have will guide your selection for a replacement and ensure compatibility with existing plumbing.
Assessing Plumbing Requirements
Changing a kitchen sink often involves dealing with plumbing. Assess the existing plumbing layout, including water supply lines and drainage. Ensure that new sink placements align with these lines to avoid extensive modifications. If you plan to switch from a single basin to a double basin, consider the need for additional plumbing fixtures.
Key Points:
- Understand sink types and their compatibility.
- Evaluate plumbing requirements for a smooth installation.
💡 Measure your existing sink dimensions to ensure your new sink fits correctly.
💡 Inspect the plumbing connections before starting to prevent leaks after installation.
Step-by-Step Guide to Changing a Kitchen Sink
Changing a kitchen sink involves a series of methodical steps. Begin by turning off the water supply to prevent leaks. Next, disconnect the water supply lines, drain assembly, and remove the old sink from the countertop. Clean the area thoroughly to prepare for the new installation. When installing the new sink, ensure the sealant is applied correctly to prevent any leaks. Finally, reconnect the plumbing and check for any leaks before using the sink. This careful approach ensures a successful replacement and minimizes potential issues.
Removing the Old Sink
To remove the old sink, first, turn off the water supply and disconnect the water lines. Use a basin wrench to detach the drain assembly, and carefully cut any caulking around the sink edges. Gently lift the sink from its position, taking care not to damage the countertop. Proper removal techniques will make the installation of the new sink easier.
Installing the New Sink
Position the new sink in the countertop cutout and ensure it is level. Apply a bead of silicone sealant around the edge of the sink to create a watertight seal. Secure the sink by tightening the mounting clips underneath. Reconnect the drain assembly and water supply lines, ensuring all connections are tight to avoid leaks. Following these steps will facilitate a seamless installation.
Key Points:
- Follow a systematic approach for removal and installation.
- Ensure all plumbing connections are secure to prevent leaks.
💡 Use silicone sealant for a better water-tight seal.
💡 Keep a bucket handy to catch any water during disassembly.
EXPERT TIPS Pro Advice
Plan for countertop repairs.
If you’re replacing a sink, the countertop may need repairs or adjustments. Planning for this can save time and prevent damage during installation.
Have extra tools ready.
Gather all necessary tools before starting the project. This includes wrenches, screwdrivers, and sealant to streamline the installation process.
Consider the weight of the new sink.
Some sinks can be significantly heavier than others. Ensure your cabinetry can support the new sink’s weight to avoid structural issues.
Check local plumbing codes.
Familiarizing yourself with local plumbing codes can help avoid violations and ensure your installation meets safety standards.
Take photos of the plumbing connections.
Documenting the existing plumbing setup can simplify reassembly and troubleshooting if issues arise during the installation.
Frequently Asked Questions
Conclusion
Changing a kitchen sink can significantly enhance your kitchen’s functionality and appearance. By understanding the necessary tools, installation steps, and considerations like faucet replacement, you can confidently tackle this DIY project. Proper planning and measurement will ensure a successful installation.
🎯 Key Takeaways:
- Gather essential tools before starting the installation.
- Turn off the water supply and disconnect plumbing carefully.
- Consider replacing the faucet for a cohesive look.
- Measure your sink and countertop accurately to avoid fitting issues.
Expert Advice: Approach your sink replacement project methodically, taking your time to ensure every step is executed correctly. Don’t hesitate to consult online resources or guides for additional support as you work.
Now that you have the knowledge, gather your tools and start planning your kitchen sink change today!