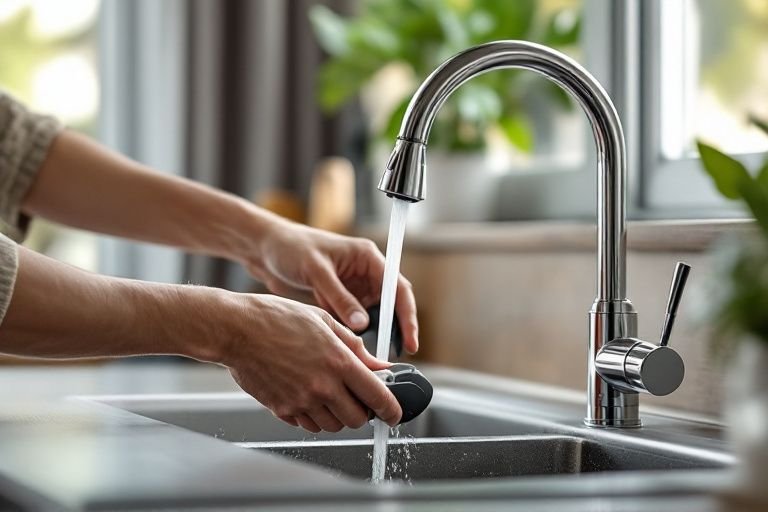
Are you struggling with an old or malfunctioning kitchen sink faucet? Removing it may seem daunting, but with the right steps, you can do it yourself. As an expert in home plumbing, I understand that many homeowners face this challenge when trying to upgrade or fix their kitchen fixtures. In this article, we will guide you through the entire process of how to remove a kitchen sink faucet safely and effectively. From gathering the necessary tools to addressing common issues that may arise, you’ll gain the knowledge and confidence to tackle this DIY project with ease. Let’s get started on your journey to a more functional kitchen!
Understanding Your Kitchen Sink Faucet
Before attempting to remove your kitchen sink faucet, it’s essential to understand its components and the installation methods. Most kitchen faucets feature a spout, handle, and a base, which may be secured by nuts underneath the sink. Additionally, faucets can vary in design; knowing whether your faucet is a single-handle or double-handle type can guide your removal approach. Familiarizing yourself with these elements can prevent damage and make the process smoother.
Types of Kitchen Sink Faucets
There are several types of kitchen sink faucets, including single-handle, double-handle, pull-down, and pull-out faucets. Each type has a different mechanism for water flow and may require unique methods for removal. Understanding which type you have will help you identify the necessary tools and techniques for a successful removal.
Essential Tools for Faucet Removal
Gathering the right tools is critical for removing a kitchen sink faucet efficiently. Commonly needed tools include a basin wrench, adjustable wrench, and a screwdriver. Having these tools on hand will allow you to access hard-to-reach areas and loosen fittings without damaging the faucet or surrounding plumbing.
Key Points:
- Know the type of faucet you are dealing with
- Use the right tools for the job
Preparation Steps Before Removal
Preparation is key when removing a kitchen sink faucet to avoid water damage or injury. Start by turning off the water supply valves located under the sink. Also, it’s wise to relieve any pressure in the lines by turning on the faucet after shutting off the supply. Collecting towels or a bucket to catch any residual water is also advisable. These steps ensure a clean and safe working environment, minimizing the risk of accidents.
Shutting Off Water Supply
Locate the shut-off valves under your sink and turn them clockwise to close. If you can’t find the valves, turn off the main water supply to your home. This step is crucial as it prevents any water from leaking out during the removal process, protecting your cabinets and flooring from water damage.
Clearing the Workspace
Before starting the removal process, clear the area under your sink of any items that may obstruct your access. This includes cleaning supplies, pots, and pans. A clutter-free workspace not only facilitates easier access but also reduces the risk of accidents while you work.
Key Points:
- Always turn off the water supply first
- Maintain a clean workspace for safety
Preparation for Faucet Removal
Before attempting to remove your kitchen sink faucet, proper preparation is essential. Start by gathering the necessary tools, such as a basin wrench, adjustable pliers, and a bucket. Next, turn off the water supply at the shut-off valves, usually located under the sink. This prevents any accidental water leaks during the removal process. Additionally, clear the area under the sink to create a comfortable workspace, removing any items that may obstruct your progress. Finally, place a bucket or towel underneath the faucet to catch any residual water that may spill during the removal.
Gathering Necessary Tools
Collecting the right tools is crucial for a successful faucet removal. A basin wrench is particularly effective for reaching tight spaces, while adjustable pliers can help loosen nuts. Having a bucket handy is also important to catch any water that may drip. If there are stubborn screws or bolts, a screwdriver set may also be necessary.
Turning Off the Water Supply
Locate the shut-off valves under the sink and turn them clockwise to stop the water flow. If there are no individual shut-off valves, you may need to turn off the main water supply for your home. This step is vital to avoid water damage and ensure a dry work area.
Clearing the Workspace
A clean and organized workspace can save you time and frustration. Remove any cleaning supplies, dishes, or other obstacles from under the sink. This not only gives you space to work but also helps you quickly access tools and parts as you proceed with the removal.
Key Points:
- Proper preparation can prevent complications during faucet removal.
- A clean workspace enhances efficiency and safety.
💡 Double-check that the water supply is fully turned off before starting to avoid unexpected leaks.
💡 Use a flashlight to illuminate dark areas under the sink, making it easier to see what you’re working on.
Step-by-Step Faucet Removal Process
Once you’re prepared, follow a systematic approach to remove your kitchen sink faucet. Start by disconnecting the water supply lines from the faucet. Use your adjustable pliers to loosen the nuts connecting the lines to the faucet. After removing the water lines, proceed to unscrew the mounting nuts that hold the faucet in place using a basin wrench. Once these nuts are removed, you can lift the faucet out. If your faucet has a sprayer, ensure that you disconnect it as well before finalizing the removal. Finally, clean the sink surface to prepare for any new installation or repairs.
Disconnecting Water Supply Lines
Using adjustable pliers, carefully loosen the nuts connecting the water supply lines to the faucet. It’s important to hold the faucet steady with your other hand to prevent it from moving. Once loose, detach the lines and allow any remaining water to drain into the bucket below.
Removing the Mounting Nuts
With the water lines disconnected, locate the mounting nuts securing the faucet to the sink. Use a basin wrench for better leverage in tight spaces. Turn the nuts counterclockwise until they are completely free, then remove them from the sink.
Cleaning Up After Removal
After lifting the faucet out, clean the area around the sink thoroughly. This is important to remove any debris or old plumber’s putty that could interfere with a new installation. A clean surface ensures a better seal for the new faucet.
Key Points:
- Following a systematic approach ensures a smooth faucet removal.
- Cleaning the sink area post-removal is crucial for a successful new installation.
💡 Take pictures of each step as you disassemble; this helps when reassembling or installing a new faucet.
💡 Be gentle when loosening nuts to avoid stripping them or damaging the faucet.
EXPERT TIPS Pro Advice
Use penetrating oil on rusted connections
If you encounter rusted nuts or fittings, applying penetrating oil can help loosen them, making the removal process much easier and preventing damage.
Have a second person assist you if needed
Sometimes, having an extra set of hands can make it easier to stabilize the faucet while you disconnect the fittings or reach difficult areas.
Know your sink type
Different sink designs may require specific removal techniques or tools. Understanding your sink type can help you prepare more effectively.
Consider the installation type
If your faucet is mounted on a countertop or a drop-in sink, the removal process may differ slightly. Familiarize yourself with the specifics to avoid complications.
Keep a towel handy
Having a towel nearby can be useful for quickly drying any spills or cleaning up water that escapes during the removal process.
Frequently Asked Questions
Conclusion
Removing a kitchen sink faucet involves essential steps such as gathering the right tools, turning off the water supply, and carefully disconnecting lines and the faucet itself. Proper preparation and knowledge of each step can simplify the process and prevent damage.
🎯 Key Takeaways:
- Gather necessary tools like wrenches and screwdrivers.
- Always turn off the water supply before starting.
- Assess the faucet’s condition to decide on replacement.
- Disconnect water lines carefully to avoid spills.
- Follow a systematic approach to dismantle the faucet.
Expert Advice: Take your time and follow each step carefully for a successful faucet removal. If you encounter difficulties, don’t hesitate to seek professional help to ensure everything is done correctly and safely.
Now that you understand how to remove a kitchen sink faucet, consider reviewing your current faucet’s condition and decide if it’s time for an upgrade or repair.