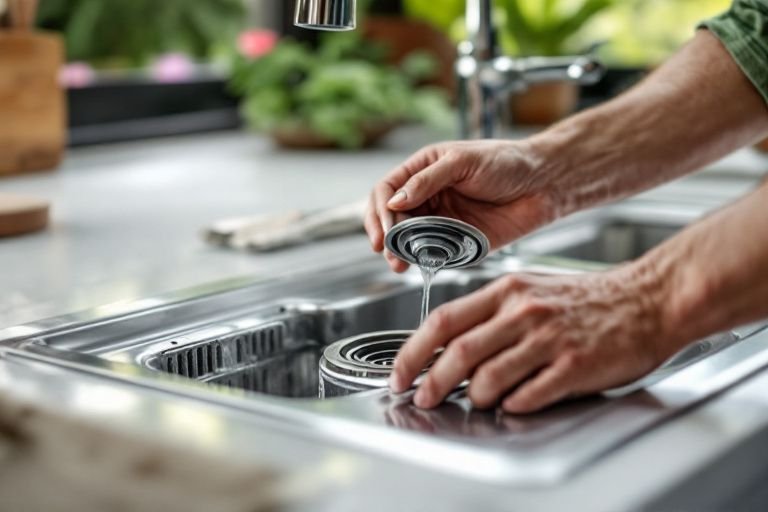
Are you tired of dealing with a leaky kitchen sink drain? Installing a new drain can seem daunting, but it’s a manageable task that can save you time and money. In this guide on how to install kitchen sink drain, we will walk you through each step of the process, ensuring you have all the necessary knowledge and tools to complete the job successfully. With over 15 years of experience in home improvement and plumbing, I will share expert tips and best practices to help you avoid common pitfalls. By the end of this article, you’ll feel confident in your ability to install a kitchen sink drain and tackle any plumbing challenges that come your way.
Understanding Kitchen Sink Drain Components
Before installing a kitchen sink drain, it’s essential to understand the various components involved. The main parts include the sink strainer, tailpiece, P-trap, and drain assembly. Each part plays a crucial role in ensuring proper drainage and preventing leaks. Familiarizing yourself with these components will make the installation process smoother and help you troubleshoot potential issues in the future.
Sink Strainer
The sink strainer is a crucial component that prevents food particles from entering the drain. It typically consists of a basket that fits into the sink and a flange that secures it in place. Make sure to choose a strainer that fits your sink’s dimensions for optimal performance.
P-Trap
The P-trap is a curved section of pipe that holds water, creating a seal to prevent sewer gases from entering your kitchen. This component is essential for proper drainage. Ensure the P-trap is installed correctly to avoid clogs and leaks.
Key Points:
- Know the main components of the kitchen sink drain.
- Each part plays a vital role in preventing leaks and clogs.
💡 Inspect all components for damage before installation to ensure everything functions properly.
Preparation for Installation
Proper preparation is key to a successful kitchen sink drain installation. Begin by gathering all necessary tools and materials, including wrenches, plumber’s tape, and a bucket to catch any water. Additionally, ensure that your workspace is clean and accessible. A well-organized setup reduces the likelihood of mistakes and speeds up the installation process.
Tools Checklist
Having the right tools on hand is essential. Key tools include adjustable wrenches, screwdrivers, and plumber’s tape. Double-check your checklist before starting to avoid interruptions during the installation.
Workspace Setup
Clear out the area under the sink and ensure you have adequate lighting. A tidy, well-lit workspace will help you see what you’re doing and make it easier to maneuver while installing the drain components.
Key Points:
- Gather all necessary tools and materials before starting.
- A clean workspace helps streamline the installation process.
💡 Take photos of the existing setup before disassembly to guide you during reinstallation.
Preparing for Installation
Installing a kitchen sink drain requires careful preparation to ensure a successful outcome. Start by gathering the necessary tools, including a pipe wrench, adjustable pliers, and a basin wrench. Additionally, it’s essential to inspect the existing plumbing for any leaks or damage. This initial step can save you time and frustration during the installation process. Ensure you have the right size drain assembly that fits your sink’s specifications, as compatibility is crucial for a leak-free installation.
Gathering Tools and Materials
Before starting, list the tools you need: a bucket to catch any water, a pipe wrench for tight spaces, and an adjustable wrench for securing nuts. You will also need a new drain assembly, plumber’s putty, and Teflon tape. Having everything on hand minimizes disruptions during installation.
Inspecting Existing Plumbing
Examine the current plumbing setup for any signs of wear or leaks. Look for corrosion or fractures in the pipes. If you notice any issues, consider addressing these before proceeding with the drain installation. This ensures a longer lifespan for your new drain.
Key Points:
- Preparation is key to a smooth installation process.
- Inspecting existing plumbing can prevent future issues.
💡 Always turn off the water supply before starting your installation to prevent unexpected leaks.
💡 Use plumber’s putty around the drain flange to create a watertight seal.
Installing the Drain Assembly
Once you’ve prepared, the installation process can begin. Start by applying plumber’s putty around the drain hole in the sink. Insert the drain assembly, ensuring it fits snugly. Next, secure the assembly from beneath the sink, tightening the locknut with a wrench. Be cautious not to overtighten, as this can damage the sink. Finally, connect the P-trap and test for leaks by running water through the system. This step is crucial, as it ensures your installation is functioning correctly before completing the project.
Securing the Drain Assembly
After positioning the drain assembly, secure it by placing a rubber washer beneath the sink and tightening the locknut. This creates a seal that prevents leaks. It’s critical to ensure the assembly is aligned correctly to avoid future drainage issues. Take your time during this step for the best results.
Connecting the P-Trap
The P-trap is essential for preventing sewer gases from entering your home. Connect the P-trap to the drain assembly and ensure all connections are tight. Use Teflon tape on threaded connections to enhance the seal. After installation, run water to check for leaks, and adjust any fittings as necessary.
Key Points:
- Properly securing the drain assembly is vital for preventing leaks.
- The P-trap connection is essential for maintaining home hygiene.
💡 Check for proper alignment of the drain assembly to avoid any drainage problems.
💡 Run water through the system after installation to ensure there are no leaks.
EXPERT TIPS Pro Advice
Measure Twice, Cut Once
Accurate measurements prevent costly mistakes. Check dimensions of pipes and fittings before cutting to ensure a proper fit.
Consider Using a Drain Strainer
A drain strainer helps catch food particles, reducing clogs and prolonging the lifespan of your plumbing.
Check Local Codes
Familiarize yourself with local plumbing codes to ensure compliance, which can save you from fines and issues during inspections.
Use Quality Materials
Invest in high-quality materials for long-lasting installations. Cheap materials can lead to frequent repairs and replacements.
Regular Maintenance
Schedule regular checks of your sink drain system to catch any potential issues early, ensuring uninterrupted use.
Frequently Asked Questions
Conclusion
Installing a kitchen sink drain can be a straightforward DIY task with the right tools and knowledge. Begin by removing the old drain, ensuring proper sealing with plumber’s putty, and double-checking connections to prevent leaks. Patience and attention to detail are key.
🎯 Key Takeaways:
- Gather necessary tools before starting the installation.
- Remove the old drain carefully to avoid damage.
- Use plumber’s putty for a watertight seal.
- Ensure all connections are secure to prevent leaks.
- Allow sufficient time for the installation process.
Expert Advice: Take your time and follow instructions carefully to ensure a successful installation. If you encounter difficulties, don’t hesitate to consult plumbing resources or seek professional help.
Ready to tackle your kitchen sink drain installation? Gather your tools and get started today!