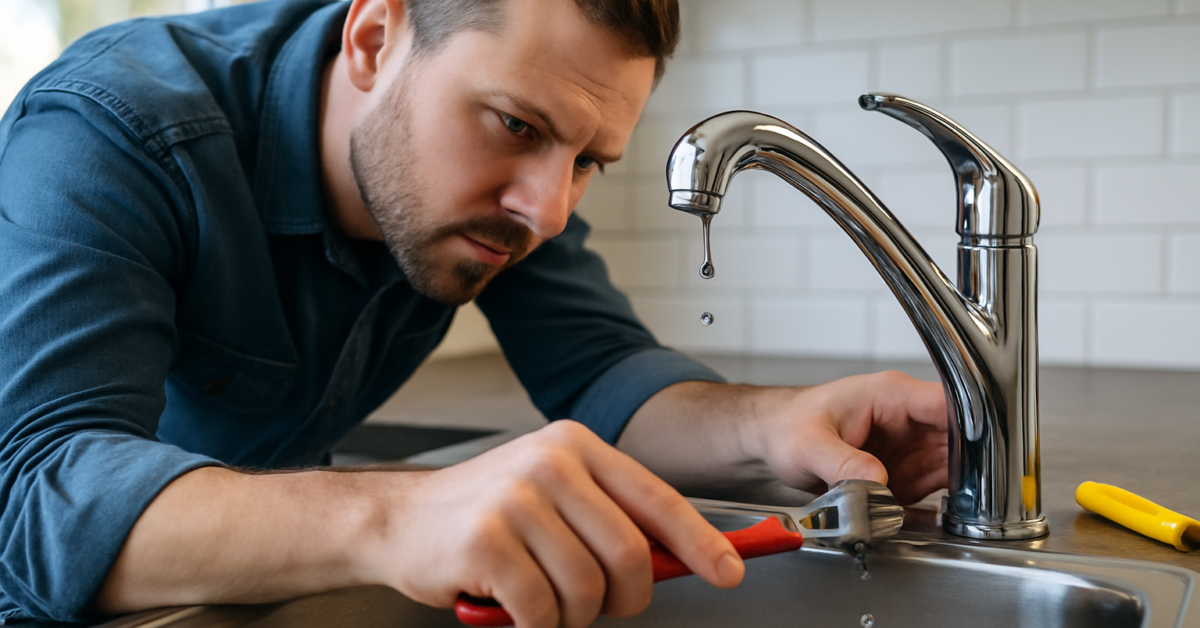
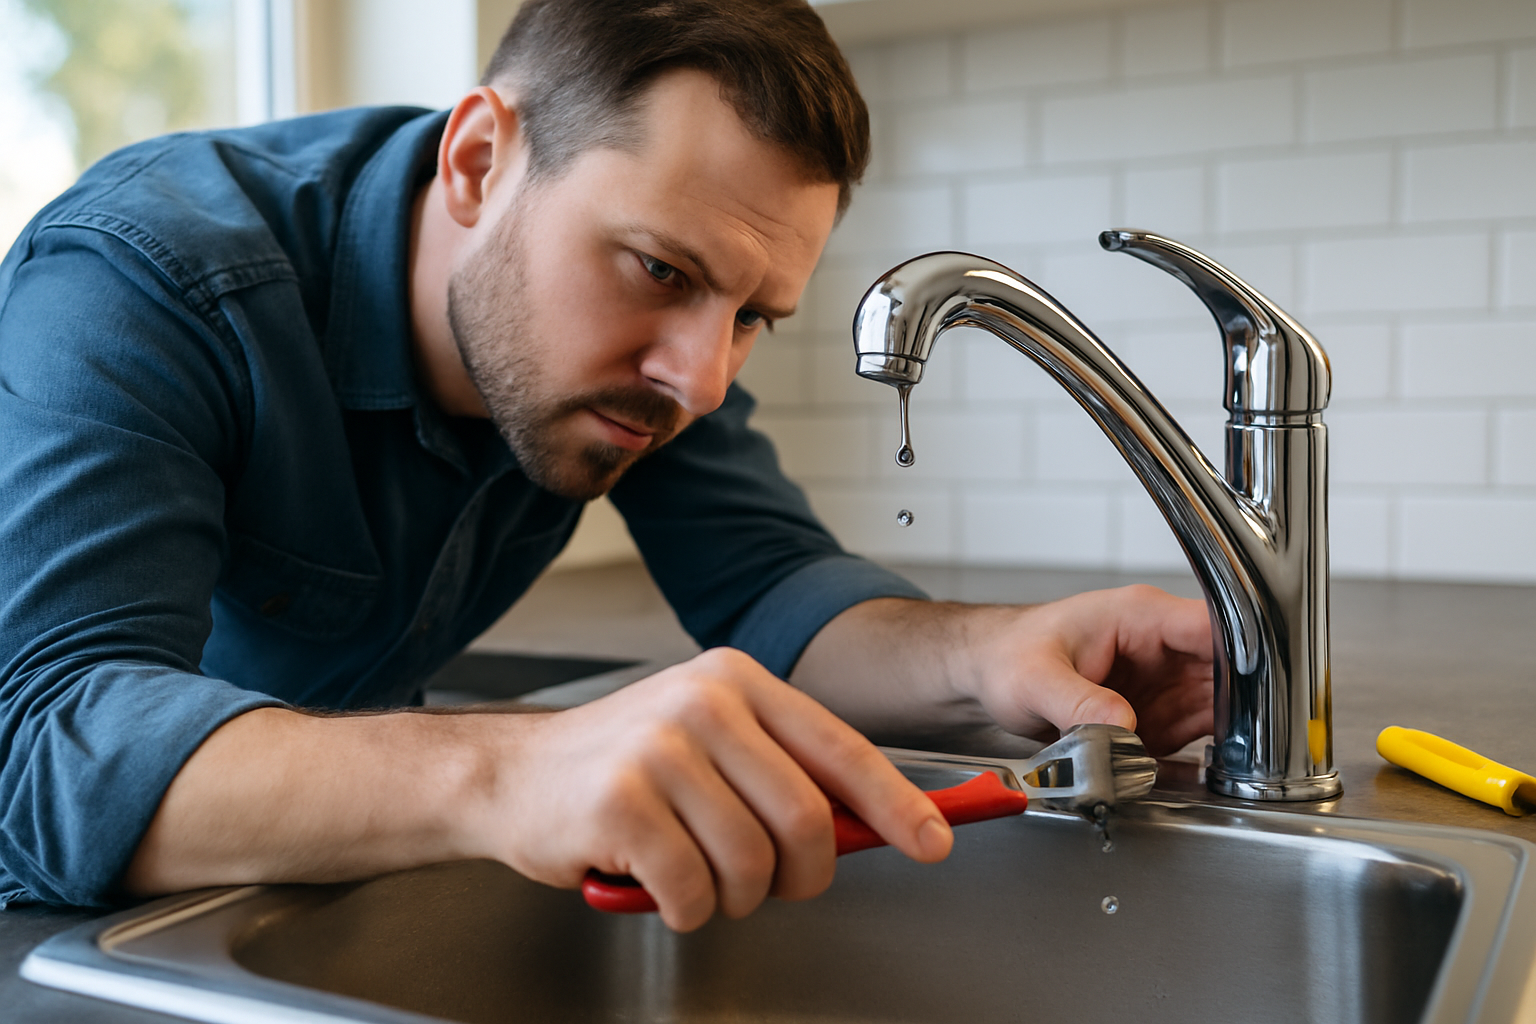
Is your kitchen faucet driving you crazy with its persistent dripping? A dripping faucet can waste a significant amount of water over time, leading to higher utility bills and unnecessary frustration. As a seasoned expert in home repairs, I understand the importance of tackling this common issue efficiently. In this article, you’ll discover step-by-step methods on how to stop a kitchen faucet from dripping, from identifying the source of the leak to applying simple fixes. By the end, you’ll be equipped with the knowledge to restore peace to your kitchen and save water in the process.
Understanding the Causes of Faucet Dripping
A dripping kitchen faucet can be a frustrating issue, often signaling underlying problems. Common causes include worn-out washers, corroded valve seats, or loose components. Identifying the root cause is essential for effective repair. Typically, the drip originates from the faucet’s valve, where water is meant to be controlled. Frequent usage can lead to wear and tear over time, resulting in leaks. This not only wastes water but can also lead to higher utility bills. Understanding these causes helps in choosing the right approach to fix the problem efficiently.
Worn Washers
One of the most frequent causes of a dripping faucet is a worn-out washer. Washers are small rubber or plastic components that create a seal when the faucet is turned off. Over time, they can become brittle and cracked due to constant use. When this happens, water can seep through, causing a drip. Inspecting and replacing these washers is often a straightforward solution that can significantly reduce or eliminate the dripping.
Corroded Valve Seats
The valve seat connects the faucet and the spout and can also become corroded over time, particularly in areas with hard water. This corrosion can create gaps that allow water to escape, leading to dripping. Cleaning the valve seat and ensuring it is free from mineral buildup can help restore a proper seal. If the corrosion is severe, replacement may be necessary for a long-term fix.
💡 Inspect your faucet regularly to catch wear early
💡 Consider the water quality in your area, as hard water can accelerate wear
Tools and Preparation for Faucet Repair
Before attempting to stop a kitchen faucet from dripping, it’s crucial to gather the right tools and prepare adequately. Common tools include a wrench, screwdriver, and replacement parts like washers and O-rings. Proper preparation can save time and ensure a smoother repair process. Start by turning off the water supply to avoid any mess during the repair. Having a towel or small bucket handy can help catch any residual water that may leak out when you disassemble the faucet. Understanding the assembly of your specific faucet model can also provide insights into the repair process.
Essential Tools
Gathering the essential tools is the first step in repairing a dripping faucet. A wrench will help you loosen nuts, while a screwdriver is necessary for removing handle screws. Additionally, replacement washers and O-rings should be on hand, as these are common culprits in faucet leaks. Having these tools ready ensures that you can address the problem without unnecessary delays.
Preparing the Work Area
Preparing your work area is vital for a successful repair. Start by turning off the water supply to prevent spills. Clear the area around the sink to have enough space to work comfortably. Keep towels and a bucket nearby to catch any water that may drain during the repair. This preparation helps maintain a clean environment and reduces the risk of accidents or further damage.
💡 Always prioritize safety by turning off the water supply
💡 Keep your tools organized to streamline the repair process
Identifying the Cause of the Drip
Before attempting to fix a dripping kitchen faucet, it’s essential to determine the cause of the leak. Common reasons include worn-out washers, faulty O-rings, or a damaged valve seat. Each of these issues requires a different approach to resolve. Start by inspecting the faucet closely, looking for signs of wear or damage. Understanding the underlying problem will help in selecting the right solution and prevent future leaks.
Worn Washers
Washers are small rubber or plastic pieces that create a seal in the faucet. Over time, these can wear out, leading to leaks. To check for worn washers, disassemble the faucet and inspect them for cracks or fraying. If they appear damaged, replacing them is often a straightforward and cost-effective fix.
Faulty O-Rings
O-rings are used to seal connections within the faucet. If the faucet drips from the spout or handle, the O-rings may be the culprit. Like washers, O-rings can degrade over time. Inspect them for wear and replace if necessary, ensuring a snug fit to eliminate leaks.
Damaged Valve Seat
The valve seat connects the faucet to the water supply and can become corroded or damaged. A damaged valve seat can lead to water dripping from the spout. To check, remove the faucet and inspect the valve seat for any irregularities. If damaged, it may require resurfacing or replacement.
Key Points:
- Identifying the cause is crucial for an effective repair.
- Regular maintenance can prevent leaks and extend faucet lifespan.
💡 Always turn off the water supply before disassembling the faucet to prevent flooding.
💡 Keep a towel or bucket handy to catch any excess water during repairs.
💡 Document the disassembly process with photos to ensure correct reassembly.
Repairing the Faucet
Once the cause of the drip has been identified, the next step is to proceed with the repair. Depending on the issue, the repair may involve replacing washers, O-rings, or even the entire faucet assembly. Ensure you have the necessary tools, such as a wrench, screwdriver, and replacement parts. Following a methodical approach will help restore your faucet to proper working order and eliminate the annoying drip.
Replacing Washers and O-Rings
To replace washers and O-rings, first, disassemble the faucet by loosening screws and removing the handle. Remove the old washers or O-rings, taking care to match the sizes with new ones. Reassemble the faucet and turn the water supply back on to test for leaks. This simple repair can often solve the dripping issue effectively.
Resurfacing or Replacing the Valve Seat
If the valve seat is damaged, it may need resurfacing or replacement. Use a valve seat wrench to remove it and inspect for pitting or corrosion. If resurfacing is insufficient, purchase a replacement valve seat. Proper installation is vital for ensuring a leak-free fit and preventing future drips.
Considering Professional Help
If the problem persists despite your efforts, it may be time to consider calling a plumber. Some issues, such as complex valve assembly problems, may require professional intervention. A plumber can provide a thorough inspection and offer solutions that may not be apparent to the average homeowner.
Key Points:
- Effective repairs can often be completed with simple tools and parts.
- Knowing when to seek professional help can save time and prevent further damage.
💡 Use plumber’s grease on new washers and O-rings to ensure a tight seal and easier installation.
💡 Always check for compatibility of parts before purchasing replacements.
💡 Don’t hesitate to consult online tutorials or guides for visual assistance during repairs.
EXPERT TIPS Pro Advice
Inspect all components during disassembly.
Even if a specific part seems fine, closely checking all components can reveal hidden issues that contribute to leaks.
Use the right tools for the job.
Using the appropriate tools prevents damage to components and makes the repair process smoother.
Keep a record of repairs.
Documenting repairs can help you track maintenance history and identify recurring issues.
Perform regular maintenance checks.
Routine inspections can help catch minor issues before they develop into significant leaks.
Know your faucet type.
Understanding whether your faucet is compression, cartridge, ball, or ceramic disc helps in knowing the right repair techniques.
Frequently Asked Questions
Conclusion
A dripping kitchen faucet can be caused by worn components like washers and O-rings. Regular maintenance and timely repairs can help prevent leaks. DIY fixes are often effective, but don’t hesitate to seek professional help if needed.
🎯 Key Takeaways:
- Identify the cause of the drip early to prevent water waste.
- DIY repairs can save time and money if you’re comfortable.
- Regular maintenance is key to preventing future leaks.
- Know when to call a professional for persistent issues.
Expert Advice: Stay proactive about faucet maintenance to ensure longevity and functionality. Regular checks can save you from costly repairs in the future.
Take the first step by inspecting your faucet today and address any leaks promptly.


