Are you tired of the constant dripping sound from your kitchen faucet? A leaky faucet not only wastes water but can also lead to higher utility bills. Understanding how to repair a kitchen faucet leak is essential for any homeowner looking to maintain their plumbing and save money. With over 15 years of experience in home repairs and plumbing, I will guide you through the process of identifying the source of the leak and provide you with clear, actionable steps to fix it. In this article, you’ll learn about common causes of faucet leaks, the tools you’ll need, and detailed instructions to restore your faucet to perfect working condition. Say goodbye to leaks and hello to a more efficient kitchen!
Understanding Kitchen Faucet Leaks
Kitchen faucet leaks are common issues that many homeowners face. Understanding the mechanics of your faucet can help you identify the source of a leak, which is crucial for an effective repair. Leaks may occur due to worn-out washers, damaged O-rings, or loose connections. Identifying the type of faucet you have—compression, cartridge, ball, or ceramic disk—also aids in troubleshooting. Each type has unique components that may need attention. Regular maintenance can prevent many leaks, so knowing the signs can save you time and money in the long run.
Types of Kitchen Faucets
There are several types of kitchen faucets, each functioning differently. Compression faucets operate with rubber washers that can wear out and cause leaks. Cartridge faucets use a cartridge mechanism that can also fail. Ball faucets have a ball-and-socket design, while ceramic disk faucets feature a ceramic plate. Knowing your faucet type can guide you in choosing the right repair method and parts needed for fixing a leak.
Common Causes of Leaks
Leaks often stem from worn-out washers, O-rings, or seals. High water pressure can exacerbate these issues, leading to premature wear. Loose fittings can also cause leaks, particularly at connection points. By identifying the cause early, you can address the issue before it escalates, potentially saving on water bills and repair costs.
Key Points:
- Understanding your faucet type aids in effective repairs.
- Identifying common causes of leaks can prevent future issues.
💡 Regularly inspect your faucet for signs of wear to catch leaks early.
💡 Keep a maintenance log to track any repairs or changes made to your faucet.
Tools and Preparation for Faucet Repair
Before attempting to repair a kitchen faucet leak, it’s essential to gather the necessary tools and materials. Basic tools include adjustable wrenches, screwdrivers, and pliers. Additionally, you may need replacement parts such as washers or O-rings. Preparing the work area is vital; ensure you have adequate lighting and a towel to catch any water spillage during the repair process. Familiarize yourself with the faucet components to streamline the repair process. Proper preparation can make the repair quicker and more efficient, reducing frustration.
Essential Tools for Repair
Key tools for faucet repair include an adjustable wrench, which allows you to grip various nut sizes, and screwdrivers for removing faucet handles and covers. Pliers can help in loosening tight fittings. Having these tools handy minimizes delays during the repair process, ensuring a smoother experience.
Preparing Your Work Area
Before starting the repair, clear the area under the sink and ensure good lighting. Place a towel or container under the faucet to catch any drips. This preparation helps prevent mess and keeps your workspace organized, making it easier to focus on the repair tasks at hand.
Key Points:
- Gathering the right tools can streamline the repair process.
- A well-prepared workspace enhances efficiency during repairs.
💡 Always turn off the water supply before starting any repair work.
💡 Use a towel to catch drips and minimize cleanup time.
Understanding the Common Causes of Kitchen Faucet Leaks
Before attempting to repair a kitchen faucet leak, it’s crucial to identify its source. Common causes include worn-out washers, O-rings, or seals, as well as loose connections. Each of these issues varies in complexity and can affect how you approach the repair process. Understanding these factors will empower you to tackle the problem effectively and prevent future leaks. Regular maintenance and periodic inspections of your faucet can also help catch these issues early, saving you time and money in repairs.
Worn Washers and O-Rings
Washers and O-rings are often the culprits behind leaks. Over time, these components can wear down due to constant friction and pressure. Inspecting these parts and replacing them is usually straightforward and can restore optimal performance. Ensure you turn off the water supply before disassembling the faucet for inspection.
Loose Connections and Fittings
Loose connections in the faucet can also lead to leaks, particularly at the base or where the faucet connects to the supply lines. Tightening these fittings can often resolve the issue without requiring any parts replacement. Use a wrench carefully to avoid damaging the fittings.
Corroded Components
Corrosion can occur in older faucets, leading to leaks. If you notice rust or mineral buildup, it may be time to replace corroded parts. Regular cleaning can help prevent this issue, prolonging the lifespan of your faucet.
💡 Always turn off the water supply before starting repairs to prevent flooding.
💡 Keep a towel handy to catch any dripping water while you work.
💡 Take photos of the disassembly process to aid in reassembly.
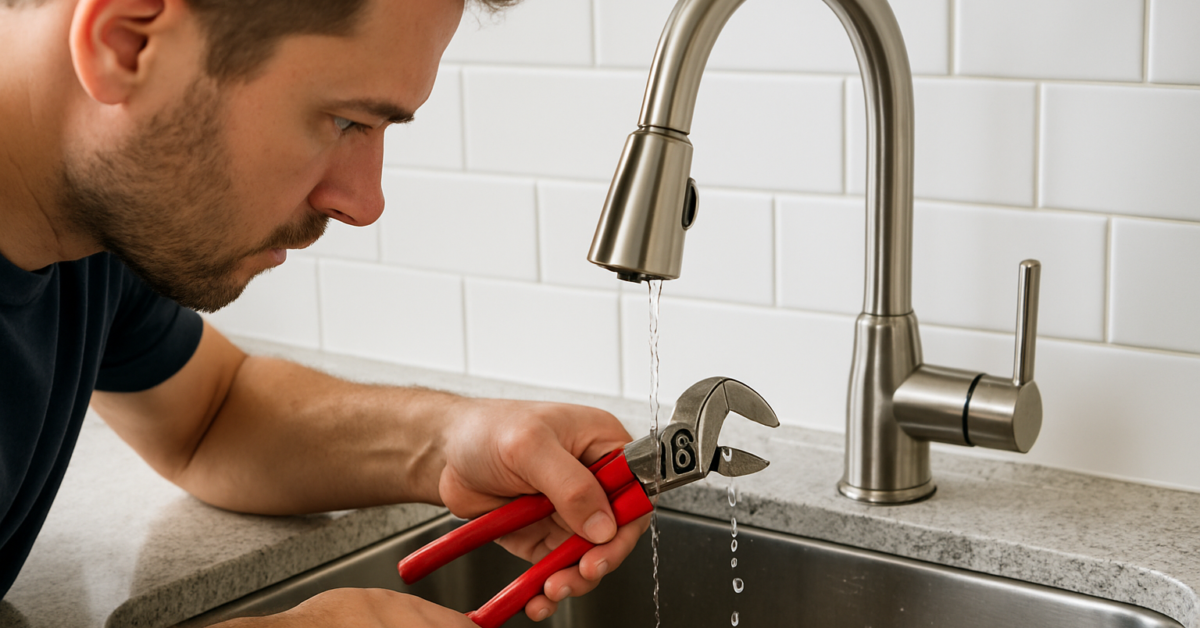
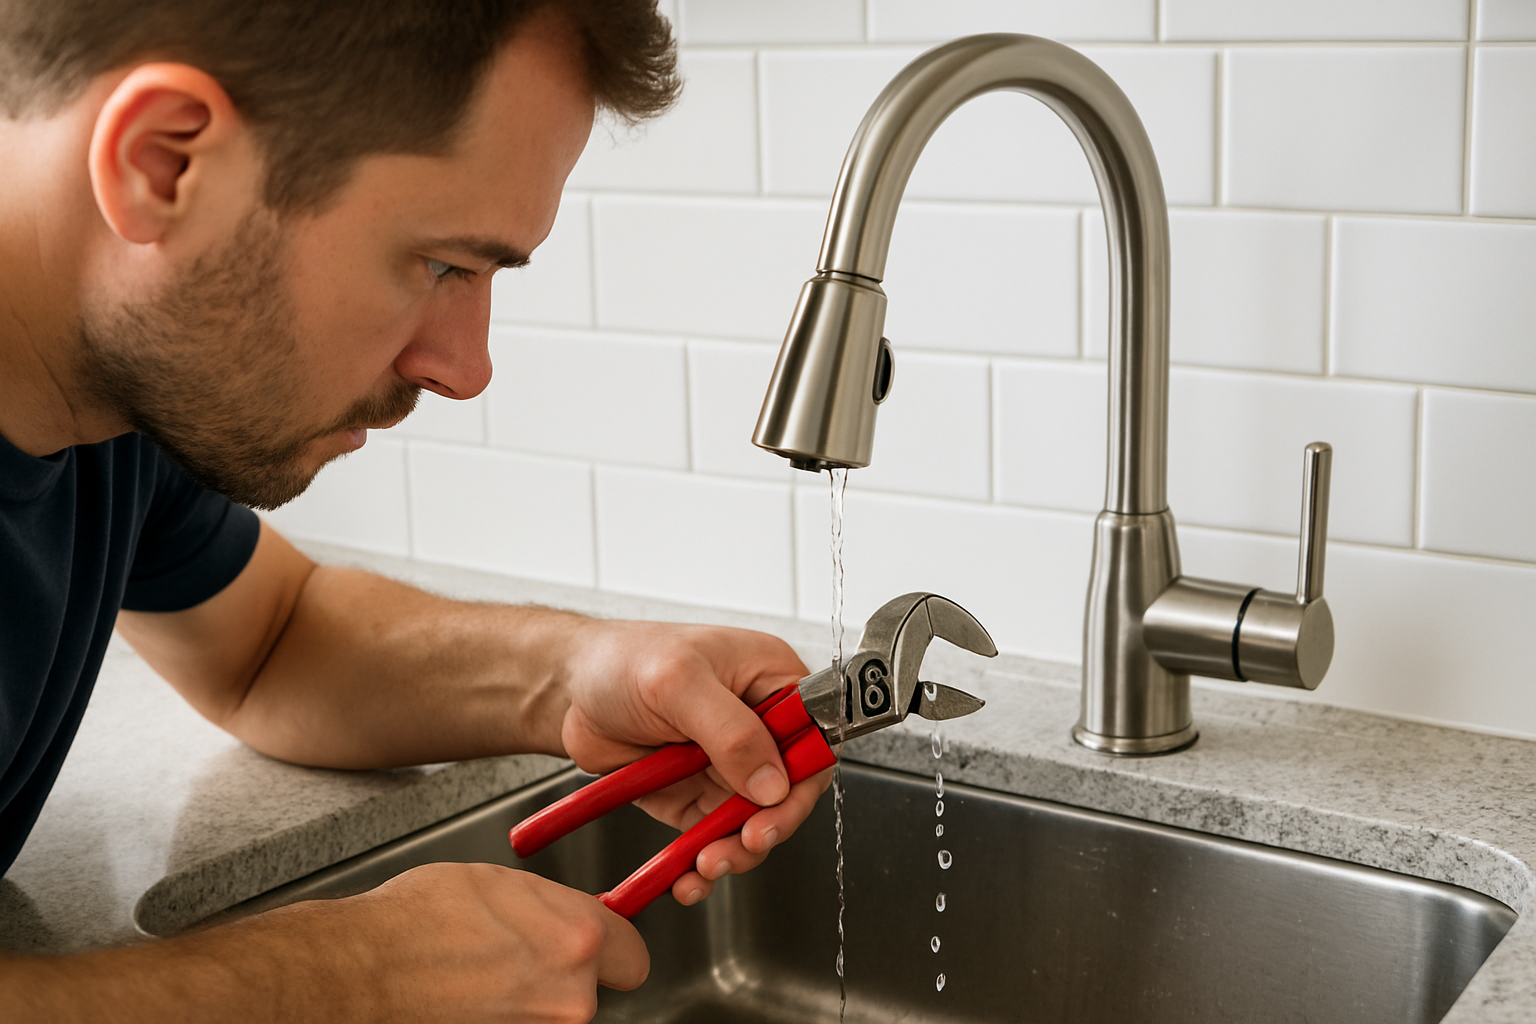
Step-by-Step Repair Process for a Leaky Kitchen Faucet
Once you’ve identified the cause of your kitchen faucet leak, follow a systematic approach for repair. This process typically involves disassembling the faucet, replacing faulty components, and reassembling it. Make sure to gather necessary tools such as a wrench, screwdriver, and replacement parts before you begin. A clear plan will help you avoid mistakes and complete the repair efficiently.
Disassembling the Faucet
Start by using a screwdriver to remove the handle, exposing the inner workings of the faucet. Make sure you keep track of all screws and parts as you disassemble. If the handle is stuck, gently wiggle it or use penetrating oil to loosen it. Pay attention to how everything fits together to simplify reassembly.
Replacing Damaged Parts
Once disassembled, inspect all components for wear. Replace any damaged washers, O-rings, or seals. It’s best to take the old parts to a hardware store to find exact matches based on size and type. Ensure new parts are installed correctly to maintain a proper seal.
Reassembly and Testing
After replacing parts, carefully reassemble the faucet in the reverse order of disassembly. Tighten fittings evenly but avoid overtightening, which can cause damage. Once reassembled, turn the water supply back on and test for leaks by turning the faucet on and off.
💡 Label parts as you disassemble them to make reassembly easier.
💡 Check the manufacturer’s instructions for specific assembly details.
💡 Perform a final check for leaks after reassembly to ensure a successful repair.
EXPERT TIPS Pro Advice
Use a basin wrench for tight spaces.
A basin wrench is designed to reach nuts in cramped spaces under the sink, making it easier to tighten or loosen connections without damaging surrounding fixtures.
Consider water pressure when diagnosing leaks.
High water pressure can exacerbate leaks. Check your home’s water pressure and adjust it if necessary to prolong the life of your faucet and prevent leaks.
Keep spare parts on hand.
Having spare washers and O-rings readily available can save time during repairs and reduce the likelihood of repeated trips to the store.
Regularly inspect your faucet.
Routine inspections can help identify potential issues before they escalate. Look for signs of wear or corrosion to address problems early.
Document your repairs.
Keep a record of repairs and part replacements. This information can be useful for troubleshooting future issues and maintaining your faucet’s lifespan.
Frequently Asked Questions
Conclusion
Repairing a kitchen faucet leak is often manageable with basic tools and techniques. Identifying the cause is key, whether it’s a worn washer or a loose fitting. Regular maintenance can prevent leaks, and knowing when to repair or replace can save you time and money.
🎯 Key Takeaways:
- Common causes of leaks include worn washers and O-rings.
- Identifying the leak source is crucial for effective repairs.
- Many leaks can be repaired with basic tools and skills.
- Regular maintenance can prolong the life of your faucet.
Expert Advice: Stay proactive about inspecting your kitchen faucet, as early detection can prevent more extensive repairs. Familiarize yourself with basic plumbing tasks to empower yourself in home maintenance.
Take the time today to inspect your kitchen faucet and ensure it’s in good working condition!


