Are you tired of dealing with a leaky kitchen faucet? Knowing how to remove kitchen faucet cartridge is essential for effective repairs. Many homeowners face challenges when attempting this task, often leading to frustration and costly professional help. In this comprehensive guide, we will share our extensive expertise in plumbing to help you tackle this project with confidence. You will learn the necessary tools, step-by-step instructions, and common pitfalls to avoid, ensuring a smooth and successful cartridge removal process. Say goodbye to leaks and hello to a fully functional faucet!
Understanding the Kitchen Faucet Cartridge
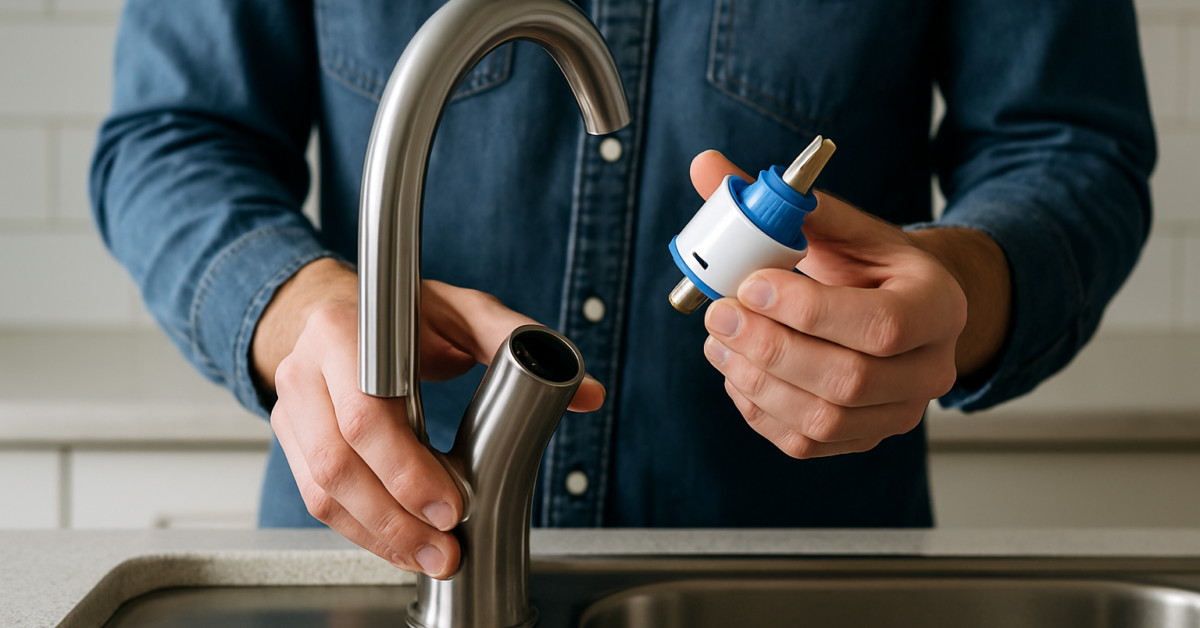
A kitchen faucet cartridge is a crucial component that controls the flow and temperature of water. Understanding its function can help you diagnose issues such as leaks or inconsistent water pressure. Cartridges can vary widely in design based on the type of faucet, but they generally consist of a cylindrical body with control mechanisms that operate the water flow. Knowing the specific type of cartridge in your faucet is essential for effective removal and replacement. Familiarize yourself with common types, including compression, ball, cartridge, and ceramic disc faucets, as this knowledge will guide your removal process.
Types of Kitchen Faucet Cartridges
There are several types of cartridges, each with unique removal processes. Compression cartridges are often found in older faucets and require a simple twist to remove. Ball cartridges, typically used in single-handle faucets, involve a more complex mechanism. Cartridge faucets feature a single cartridge that can be pulled out. Lastly, ceramic disc cartridges are known for their durability and smooth operation. Identifying the type of cartridge in your faucet is the first step in any repair or replacement.
Common Issues Indicating Cartridge Problems
Several signs may indicate that your kitchen faucet cartridge needs to be removed and replaced. Persistent leaks from the faucet base are a common symptom, as well as difficulty in adjusting water temperature or flow. An unusual grinding noise when turning the handle can also signal cartridge wear. Recognizing these issues early can save you time and prevent further damage to your faucet or plumbing system.
Key Points:
- Understanding different cartridge types helps in proper removal.
- Recognizing symptoms of cartridge issues can prevent larger plumbing problems.
Tools and Preparation for Cartridge Removal
Before attempting to remove a kitchen faucet cartridge, it’s essential to gather the right tools and prepare your workspace. Common tools include a basin wrench, flathead and Phillips screwdrivers, and pliers. Ensure you have a clean, well-lit area to work in, as this will facilitate the removal process. Additionally, turning off the water supply to the faucet is crucial to prevent flooding and facilitate a safe working environment. Having towels or a small bucket handy can help manage any residual water that may leak out during the removal process.
Essential Tools for the Job
To effectively remove a kitchen faucet cartridge, you’ll need a few basic tools. A basin wrench is ideal for reaching tight spaces and loosening nuts. Pliers can help grip small components, while screwdrivers allow you to remove any screws securing the faucet handle or cover. Having these tools at your disposal will streamline the process and reduce the likelihood of damage during removal.
Safety Precautions to Consider
Before starting the removal process, ensure your safety by wearing gloves to protect your hands from sharp edges. Additionally, place a towel or bucket under the sink to catch any dripping water. Turn off the water supply valves beneath the sink to avoid leaks and assess the situation before disassembly. These precautions will help ensure a smooth and safe cartridge removal experience.
Key Points:
- Gathering the right tools simplifies the process.
- Taking safety precautions is essential to avoid accidents.
Understanding the Kitchen Faucet Cartridge
The kitchen faucet cartridge is a vital component that controls water flow and temperature. Understanding its function is essential for successfully removing it. Cartridges can vary in design, so identifying the type in your faucet helps streamline the removal process. Common types include compression, ball, cartridge, and ceramic disc. Typically, cartridge-based faucets are easier to maintain compared to other types. Before attempting removal, ensure you have the necessary tools, such as a wrench, screwdriver, and possibly a cartridge puller. Always turn off the water supply to prevent leaks and water damage during the process.
Identifying Your Faucet Type
Recognizing whether your faucet is a single-handle or double-handle model is crucial. Single-handle faucets typically have a single cartridge controlling both temperature and flow, while double-handle faucets may have two separate cartridges. Examine the faucet design and look for manufacturer markings, which can guide you in determining the specific type of cartridge you need to remove.
Tools Required for Removal
Gathering the right tools before starting is key to a smooth removal process. Generally, you will need a basin wrench for hard-to-reach areas, a flat-head screwdriver for prying off decorative caps, and pliers for gripping stubborn components. Having a towel on hand to catch any water that may spill during removal is also advisable, ensuring a cleaner workspace.
Key Points:
- Understanding your faucet type simplifies the removal process.
- Proper tools can significantly reduce the time and effort needed for removal.
💡 Familiarize yourself with your faucet type before starting to avoid complications during removal.
💡 Always turn off the water supply to prevent accidents and flooding.
💡 Keep a towel nearby to manage any water that spills during the process.
Step-by-Step Guide to Removing the Cartridge
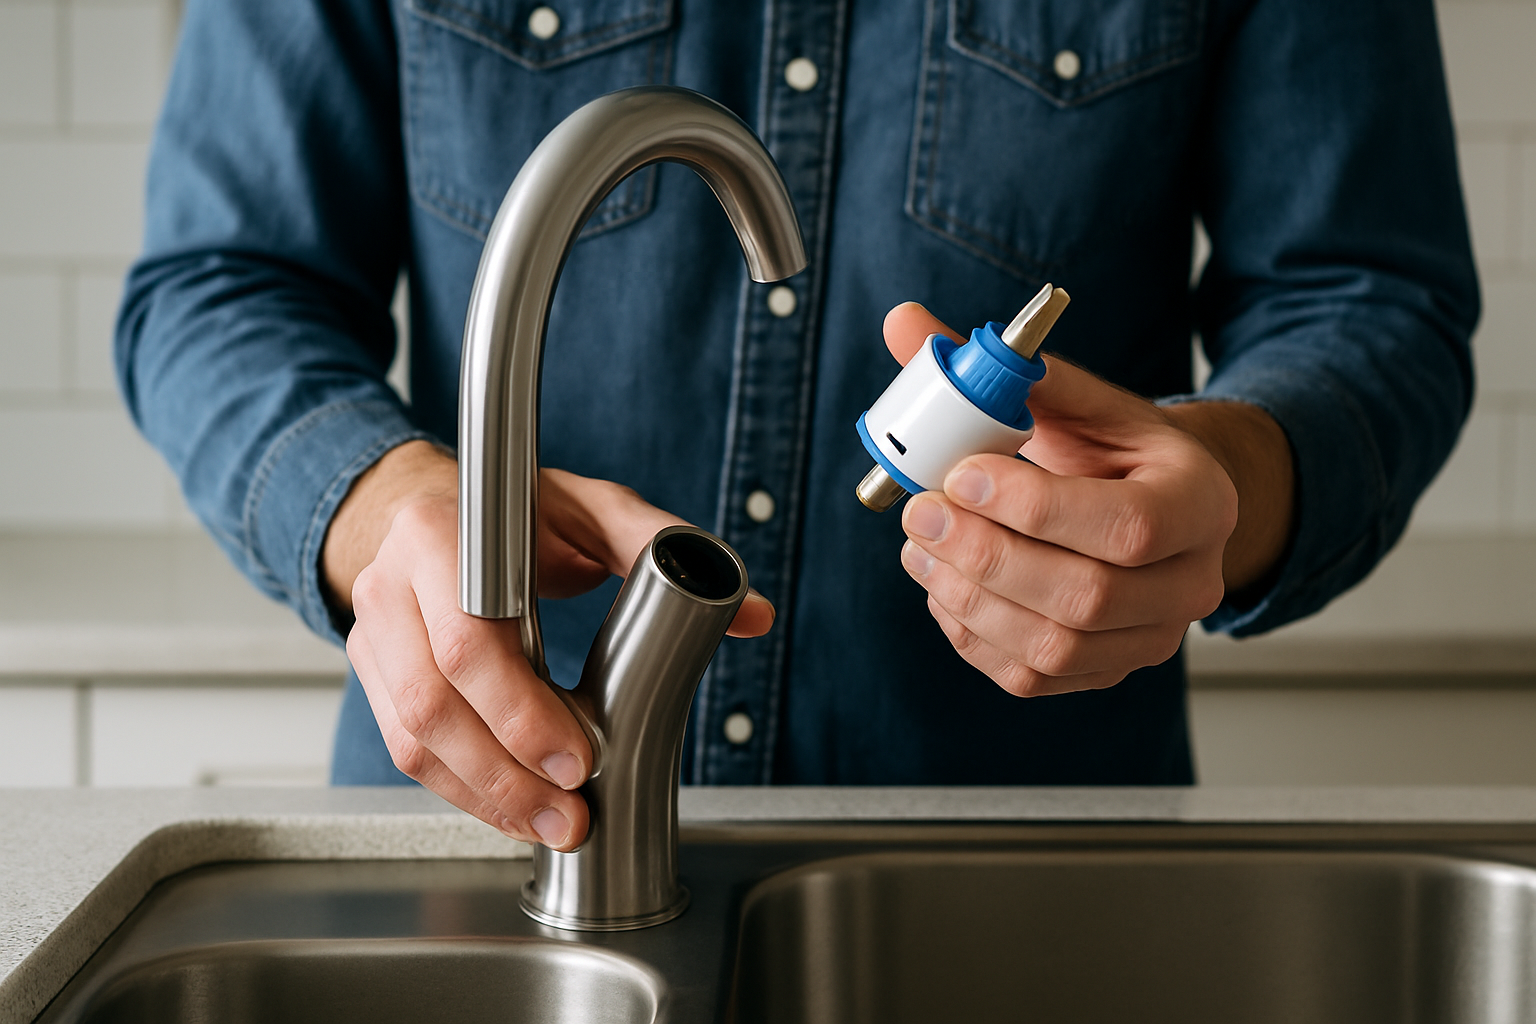
Removing the kitchen faucet cartridge requires a systematic approach to avoid damaging components. Begin by shutting off the water supply and draining any remaining water from the faucet. Next, remove the handle, which typically involves loosening a set screw located under the handle or hidden beneath a decorative cap. Once the handle is off, you will see the cartridge, which may require twisting or pulling to remove. If the cartridge is stuck, using a cartridge puller can facilitate removal without damaging the faucet body. After the old cartridge is removed, clean the area before installing the new one.
Removing the Faucet Handle
Start by locating the screw that secures the handle. This is often found at the back or underneath the handle. Use a screwdriver to loosen the screw, then gently wiggle the handle off the faucet. If the handle is resistant, applying a bit of lubricant may help loosen it. Be cautious not to force it, as this can cause damage.
Extracting the Cartridge
Once the handle is removed, you’ll be able to see the cartridge. Depending on the model, it may require pulling straight up or twisting to disengage it. If you encounter resistance, a cartridge puller can be helpful. Ensure you’re pulling straight up to avoid misalignment or damaging the faucet body.
Key Points:
- A systematic approach prevents damage and confusion during the removal process.
- Documenting your steps can ease reassembly and troubleshooting later on.
💡 Take photos during each step to serve as a reference for reassembly.
💡 Use gentle pressure when removing components to avoid breaks or splinters.
💡 Keep track of all screws and small parts in a designated container.
EXPERT TIPS Pro Advice
Research your faucet model online.
Knowing your specific faucet model can provide tailored instructions and troubleshooting tips, making the removal process smoother and more efficient.
Use penetrating oil on stubborn parts.
If components are stuck, applying a penetrating oil can help loosen them without the risk of breaking, saving you time and potential repair costs.
Wear gloves for better grip.
Wearing gloves can improve your grip on slippery components and protect your hands from cuts or abrasions during the process.
Inspect the area for corrosion.
Before removing the cartridge, check for signs of corrosion, which can indicate underlying issues that may need addressing to prevent future leaks.
Have a replacement cartridge handy.
Having a matching replacement cartridge on hand ensures you can quickly replace the old one, reducing downtime and preventing potential leaks.
Frequently Asked Questions
Conclusion
Removing a kitchen faucet cartridge is a manageable DIY task that can resolve common faucet issues like leaks and temperature inconsistencies. Begin by identifying the need for replacement, gather necessary tools, and follow the correct removal steps. Proper maintenance can greatly extend your faucet’s life.
🎯 Key Takeaways:
- Identify signs of a failing cartridge, such as leaks or inconsistent flow.
- Gather essential tools like screwdrivers and wrenches for the task.
- Follow a systematic approach to safely remove the cartridge.
- Lubricate the new cartridge to ensure optimal performance.
Expert Advice: Always prioritize safety by turning off the water supply before starting any plumbing task. If you’re uncertain about the process, consider consulting a professional to avoid damaging your faucet.
Now that you have the knowledge, gather your tools and confidently tackle your kitchen faucet cartridge removal!


