Are you tired of your outdated kitchen tile floor and wondering, can I paint my kitchen tile floor? Many homeowners face this dilemma, and the good news is that painting tile floors can be a cost-effective and transformative solution. With the right techniques and materials, you can give your kitchen a fresh look without the need for a costly renovation. In this article, we’ll explore the feasibility of painting your tile floor, the steps involved, and essential tips to ensure long-lasting results. Whether you are a DIY enthusiast or a first-timer, this guide will provide you with the knowledge and confidence needed for a successful kitchen floor makeover.

Understanding the Basics of Painting Tile Floors
Painting your kitchen tile floor can be a cost-effective way to refresh your space without a complete renovation. However, it’s essential to understand that not all tile surfaces are suitable for painting. Generally, ceramic and porcelain tiles can be painted, while vinyl tiles may not adhere well to paint. Proper surface preparation is crucial to ensure the paint bonds effectively and lasts over time. Additionally, consider the type of paint you choose; specialized floor paint is designed to withstand foot traffic and spills, making it a better option for durability.
Types of Tiles Suitable for Painting
Ceramic and porcelain tiles are the most commonly painted surfaces due to their non-porous nature, allowing paint to adhere better. Natural stone tiles might require more preparation, as they can be more porous and may not hold paint as effectively. Always check the texture and finish of the tile before deciding to paint.
Assessing the Condition of Your Tile
Before painting, inspect your tile floor for damage such as cracks or chips. Minor surface imperfections can be repaired, but extensive damage may require replacement. A well-prepared, clean, and undamaged surface ensures better adhesion and a more polished final look.
Key Points:
- Not all tiles are suitable for painting; ceramic and porcelain work best.
- Surface preparation is key to a successful paint job.
Preparing for the Painting Process
Preparation is critical for a successful tile painting project. Start by cleaning the tiles thoroughly to remove any grease, dirt, or wax that could prevent paint from adhering. Once cleaned, allow the tiles to dry completely. Next, consider sanding the surface lightly to create a texture for better paint grip. Finally, use a primer specifically designed for tile surfaces to ensure the paint adheres well. Proper preparation can significantly extend the life of your paint job and enhance the overall finish.
Cleaning Your Tile Floors
Use a mixture of warm water and a mild detergent to scrub the tile floors. A stiff brush or mop can help lift stubborn stains. After cleaning, rinse with plain water to remove any soap residue and dry the tiles thoroughly to avoid trapping moisture under the paint.
Applying Primer for Better Adhesion
Applying a primer specifically designed for tile floors is a crucial step. This layer helps seal the tiles and creates a better surface for paint adhesion. Use a roller or brush to apply an even coat and allow it to dry completely according to the manufacturer’s instructions before proceeding to paint.
Key Points:
- Thorough cleaning prevents issues with paint adhesion.
- Using a primer enhances the longevity of your paint job.
Understanding the Basics of Painting Tile Floors
Painting your kitchen tile floor can be a cost-effective way to refresh your space, but it’s essential to understand the basics before you start. Tile surfaces tend to be glossy and hard, making paint adhesion challenging. Preparation is key to achieving a long-lasting finish. You should consider the type of tile you have, as ceramic and porcelain tiles may require different approaches than vinyl tiles. Additionally, assess the current condition of your tiles; cracks or chips might need repairs before painting. By taking these factors into account, you can set yourself up for success.
Assessing Your Tile Type
Before you begin painting, determine the type of tile you have. Ceramic and porcelain tiles are non-porous, which can make them tricky to paint. In contrast, vinyl tiles are generally easier to paint due to their softer surface. Knowing your tile type will guide the preparation and painting process, ensuring better adhesion and durability.
Preparing the Surface
Surface preparation is critical when painting tile. Start by cleaning the tiles thoroughly to remove grease, grime, and dirt. Use a degreaser for best results. Next, sand the surface lightly to create a texture for better paint grip. Finally, apply a primer specifically designed for tile surfaces to enhance adhesion and durability.
Key Points:
- Know your tile type for effective painting strategies.
- Proper surface preparation is crucial for paint longevity.
💡 Thoroughly clean and sand your tiles before painting to ensure the best adhesion.
The Painting Process: Techniques and Considerations
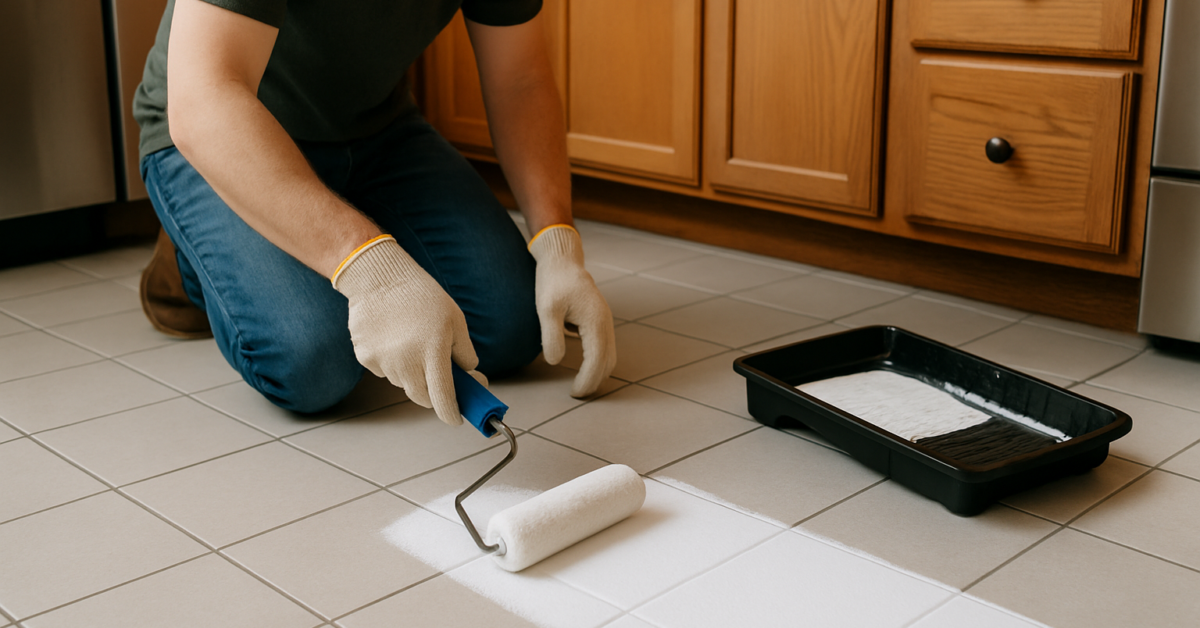
Once you have prepared your tile floor, it’s time to consider the painting process itself. Choosing the right paint is paramount, as not all paints are created equal. Look for paints suitable for high-traffic areas and moisture-prone environments like kitchens. Additionally, consider the application method; using a roller will generally provide more even coverage than a brush. Plan your painting in sections to avoid stepping on wet paint, and allow sufficient drying time between coats for optimal results.
Choosing the Right Type of Paint
Select a high-quality epoxy or urethane-based paint designed for floors. These paints offer superior durability and resistance to moisture, making them ideal for kitchen environments. A paint specifically formulated for tiles will provide better results than regular wall paint, which may peel or chip over time.
Application Techniques
When applying paint, use a roller for large areas to ensure an even coat, and a brush for edges and corners. Apply several thin coats instead of one thick coat to prevent drips and ensure better adhesion. Be patient and allow adequate drying time between coats, as this significantly affects the finish and durability.
Key Points:
- Choose paint designed for tile and high-traffic areas.
- Apply thin coats for a smoother finish and better adhesion.
💡 Use high-quality floor paint for better durability and finish.
EXPERT TIPS Pro Advice
Test a small area first
Always test your paint on a small, inconspicuous area to check adhesion and finish before committing to the entire floor.
Consider a topcoat
Applying a clear topcoat after painting can add an extra layer of protection against wear and tear, extending the life of your painted tile.
Maintain a consistent environment
For optimal drying and curing, ensure your kitchen is well-ventilated and maintains a consistent temperature during the painting process.
Regularly inspect your floor
After painting, frequently check your floor for signs of wear or damage to address issues before they worsen.
Plan for downtime
Allow ample time for the paint to cure completely before using the kitchen, as this ensures better durability and a smoother finish.
Frequently Asked Questions
Conclusion
Painting your kitchen tile floor is a feasible way to refresh your space. Proper preparation, including cleaning, priming, and using the right paint, is crucial for long-lasting results. Regular maintenance will keep your floor looking great and extend its lifespan.
🎯 Key Takeaways:
- You can paint kitchen tile with the right materials.
- Surface preparation is key for adhesion.
- Use durable, tile-specific paint for best results.
- Sealing enhances longevity and protects the paint.
- Regular maintenance is essential to preserve the finish.
Expert Advice: Take your time during the preparation and painting process to ensure a professional-looking finish. Don’t rush; good results come from patience and attention to detail.
Consider your options carefully and start planning your tile floor transformation today!