Have you ever wondered, can I paint my kitchen table? Many homeowners face this dilemma when looking to refresh their kitchen’s aesthetic without buying new furniture. The good news is that painting your kitchen table is not only possible, but it can also be a rewarding DIY project! With over 15 years of experience in home decor and furniture restoration, I’m here to guide you through the process. In this article, you will learn the essential steps to prepare your table for painting, the types of paint that work best, and common mistakes to avoid to ensure a beautiful finish. Whether you’re aiming for a chic, modern look or a rustic finish, you’ll find all the information you need to confidently tackle this project.
Understanding the Basics of Painting Furniture
Painting furniture, including kitchen tables, is a popular way to refresh and personalize your space. Before you start, it’s important to understand the types of materials and finishes involved. Different woods and surfaces will react differently to paint, so knowing what you’re working with is essential for achieving a durable and attractive finish. Additionally, consider whether you want a distressed look or a smooth, modern finish, as this will influence your selection of techniques and products.
Types of Surfaces
Kitchen tables can be made from various materials, such as solid wood, laminate, or metal. Each type requires a different preparation method. Solid wood may need sanding, while laminate might require a primer to help the paint adhere. Understanding your table’s material will ensure better results and longevity of your paint job.
Choosing the Right Paint
Selecting the appropriate paint is crucial. Water-based latex paints are popular for their ease of use and quick drying time, while oil-based paints offer durability. Consider the table’s intended use; for high-traffic areas, a more robust option may be necessary. Always check for non-toxic options, especially for kitchen furniture.
Key Points:
- Know your table’s material for proper preparation
- Choose paint based on durability and intended use
Preparation Steps Before Painting
Proper preparation is key to a successful painting project. It involves cleaning, sanding, and priming the table. Cleaning removes grease and dust, while sanding creates a rough surface for better paint adhesion. Priming is often necessary, especially for non-porous surfaces, as it enhances paint adherence and can prevent peeling. Taking these steps will ensure a smooth application and a more professional finish.
Cleaning the Surface
Start by thoroughly cleaning your table with a mixture of water and mild detergent. This removes any food residue, oil, or dust that could interfere with paint adhesion. Make sure to dry it completely before moving on to the next step to avoid trapping moisture under the paint.
Sanding and Priming
Sanding the surface helps to create a bond between the paint and the table. Use sandpaper with a fine grit to smooth out any imperfections. After sanding, apply a primer that suits your table’s material. This step is crucial, as it ensures the paint adheres well and enhances the overall durability of your finish.
Key Points:
- Thoroughly clean the surface before painting
- Sanding helps paint adhere better
Understanding the Basics of Painting Your Kitchen Table
Before deciding to paint your kitchen table, it’s crucial to understand the materials used and the preparation required. Different types of wood and finishes can react differently to paint. If your table is made from solid wood, it typically absorbs paint better than laminate surfaces. Researching your table’s material allows you to choose the right paint and technique for a successful outcome. Additionally, consider the table’s current finish; if it has a glossy surface, proper sanding may be necessary for optimal paint adhesion. Lastly, ensure you work in a well-ventilated area, as paint fumes can be harmful.
Assessing Your Table’s Material
Identify whether your table is made of solid wood, veneer, or laminate. Solid wood is easier to paint because it allows for better adhesion. Veneer surfaces may require extra care, while laminate tables often need a primer to ensure paint sticks. Knowing your material helps you select the appropriate painting method.
Preparing the Surface
Proper preparation is essential for a long-lasting finish. Start by cleaning the table to remove any grease or dirt. Then, lightly sand the surface to create a texture that promotes adhesion. Finally, wipe away dust with a damp cloth. This preparation ensures that the paint adheres properly and results in a smooth finish.
Key Points:
- Know your table’s material for the best painting approach.
- Surface preparation significantly affects paint adhesion and finish quality.
💡 Always test a small area with paint before committing to the entire table. This helps you gauge color and adhesion.
💡 Use painter’s tape to protect areas you don’t want to paint, ensuring clean lines and a professional look.
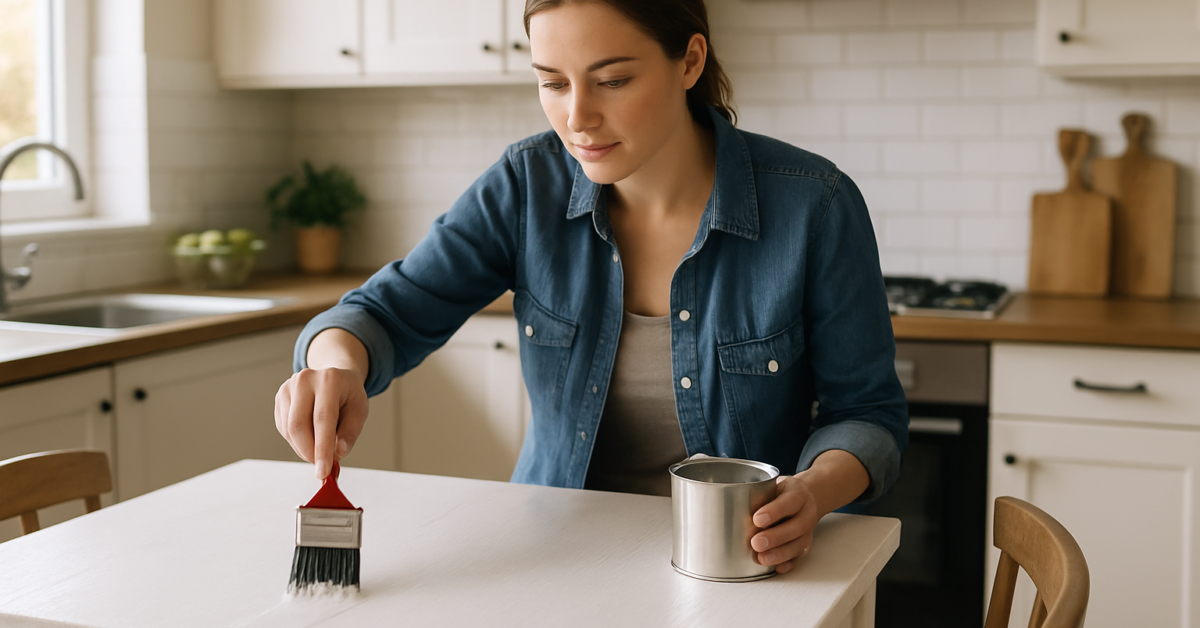
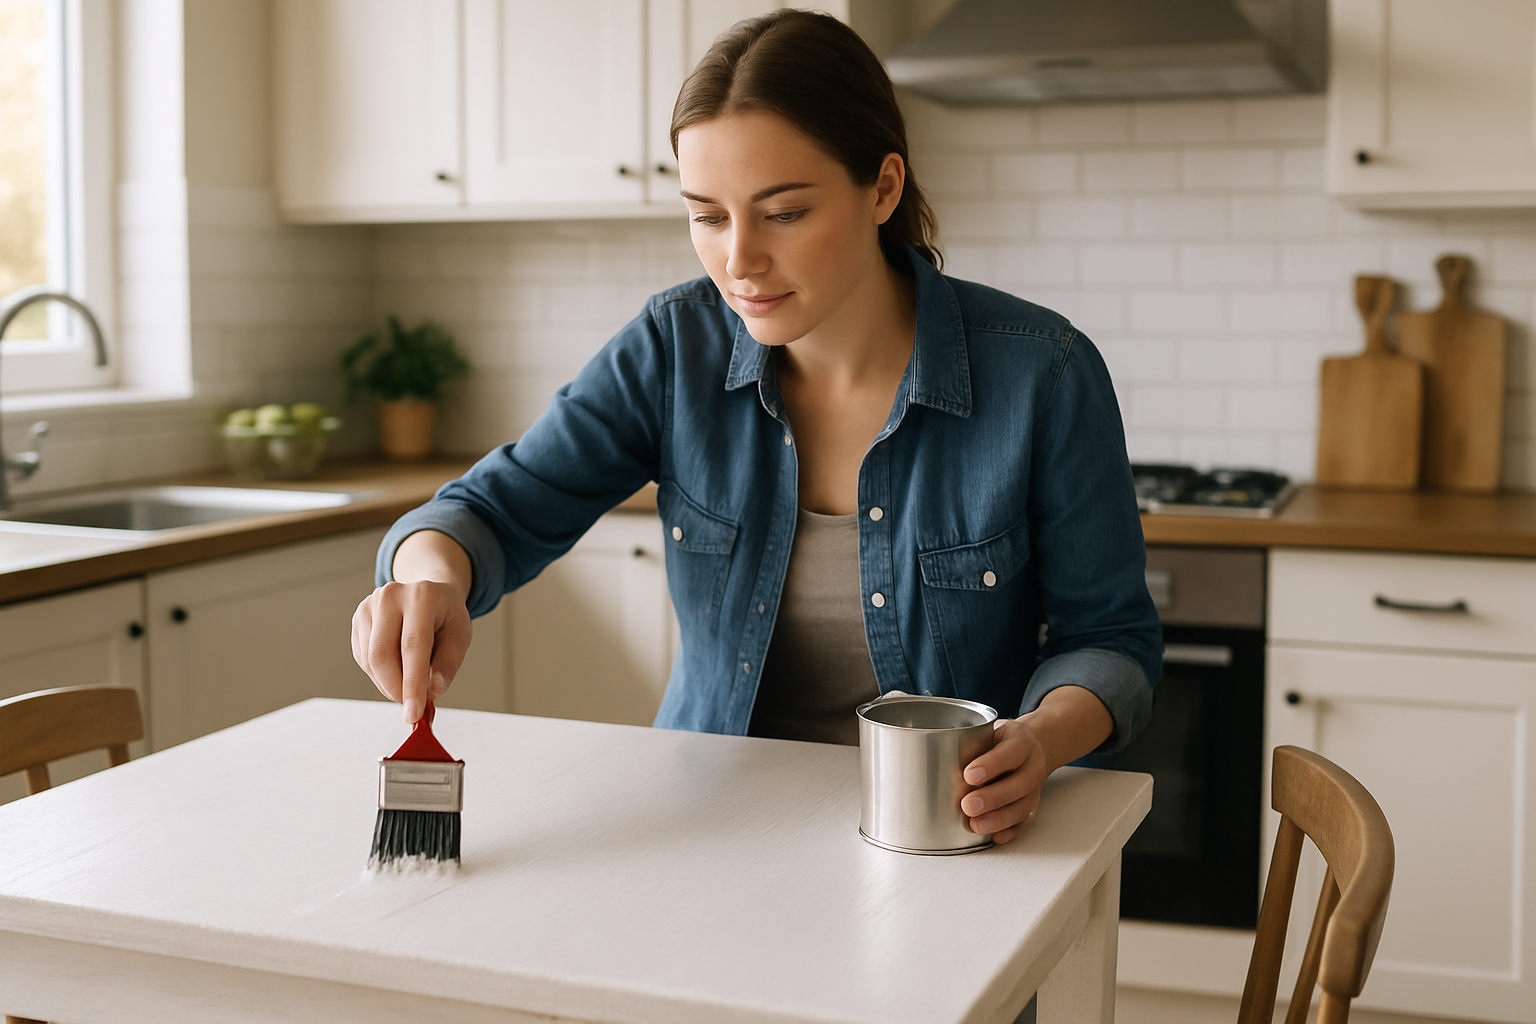
Choosing the Right Paint and Techniques
Selecting the right paint is crucial when painting your kitchen table. Options include acrylic, chalk, and oil-based paints, each offering unique finishes and durability. For high-traffic furniture like tables, opt for durable finishes that can withstand wear and tear. Additionally, using a primer can enhance adhesion and color vibrancy. Consider using a spray technique for an even coat, or a brush for detailed areas. The method you choose will influence the final look and longevity of the paint job.
Types of Paint to Consider
Acrylic paint is water-based, dries quickly, and is easy to clean, making it a popular choice. Chalk paint offers a matte finish and requires less prep work, while oil-based paints provide a durable and glossy finish, suitable for high-traffic surfaces. Weigh the pros and cons of each type based on your table’s usage.
Application Techniques
Whether you choose to brush, roll, or spray paint, the application technique can impact the final result. Spraying often provides a smoother finish without brush marks. Rolling is quicker for larger surfaces, while brushing allows for precision in detail areas. Whichever method you choose, apply several thin coats for the best results.
Key Points:
- Choose the right paint type based on durability and finish.
- Application technique can significantly affect the final appearance of your painted table.
💡 Always let each coat dry fully before applying the next to avoid streaks and unevenness.
💡 Consider using a topcoat for added protection against scratches and stains, extending the life of your paint job.
EXPERT TIPS Pro Advice
Prioritize durability in paint choice.
Selecting a durable paint ensures that your table withstands daily use, reducing the need for frequent touch-ups.
Use a primer for better results.
Applying a primer not only enhances adhesion but also improves the vibrancy of your paint color, leading to a more appealing finish.
Consider seasonal changes.
If your kitchen table will be exposed to varying temperatures and humidity, choose paint that is resistant to these changes to prevent cracking or peeling.
Frequently Asked Questions
Conclusion
Painting your kitchen table is a cost-effective way to rejuvenate your kitchen space. Proper preparation and the right type of paint can lead to a successful and durable finish. Be sure to seal your work for long-lasting results.
🎯 Key Takeaways:
- Use acrylic or chalk paint for durability.
- Prepare the surface thoroughly before painting.
- Sealing is essential for protection.
- Spray paint can provide a smooth finish but requires care.
- Drying times vary; follow manufacturer guidelines.
Expert Advice: Take your time with preparation and painting to ensure a professional-looking finish. Don’t rush the drying and curing processes to achieve the best results.
Consider your kitchen table’s style and color scheme, then start planning your painting project today!