Have you ever looked at your kitchen backsplash and wondered, ‘Can I paint my kitchen backsplash to give it a fresh new look?’ You’re not alone. Many homeowners seek affordable and creative ways to revitalize their kitchen space without the expense of full renovations. With over 15 years of experience in home improvement and design, I can assure you that painting your backsplash is not only possible but can also be an exciting DIY project. In this article, we will explore the essential techniques, preparation steps, and painting tips to ensure a successful transformation. Get ready to learn how to achieve a stunning new backsplash that enhances your kitchen’s aesthetic while keeping your budget intact.
Understanding Kitchen Backsplashes
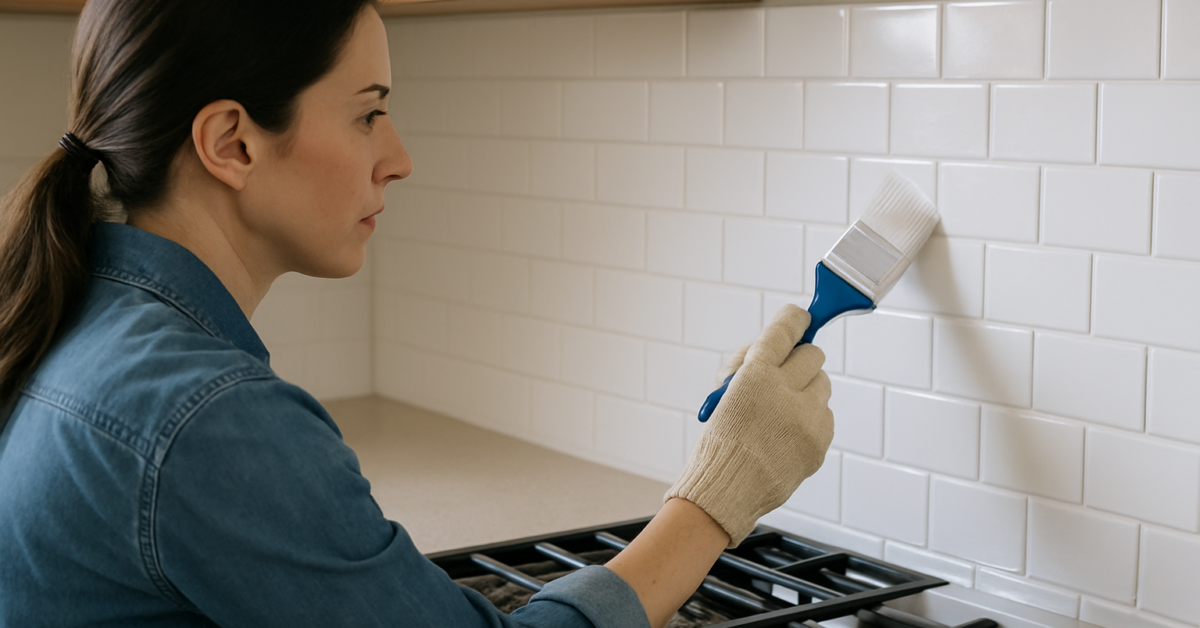
A kitchen backsplash serves both functional and aesthetic purposes, protecting walls from spills and enhancing the overall design of the space. Before considering painting your backsplash, it’s vital to understand the materials commonly used, such as tile, glass, and metal. Each material has unique properties that can affect the painting process and final results. Additionally, it’s essential to assess the current condition of your backsplash; chipped or damaged surfaces may require repair before painting. Knowing the type of backsplash and its state will help in determining if painting is a feasible option.
Common Backsplash Materials
The most popular backsplash materials include ceramic tile, glass, and stainless steel. Ceramic tile is durable and often textured, while glass can add a modern touch. Stainless steel is sleek but may show fingerprints easily. Understanding these materials helps you select the best paint and preparation method.
Assessing Your Current Backsplash
Before painting, evaluate your backsplash for cracks, chips, or stains. A smooth, clean surface is crucial for paint adhesion. If there are issues, consider repairing or replacing damaged sections. This ensures a more professional-looking finish and longevity of the paint.
Key Points:
- Know the material of your backsplash
- Assess its condition before painting
Preparing to Paint Your Backsplash
Preparation is a crucial step in painting your kitchen backsplash. Proper cleaning and priming can significantly affect the paint’s adherence and durability. Start by thoroughly cleaning the surface to remove grease and grime. Next, consider using a primer specifically designed for the backsplash material. This will not only help the paint to stick but also enhance the color and finish. A well-prepared surface can lead to a more vibrant and lasting outcome, so take the time to get this step right.
Cleaning the Surface
Begin by using a degreaser or a mixture of vinegar and water to clean the backsplash. Scrub gently with a sponge to remove any food residue or grease. Rinse thoroughly with water and allow it to dry completely, as moisture can hinder paint adhesion.
Priming the Backsplash
Applying a primer suited for your backsplash material is vital. A primer creates a bonding layer that enhances paint adherence and color vibrancy. Follow the manufacturer’s instructions for application and curing times to ensure the best results.
Key Points:
- Clean the surface thoroughly
- Use a suitable primer for better adhesion
Understanding the Basics of Painting a Kitchen Backsplash
Before you dive into painting your kitchen backsplash, it’s essential to understand the materials involved. Most backsplashes are made of tile, glass, or metal, each requiring specific preparation and paint types. Knowing these details will help you achieve a durable finish. Additionally, consider the overall design of your kitchen; a painted backsplash can dramatically change the space’s appearance. Make sure to choose a color that complements your cabinetry and countertops for a cohesive look.
Materials and Preparation
The first step in painting your backsplash is assessing the material. For tile, ensure it’s clean and free of grease; for glass, a primer is often necessary. Sanding the surface can improve paint adhesion. Proper preparation is key to a long-lasting finish.
Choosing the Right Paint
Select paint specifically designed for kitchen environments, such as high-gloss or semi-gloss finishes. These types are moisture-resistant and easier to clean, making them suitable for a backsplash area that often encounters splashes and stains.
Key Points:
- Preparation is crucial for the longevity of your paint job.
- Choose moisture-resistant paint for durability.
💡 Always do a patch test to ensure the paint adheres well to your surface.
Step-by-Step Process to Paint Your Backsplash
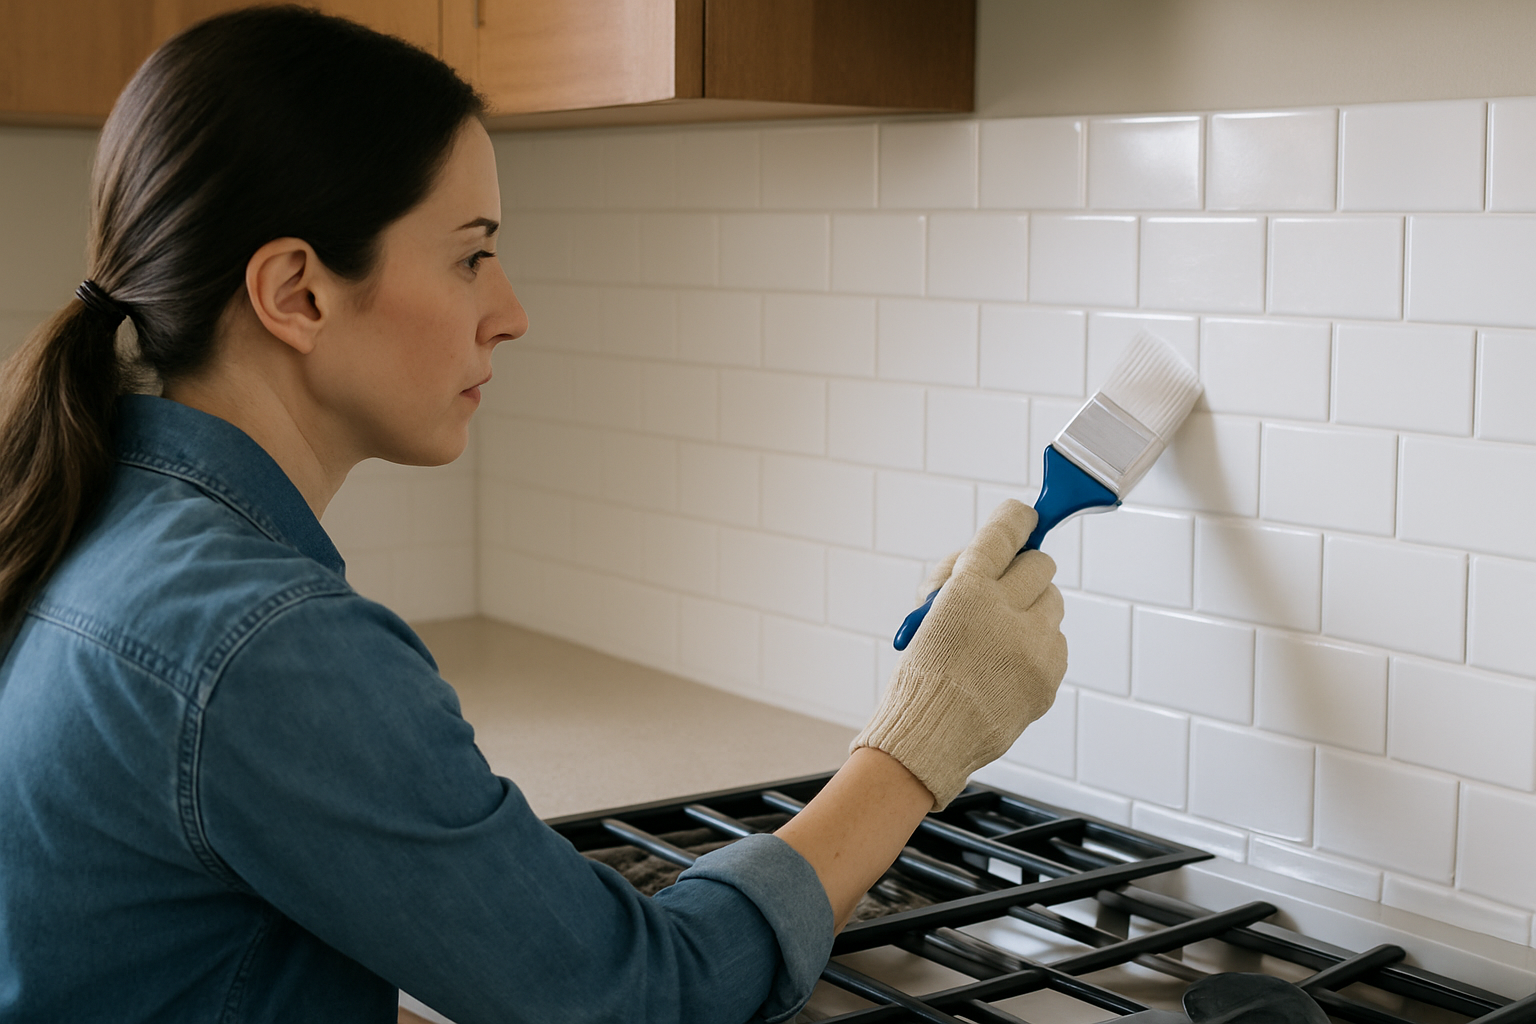
Once you understand the materials and have chosen the right paint, follow a systematic approach to painting your backsplash. Start by cleaning the surface thoroughly, then mask off edges to prevent paint from getting onto adjacent surfaces. Apply a primer if necessary, followed by multiple thin coats of paint to achieve an even finish. Allow sufficient drying time between coats for the best results. Finally, seal the painted backsplash with a clear coat for extra protection against moisture and stains.
Cleaning and Masking
Begin by cleaning the backsplash with a degreaser to remove any grease or grime. After cleaning, use painter’s tape to mask off the edges and surrounding areas to ensure clean lines and prevent accidental paint splatter.
Applying Paint and Sealing
Apply the paint in thin, even layers, allowing each coat to dry completely before applying the next. After achieving the desired color, consider applying a clear sealant to protect the paint from moisture and wear, enhancing longevity.
Key Points:
- Multiple thin coats yield a better finish than one thick coat.
- Sealing the paint enhances durability and ease of cleaning.
💡 Use a foam roller for a smoother finish on flat surfaces.
EXPERT TIPS Pro Advice
Test Paint Compatibility
Before committing to a full project, test a small area with your chosen paint. This helps ensure compatibility and that the finish meets your expectations.
Consider Color Trends
Stay updated on color trends for kitchens. Choosing on-trend colors can enhance your kitchen’s aesthetic and potentially increase home value.
Maintain Ventilation
Ensure proper ventilation while painting to reduce fumes and expedite drying. Open windows and use fans if necessary.
Use Quality Tools
Invest in quality brushes and rollers. They provide better coverage and reduce the likelihood of streaks or imperfections.
Regular Maintenance
After painting, clean your backsplash regularly to maintain its appearance. A simple wipe-down with a damp cloth can prevent buildup and keep colors vibrant.
Frequently Asked Questions
Conclusion
Painting your kitchen backsplash is a feasible DIY project that can transform your space economically. By choosing the right materials and preparing the surface properly, you can achieve a beautiful finish. Regular maintenance will ensure your painted backsplash remains vibrant and functional for years to come.
🎯 Key Takeaways:
- You can paint your backsplash with the right paint and preparation.
- Use moisture-resistant paint for durability.
- Clean and prime surfaces before painting.
- Painting over tile is possible with appropriate products.
- Seal your painted backsplash for added protection.
Expert Advice: Embrace your creativity and experiment with colors and patterns. Ensure to follow the right steps to achieve the best results, and don’t hesitate to seek help if needed.
Consider starting your backsplash project today, and enjoy the satisfaction of a refreshed kitchen!