Are you struggling with leaks or clogs beneath your kitchen sink? Replacing the P trap can be a cost-effective solution to common plumbing issues. As an experienced DIY enthusiast, I can assure you that understanding how to replace the P trap under your kitchen sink is not only manageable but essential for maintaining a functional drainage system. In this article, you will learn the step-by-step process for replacing a P trap, the tools you will need, and common mistakes to avoid during the installation. Whether you’re a seasoned DIYer or a first-time homeowner, this guide will empower you to tackle this plumbing task with confidence.
Understanding the P Trap Functionality
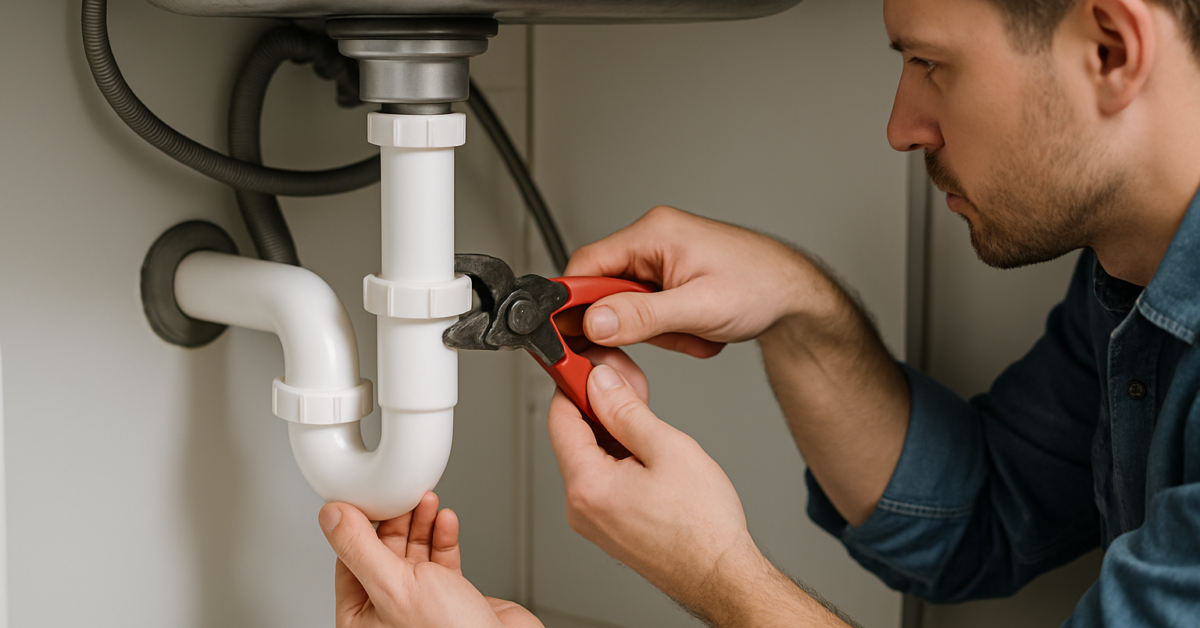
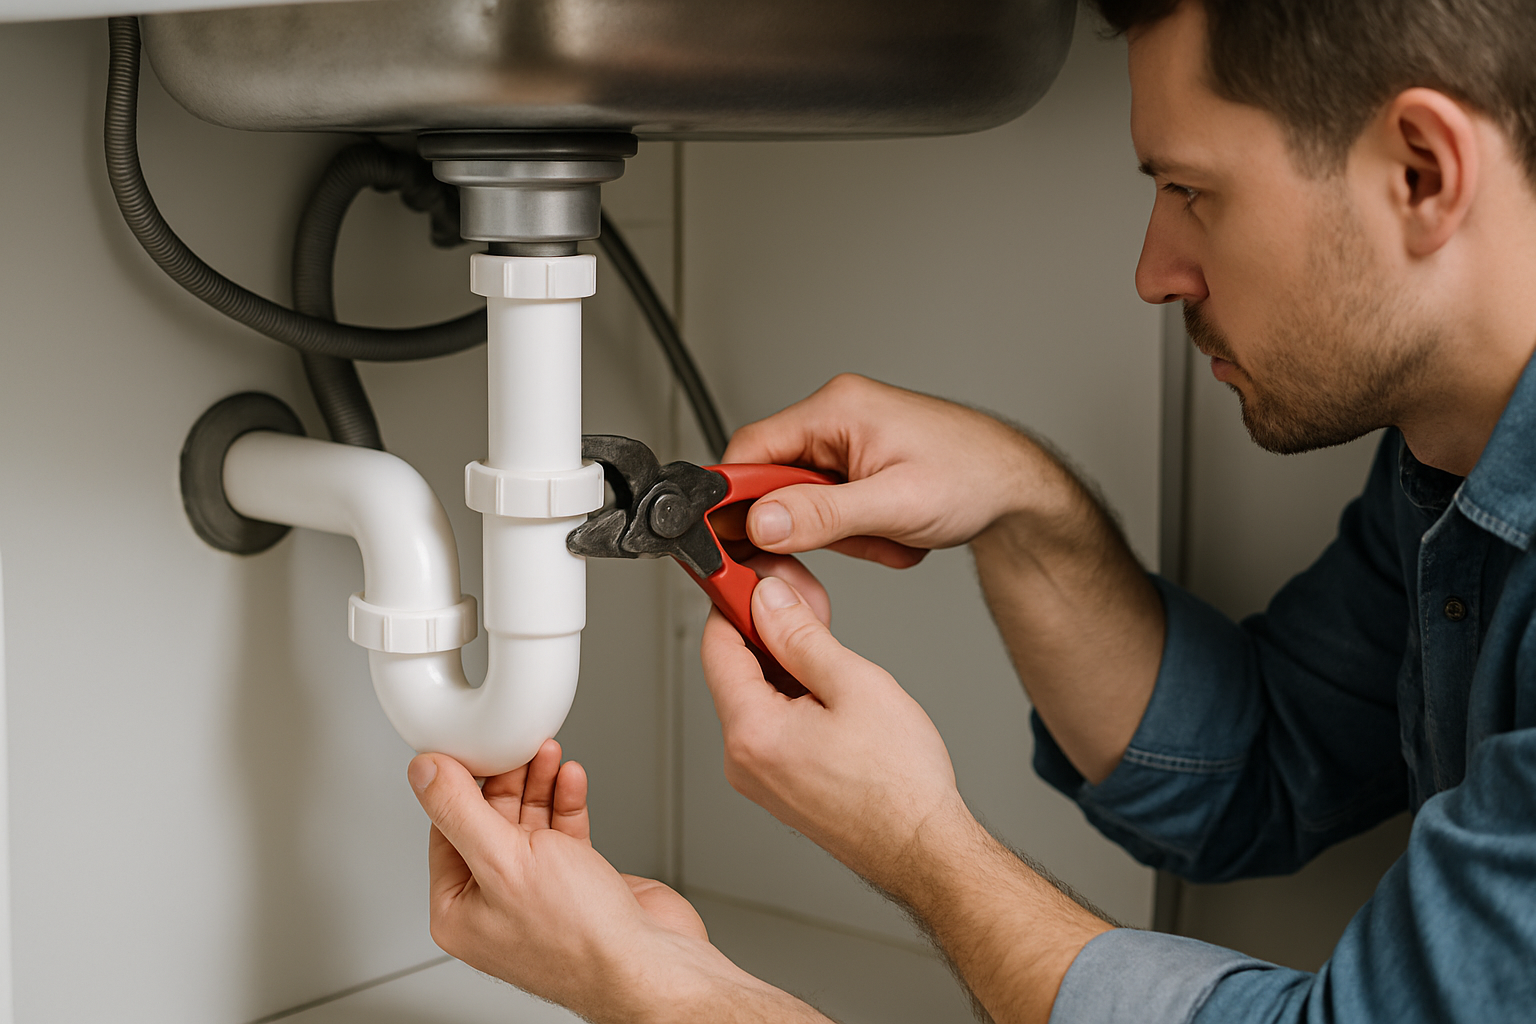
The P trap is a crucial component of your kitchen sink’s plumbing system. Its primary function is to prevent sewer gases from entering your home by creating a water barrier. Understanding how the P trap works can help you recognize when it needs replacement. Typically, the P trap is located beneath the sink, connecting the drain to the home’s plumbing system. It is shaped like a ‘P’ to hold water, which acts as a seal against odors and gases. Regular maintenance or replacement may be necessary if you notice leaks, odors, or slow drainage.
Identifying Common Issues
Common issues with a P trap include leaks, clogs, and foul odors. A leak usually occurs at the joints or due to corrosion. Clogs can be caused by food particles or grease buildup, leading to slow drainage. Foul odors typically indicate that the water barrier has evaporated or there’s a significant blockage. Regularly inspecting your P trap can help you catch these problems early.
Signs It Needs Replacement
If you notice persistent leaks or foul odors despite cleaning, it may be time to replace your P trap. Other signs include visible corrosion or rust, which can compromise its effectiveness. Additionally, if you frequently experience clogs that can’t be cleared through regular cleaning methods, a replacement may be necessary. Understanding these signs can save you time and prevent more significant plumbing issues.
Key Points:
- The P trap prevents sewer gases from entering the home.
- Regular inspection can help identify issues early.
💡 Check for leaks regularly to catch issues early.
💡 Keep the area under the sink clean to easily spot problems.
Tools and Materials for Replacement
Replacing a P trap requires minimal tools and materials, making it an accessible DIY task. Essential tools include an adjustable wrench, a bucket, and plumber’s tape. You’ll also need a new P trap that fits your sink’s plumbing. Before beginning the replacement, ensure you have all necessary items on hand to make the process smooth and efficient. Having the right tools not only simplifies the replacement but also reduces the risk of damage to your plumbing system.
Essential Tools Needed
An adjustable wrench is vital for loosening and tightening the nuts on the P trap. A bucket is necessary to catch any water that may spill during removal. Additionally, having plumber’s tape on hand ensures a secure and leak-proof connection when installing the new P trap. Gathering these tools in advance will streamline the replacement process.
Choosing the Right Replacement
When selecting a new P trap, ensure it matches the size and style of your existing plumbing. P traps come in various materials including PVC and metal, so choose one that suits your sink and local plumbing codes. A correctly sized and compatible P trap will facilitate a proper fit and prevent future issues. Investing time in selecting the right replacement can save you from repeated replacements in the future.
Key Points:
- Basic tools make P trap replacement manageable.
- Selecting the right size and material is crucial for a successful installation.
💡 Gather all tools before starting to avoid interruptions.
💡 Choose a replacement that matches existing plumbing to ensure compatibility.
Understanding the P Trap and Its Function
The P trap is a crucial component of your kitchen sink’s plumbing system. It not only prevents foul odors from sewage from entering your home but also holds a small amount of water to create a seal. Familiarizing yourself with its function will help you recognize when it needs replacing. A malfunctioning P trap can cause leaks, clogs, and unpleasant odors, making it essential to address any issues promptly.
Components of a P Trap
A P trap typically consists of three main parts: the inlet, the curved section, and the outlet. The inlet connects to the sink drain, while the outlet leads to the home’s waste line. Understanding these components allows you to inspect for cracks or clogs effectively, ensuring you replace only the necessary parts.
Signs Your P Trap Needs Replacement
Look for signs such as persistent leaks, slow drainage, or unpleasant odors emanating from the sink. If you notice water pooling under the sink or a foul smell, these are indicators that your P trap may need to be replaced. Regular inspections can help catch these issues early.
💡 Regularly inspect your P trap for signs of wear and tear.
💡 Use a flashlight to check hard-to-see areas for leaks or clogs.
Step-by-Step Guide to Replacing a P Trap
Replacing a P trap is a manageable DIY task that can save you time and money. Start by gathering the necessary tools: a wrench, bucket, and towel. Turn off the water supply and prepare your workspace. Follow a systematic approach to ensure a successful replacement without damaging the plumbing system.
Preparation and Safety Measures
Before you start, gather your tools and materials. Place a bucket under the sink to catch any water. Turn off the water supply to the sink to prevent any leaks during the replacement process. Wear gloves for hygiene and safety, especially if the P trap has accumulated debris.
Removing the Old P Trap
Loosen the nuts connecting the P trap to the sink drain and waste line using a wrench. Carefully detach the trap, allowing any residual water to drain into the bucket. Inspect the old P trap for damage; if it’s corroded or cracked, replacement is necessary. Clean the area before installing the new P trap.
Installing the New P Trap
Attach the new P trap by connecting it to the sink drain and waste line. Tighten the nuts securely, ensuring there are no gaps that could lead to leaks. After installation, run water through the sink to test for leaks and check the functionality of the new trap. Make adjustments as necessary.
💡 Always wear gloves to maintain hygiene and protect against sharp debris.
💡 Double-check all connections after installation to ensure a secure fit.
EXPERT TIPS Pro Advice
Inspect regularly for early signs of damage.
Regular inspections can help you catch issues before they escalate, saving time and money on repairs.
Use a bucket to catch residual water.
This prevents a mess and allows for a cleaner work environment during the replacement process.
Familiarize yourself with local plumbing codes.
Understanding plumbing codes ensures that your installation meets safety standards and avoids future complications.
Consider taking photos during disassembly.
This provides a visual reference for reassembly and helps ensure all components are reconnected correctly.
Always test for leaks after installation.
Testing confirms that the P trap is functioning properly and prevents future water damage from undetected leaks.
Frequently Asked Questions
Conclusion
Replacing a P trap under your kitchen sink is a straightforward DIY task that can prevent plumbing issues. Recognize the signs of a failing trap, gather the right tools, and follow proper installation steps to ensure a leak-free experience. Regular maintenance of plumbing components is essential for home upkeep.
🎯 Key Takeaways:
- A P trap prevents sewer gases from entering your home.
- Signs of a failing P trap include leaks and odors.
- Replacing a P trap is a feasible DIY project.
- Use the right tools and plumber’s tape for best results.
Expert Advice: Always ensure that all connections are secure after installation to avoid future leaks. Regularly inspect your plumbing for early signs of wear and tear.
Take the first step towards a healthier kitchen by checking your P trap today!