Are you dealing with a leaky or clogged kitchen sink strainer? Replacing it can seem daunting, but knowing how to replace a kitchen sink strainer is a valuable skill that anyone can master. With over 15 years of experience in home maintenance and plumbing solutions, I can assure you that this straightforward process can save you time and money. In this article, you’ll learn the essential steps to successfully remove the old strainer, install a new one, and ensure a perfect fit. Whether you’re a DIY novice or an experienced handyman, this guide will empower you to tackle your kitchen plumbing issues with confidence.
Understanding the Kitchen Sink Strainer
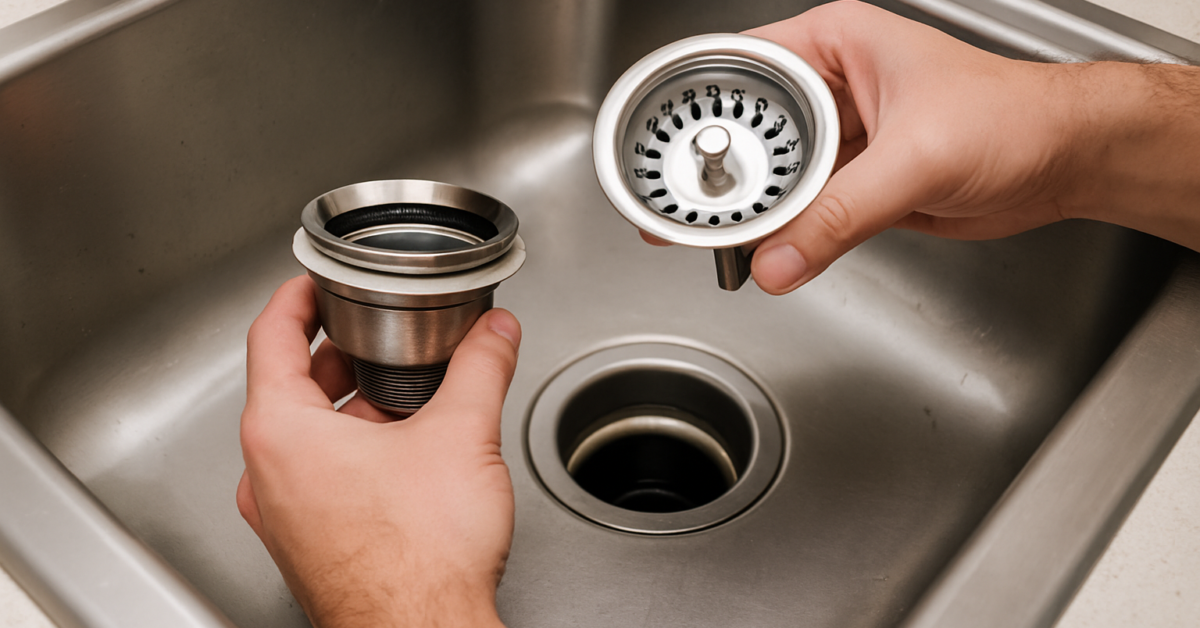
A kitchen sink strainer is a crucial component that prevents food particles and debris from clogging your plumbing. It fits in the drain opening and allows water to flow while trapping waste. Understanding its function helps in determining when a replacement is necessary, ensuring your sink operates efficiently. Strainers come in various designs, including basket types and flat disc styles, and can be made from materials such as stainless steel or plastic. Knowing the type that best fits your sink helps streamline the replacement process.
Signs You Need a Replacement
Recognizing when to replace your kitchen sink strainer is key to maintaining a functional sink. Common signs include persistent clogs, rust or corrosion on metal strainers, or visible damage like cracks. If your strainer doesn’t fit securely, allowing food to slip through, it’s also time for a replacement. Regular inspections can prevent more significant plumbing issues later.
Types of Sink Strainers
Familiarizing yourself with the types of sink strainers available can simplify the replacement process. The most common types are basket strainers, which catch food waste, and flat strainers, which allow water to pass while blocking larger items. Each type has its advantages, so consider your cooking habits and sink design when selecting a replacement. Understanding the differences can help you make an informed choice.
💡 Regularly inspect your strainer for signs of wear and tear to avoid plumbing issues.
💡 Choose a strainer that complements your sink style for aesthetic appeal.
Tools and Materials Needed for Replacement
Before you begin the strainer replacement process, gathering the right tools and materials is essential. You will typically need a wrench, pliers, a putty knife, and plumber’s putty or silicone sealant. Having these items on hand can make the replacement process smoother and more efficient. Additionally, consider wearing gloves and protective eyewear to ensure safety during the project. Knowing what tools to use can also prevent damage to your sink or plumbing.
Essential Tools for the Job
Having the right tools is crucial for successfully replacing your kitchen sink strainer. A basin wrench is ideal for tight spaces, while pliers can help grip and turn nuts. A putty knife is useful for removing old putty or sealant around the strainer. Gather these tools before starting to ensure a smooth workflow and minimize interruptions during the process.
Materials for a Secure Fit
The materials you choose for your new strainer can affect durability and functionality. Plumber’s putty is commonly used to seal the strainer in place, preventing leaks. Alternatively, silicone sealant provides a waterproof barrier and can be easier to clean. Consider the material of your sink and strainer to ensure compatibility, which will enhance the longevity of your installation.
💡 Always have extra tools available to avoid interruptions during the replacement process.
💡 Choose high-quality materials to ensure long-lasting performance and prevent future leaks.
Understanding the Kitchen Sink Strainer
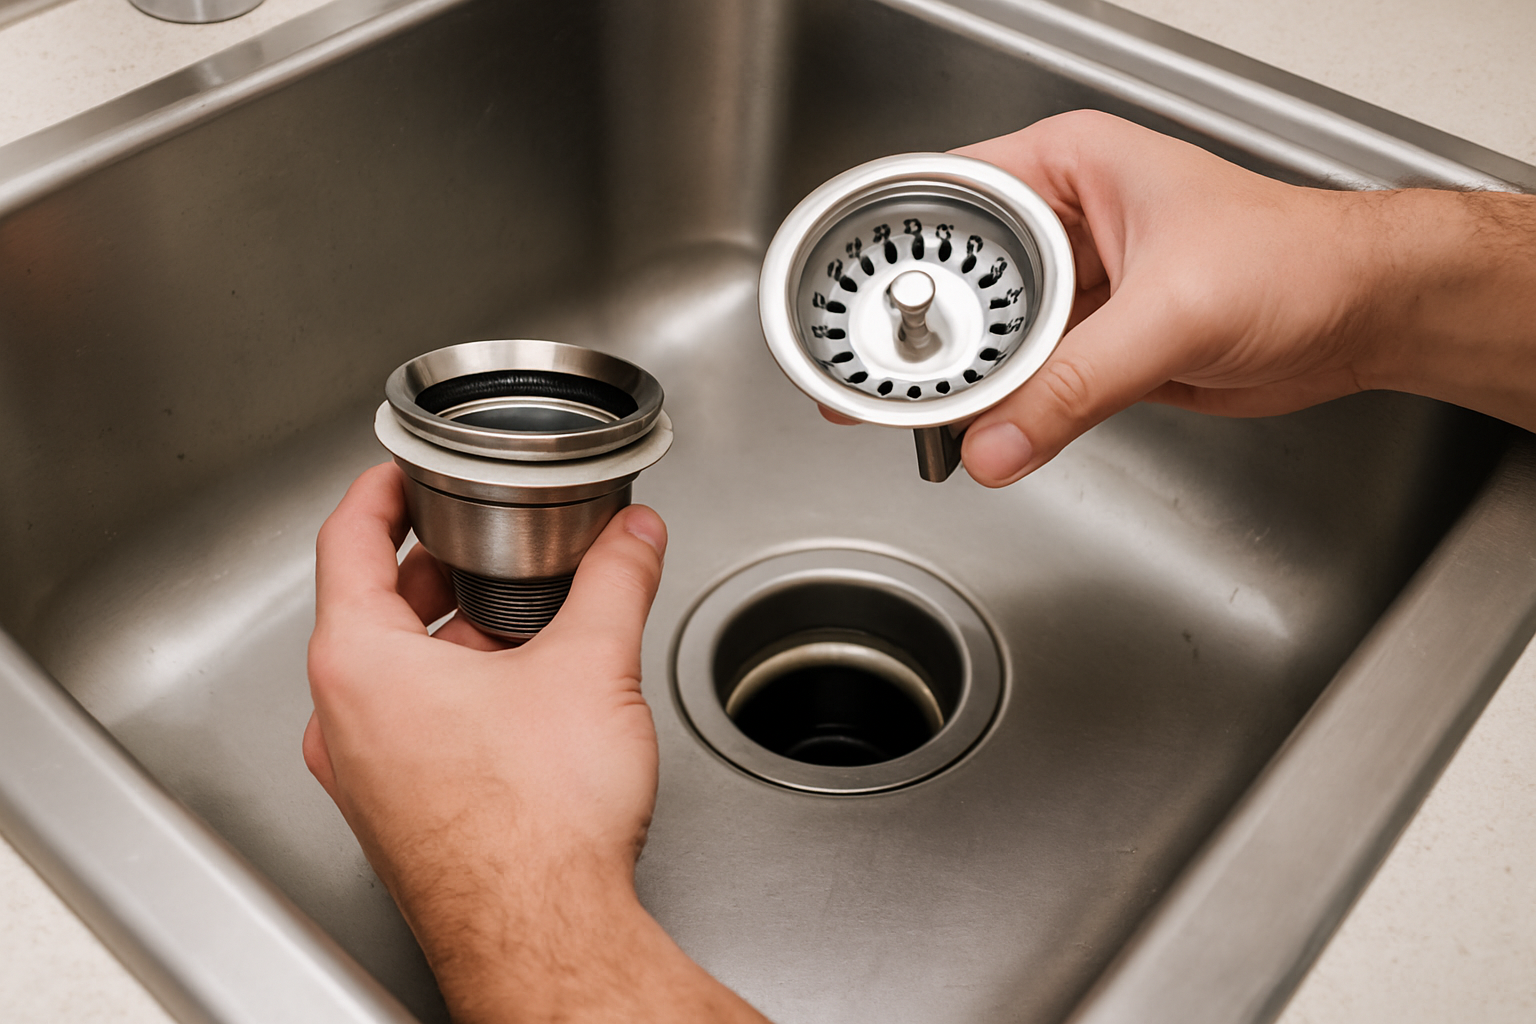
The kitchen sink strainer is an essential component that prevents food debris from clogging your plumbing. Understanding its function and types can help you choose the right replacement. Common types include basket strainers, pop-up strainers, and flange strainers. Each type serves the same basic purpose, but their installation methods may vary. Familiarizing yourself with the structure will aid in the replacement process, ensuring a proper fit and function. Inspecting your current strainer for wear and tear is also crucial, as a damaged strainer can lead to leaks and plumbing issues. Knowing when to replace it is key to maintaining a healthy kitchen sink.
Types of Kitchen Sink Strainers
There are several types of kitchen sink strainers, each with unique benefits. Basket strainers are often found in older sinks and are simple to remove. Pop-up strainers feature a lever mechanism, making them more user-friendly. Flange strainers are typically integrated into the sink itself. Choosing the right type depends on your sink configuration and personal preference, ensuring easy maintenance and effective waste management.
Signs You Need to Replace Your Strainer
Recognizing when to replace your kitchen sink strainer can prevent further plumbing issues. Common signs include frequent clogs, water pooling around the strainer, or visible rust and corrosion. If you notice any of these symptoms, it is advisable to replace the strainer to maintain optimal sink function. Additionally, if the strainer no longer fits snugly, it may be time for a replacement.
Key Points:
- Understanding the type of strainer helps in choosing the right replacement.
- Regular inspections can prevent plumbing issues.
💡 Inspect your strainer regularly to catch signs of wear early.
💡 Choose a strainer compatible with your sink type for a better fit.
Step-by-Step Guide to Replacing a Kitchen Sink Strainer
Replacing a kitchen sink strainer is a manageable DIY task. Start by turning off the water supply and removing any remaining debris from the sink. Next, use a wrench or pliers to unscrew the existing strainer. Clean the area around the sink hole thoroughly to remove adhesive residue and debris. Apply plumber’s putty around the new strainer’s edge before inserting it into the sink. This ensures a watertight seal. Finally, secure the new strainer in place by tightening the nuts underneath the sink, turning the water supply back on, and testing for leaks. Adhering to these steps will ensure a successful replacement.
Preparation for Replacement
Before starting the replacement, gather necessary tools such as a wrench, pliers, and plumber’s putty. Turn off the water supply and remove any items from the sink area. Preparing your workspace by ensuring you have adequate lighting and space to work will make the process smoother. A clean and organized environment helps you focus and reduces the chances of losing small parts.
Installation of the New Strainer
After cleaning the sink hole, apply plumber’s putty generously around the edge of the new strainer. Insert it into the sink hole and press down firmly. Underneath, place the washer and nut, tightening them securely but not overly tight to avoid damaging the sink. Finally, wipe away any excess putty and reconnect the plumbing. Proper installation is crucial to avoid leaks and ensure long-lasting functionality.
Key Points:
- Preparation is key for a successful strainer replacement.
- Proper installation prevents leaks and prolongs strainer life.
💡 Always use plumber’s putty to create a watertight seal.
💡 Avoid overtightening as it can damage the sink or strainer.
EXPERT TIPS Pro Advice
Always have a bucket ready during replacement.
This helps catch any water that may leak during the process, preventing mess and potential damage.
Keep extra putty on hand for future repairs.
Having additional plumber’s putty ensures you can address leaks promptly and effectively, maintaining your sink’s functionality.
Consult your sink’s manual for specific instructions.
Different sinks may have unique requirements, and following the manufacturer’s guidelines can simplify the replacement process.
Frequently Asked Questions
Conclusion
Replacing a kitchen sink strainer is a manageable task that enhances your sink’s functionality. By gathering the right tools, understanding the removal and installation processes, and ensuring a proper seal, you can prevent leaks and clogs. Always check for wear and tear to maintain your system.
🎯 Key Takeaways:
- Gather necessary tools like a basin wrench and plumber’s putty.
- Remove the old strainer carefully to avoid water spillage.
- DIY installation is achievable with basic skills.
- Use plumber’s putty for sealing to prevent leaks.
- Regularly inspect strainers for signs of wear and damage.
Expert Advice: Take your time during the replacement process to ensure everything is installed correctly. A well-fitted strainer not only prevents leaks but also maintains the overall health of your kitchen plumbing.
Now that you know how to replace your kitchen sink strainer, gather your tools and tackle this project confidently!