Are you experiencing leaks or inconsistent water flow from your kitchen sink? Knowing how to replace the kitchen sink shut off valve can save you time, money, and the hassle of calling a plumber. With over 15 years of experience in home maintenance and DIY projects, I can guide you through this essential plumbing task. In this article, you’ll learn about the tools you’ll need, the step-by-step process for replacing the valve, and common pitfalls to avoid. Whether you’re a seasoned DIYer or a first-time homeowner, this guide will equip you with the knowledge to handle this project with confidence.
Understanding Kitchen Sink Shut Off Valves
A kitchen sink shut off valve is essential for controlling water flow to the sink. Familiarizing yourself with its function and types is crucial before attempting a replacement. The common types are gate valves and ball valves. Gate valves have a wheel handle and are slowly turned to adjust the flow, while ball valves use a lever for quicker operation. Knowing which type you have will guide your replacement process. Additionally, it’s important to identify the main water supply valve, as turning this off is a prerequisite for safe replacement.
Types of Shut Off Valves
Shut off valves can be categorized primarily into gate valves and ball valves. Gate valves are typically used for on/off applications and are less prone to leaks. Ball valves, on the other hand, offer faster and more reliable shut-off capabilities. Understanding these distinctions will help you choose the right replacement valve.
Signs of a Faulty Valve
A faulty shut off valve may exhibit leaks, rust, or difficulty in operation. If you notice water dripping from the valve or find it challenging to turn, it’s time to consider replacement. Regular checks can prevent unexpected water flow issues, making prompt action essential.
Key Points:
- Know the type of valve you are dealing with.
- Identify signs of failure early to avoid more significant water damage.
💡 Always turn off the main water supply before starting the replacement process.
💡 Use a bucket to catch any residual water when removing the old valve.
Preparing for Replacement
Preparation is key to a successful replacement of a kitchen sink shut off valve. Start by gathering necessary tools such as a wrench, plumber’s tape, and a bucket. Ensure you have protective gear, including gloves and goggles, to safeguard against any debris or water splashes. Next, make sure the area around the sink is clear for easy access. Having everything organized will streamline the process, minimizing the risk of mistakes or accidents during the replacement.
Gathering Tools and Materials
Before starting, gather essential tools including an adjustable wrench, a bucket, and plumber’s tape. These tools will help you loosen and tighten connections and ensure a leak-proof seal when installing the new valve. Having everything at hand prevents interruptions during the replacement process.
Safety Precautions
Safety should be your priority. Always wear gloves and goggles to protect yourself from any sharp edges or splashes. Make sure the area is dry to avoid slips, and keep children and pets away from the workspace. Taking these precautions reduces the risk of accidents.
Key Points:
- Preparation can significantly reduce the time taken for replacement.
- Safety measures are crucial to prevent injuries and accidents.
💡 Double-check that you have all the necessary tools before starting.
💡 Clear the area around the sink to create a safe workspace.
Understanding the Shut-Off Valve
The shut-off valve is a critical component of your kitchen plumbing system, allowing you to control the water flow to the sink. Familiarizing yourself with its function and location is essential for any replacement process. Typically found under the sink, the valve can be either a compression or ball valve. Knowing which type you have will guide your replacement approach. Before starting, ensure you have the proper tools such as an adjustable wrench, plumber’s tape, and a bucket to catch any residual water. Understanding how your current valve operates will help prevent leaks after the installation.
Types of Shut-Off Valves
Shut-off valves primarily come in two types: compression valves and ball valves. Compression valves function by tightening a rubber washer onto the pipe, while ball valves use a rotating ball mechanism to control flow. Understanding these differences helps in selecting the right replacement valve and ensures proper installation, reducing the likelihood of future leaks.
Locating the Shut-Off Valve
To replace the shut-off valve, you first need to locate it, typically found beneath the sink attached to the water supply lines. Ensure you have adequate lighting and space to work. Clear out any items from under the sink to make the process easier. Knowing the exact location allows for a more efficient replacement process and minimizes water exposure.
Key Points:
- Understanding the type of shut-off valve is crucial for a successful replacement.
- Locating the valve properly can streamline the replacement process.
💡 Turn off the main water supply before starting to prevent flooding during the replacement process.
💡 Use a bucket to catch any water left in the pipes when disconnecting the old valve.
Step-by-Step Replacement Process
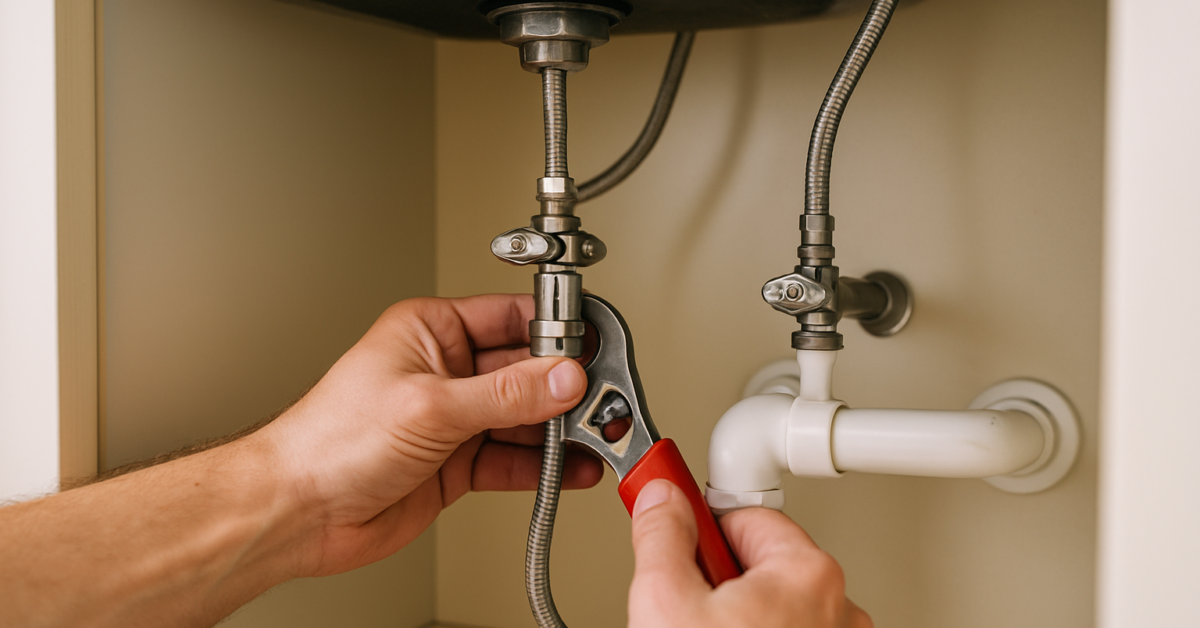
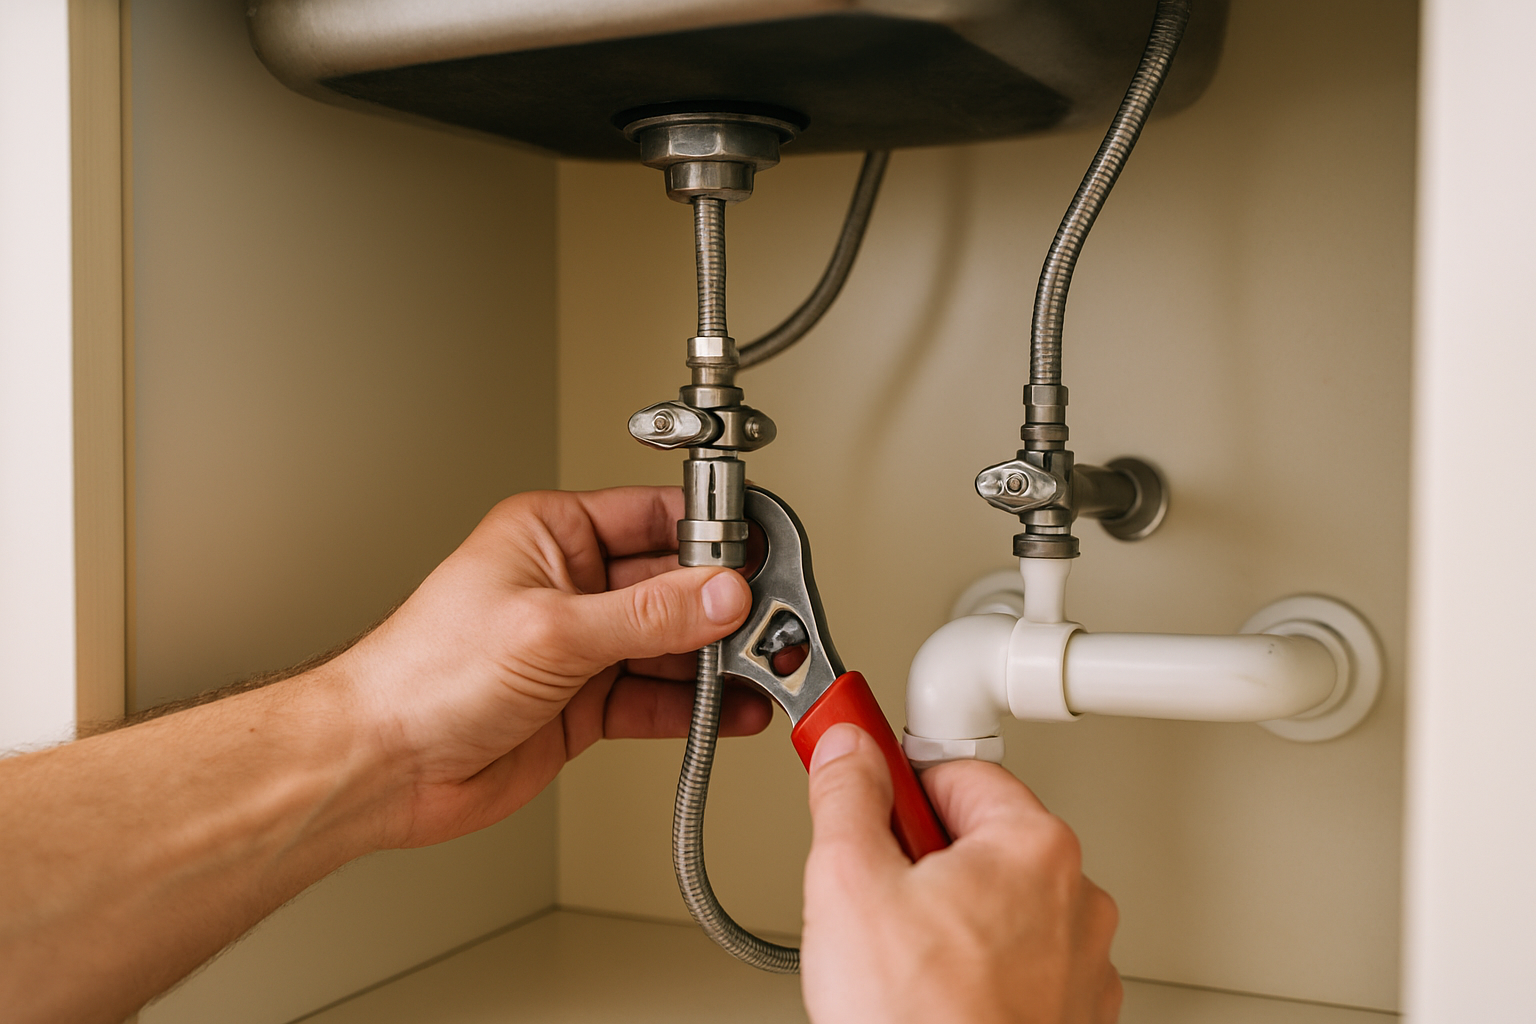
Replacing a kitchen sink shut-off valve requires careful execution to avoid leaks and ensure proper functionality. Begin by turning off the main water supply and draining the lines. Next, disconnect the old valve using an adjustable wrench. Be prepared for some water spillage by having a bucket ready. Install the new valve by following the reverse of the removal process, ensuring all connections are tight and secure. Finally, turn the water supply back on and check for leaks, adjusting the fittings if necessary. Proper installation will ensure long-lasting performance and prevent future issues.
Preparation for Replacement
Before replacing the valve, gather all necessary tools and materials. This includes an adjustable wrench, plumber’s tape, a bucket, and potentially new fittings. Preparing your workspace by cleaning the area under the sink and ensuring good lighting will help streamline the process. Preparation is key to a smooth replacement, reducing the risk of errors.
Testing for Leaks
After installing the new shut-off valve, it’s crucial to test for leaks. Slowly turn the water supply back on and observe the connections for any signs of water leakage. If you notice any leaks, turn off the water and re-tighten the fittings. This testing phase ensures that the installation is successful and that your plumbing system operates effectively.
Key Points:
- Follow a systematic process to ensure a successful shut-off valve replacement.
- Testing for leaks is essential to confirm that the installation is watertight.
💡 Always have a bucket ready to catch any residual water when disconnecting the old valve.
💡 Use plumber’s tape on the threads of the new valve to create a better seal and prevent leaks.
EXPERT TIPS Pro Advice
Familiarize yourself with local plumbing codes
Understanding local plumbing codes can help ensure that your installation meets safety standards and regulations, avoiding potential legal issues.
Take photos before disassembly
Taking photos of the existing setup can serve as a reference during reinstallation, helping to avoid mistakes.
Consider replacing old supply lines
If your supply lines are old or corroded, replacing them at the same time can enhance the longevity and reliability of your plumbing system.
Consult a professional if unsure
If you’re uncomfortable with any part of the process, consulting a plumber can save you time and prevent costly mistakes.
Keep a wrench handy for future adjustments
Having a wrench accessible allows for quick adjustments or repairs in the future, promoting easier maintenance.
Frequently Asked Questions
Conclusion
Replacing a kitchen sink shut off valve is a manageable DIY task that can prevent leaks and ensure proper water flow. Essential steps include turning off the water supply, gathering tools, and sealing connections properly. Always consider professional help if you’re unsure.
🎯 Key Takeaways:
- Gather necessary tools before starting.
- Always turn off the water supply first.
- Use Teflon tape to prevent leaks.
- Consider professional help if you’re unsure.
Expert Advice: Take your time and follow each step carefully to ensure a successful replacement. Proper maintenance of plumbing fixtures can save you from costly repairs in the future.
If you’re ready to tackle the project, gather your tools and start with confidence!